DIY Beginner Frame Loom for Weaving – Make Your Own
Introduction
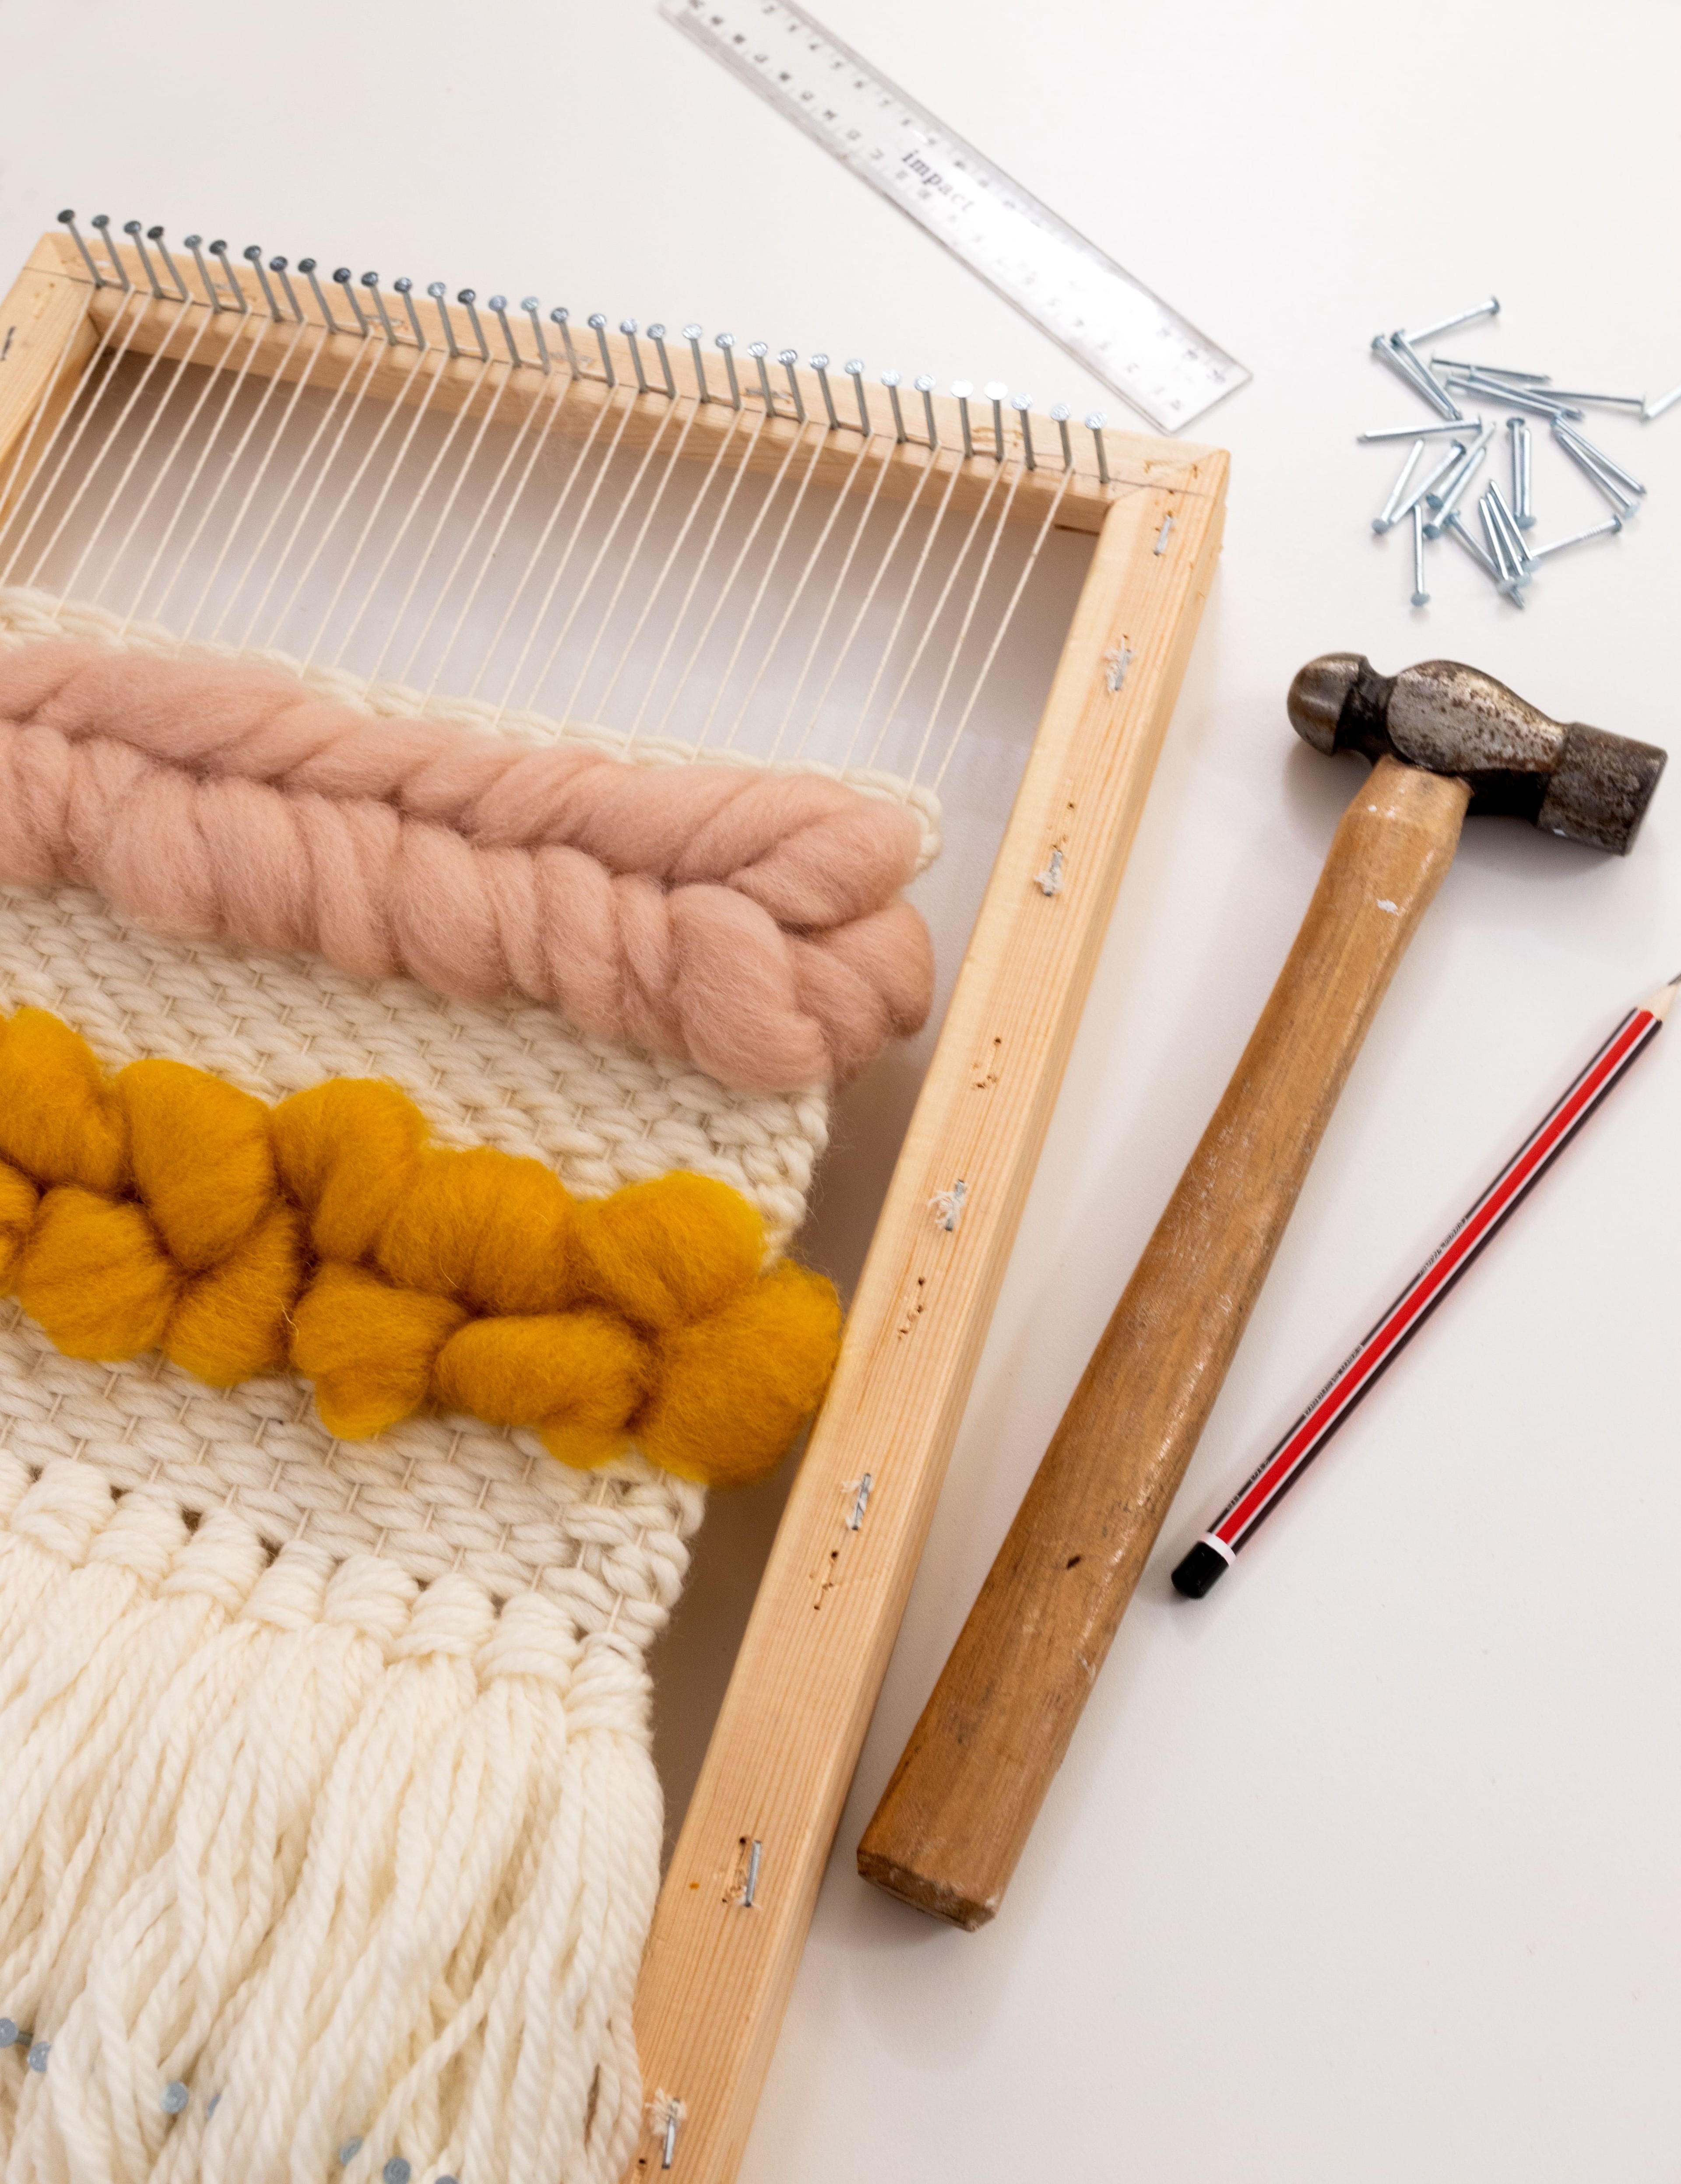
If you've been spending any time on Instagram or Facebook in the home decor scene, you'll have noticed that beautiful woven wall hangings have become quite the coveted thing.
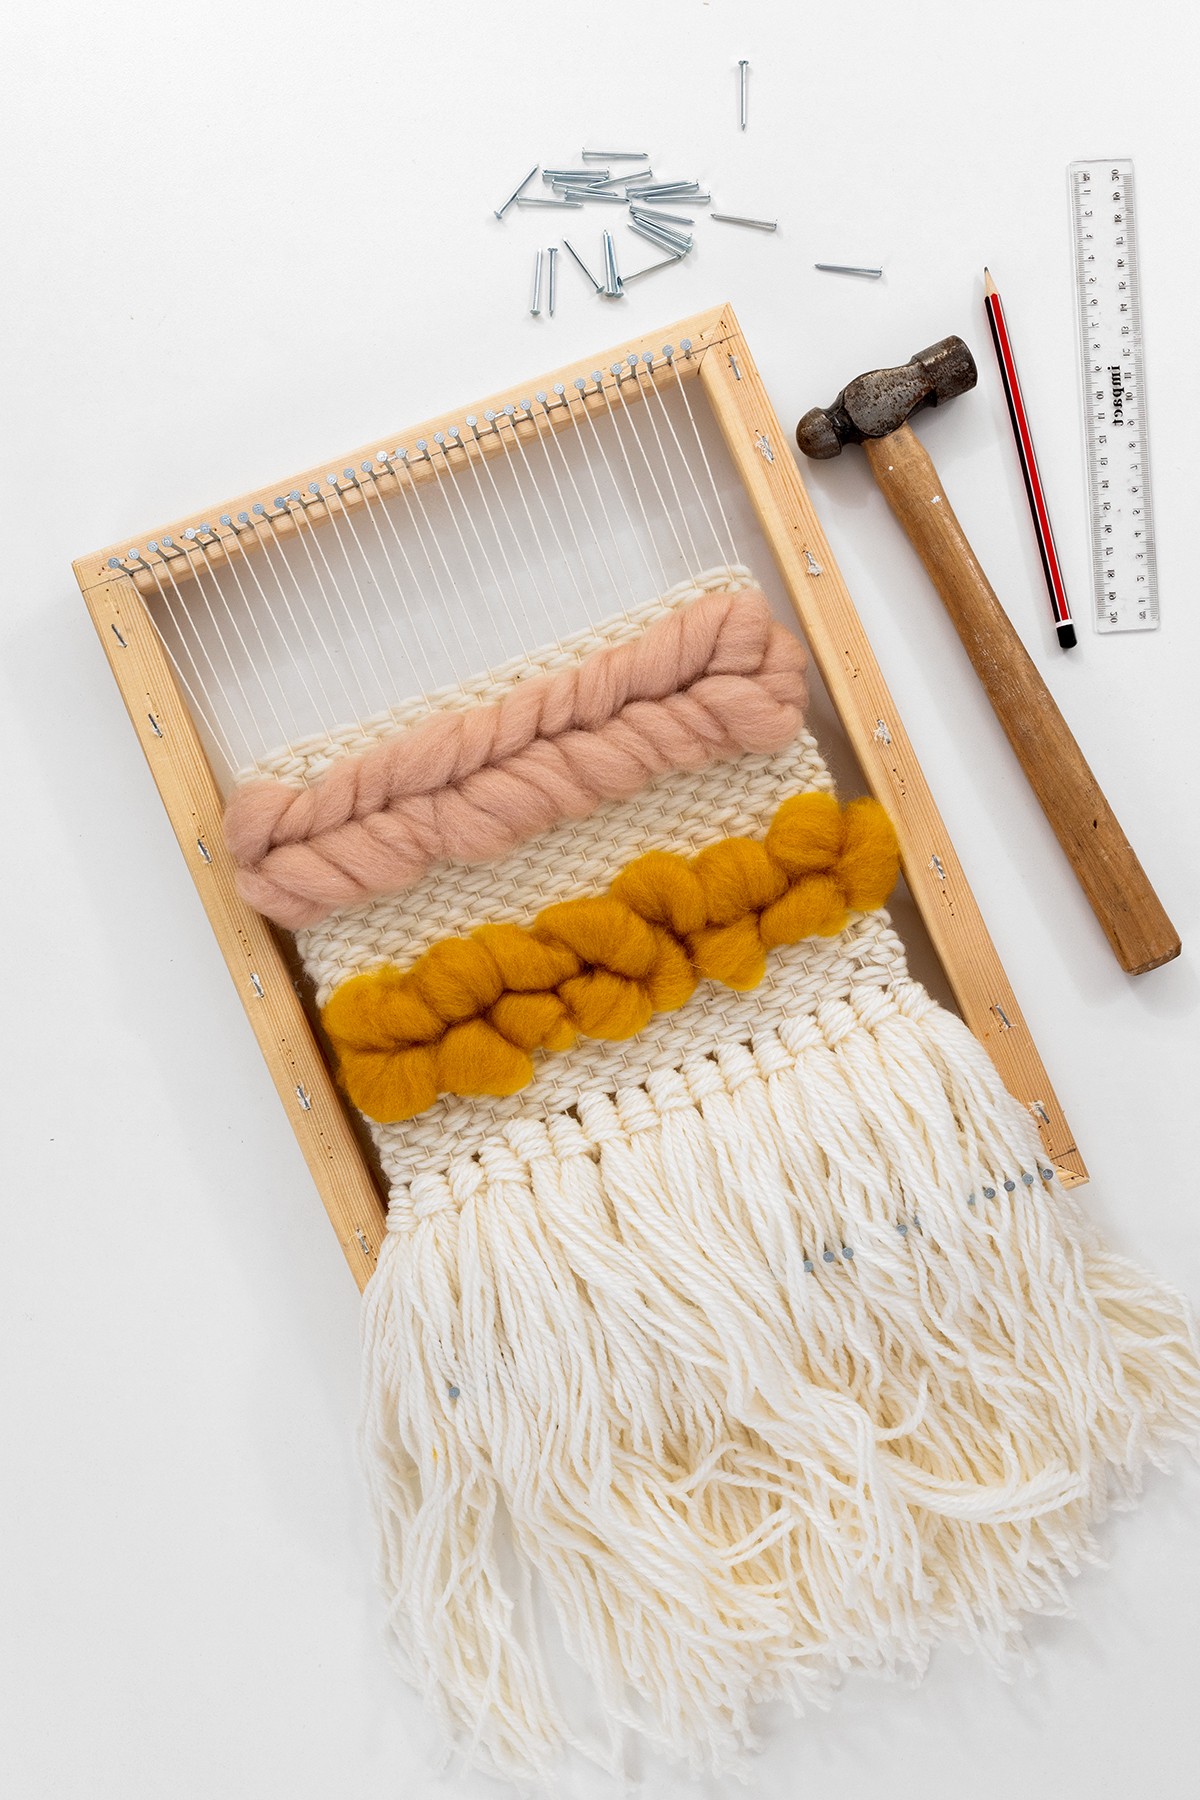
When I first decided to make my own woven wall hangings, I decided to make my own frame loom. This way, I could test this craft out, before investing in a ready-made loom.
My DIY Frame Loom worked a treat, and I made some really beautiful woven wall hangings using it.
You can buy a frame loom from a weaving supply store or another craft store.
But making your own loom is a more hands-on approach that can keep costs down.
So I have good news on the DIY front... it’s actually not that hard to make a frame loom. You just need some time, a sturdy wooden frame, and a mechanism (eg. nails) to hold your warp threads at regular intervals along the top and bottom of a frame.
In this blog, I’ll teach you how to make an easy DIY Frame Loom, that's lap loom sized.
I do have another option for a DIY Loom, which is a mini cardboard looms. These are so easy to make that even your children could get involved, plus they are the perfect starting point for both parents and their children to test out weaving woven wall hangings! If you're interested in this option, check out my blog here.
But for now, let's focus on making a more sturdy wooden DIY Loom.
Supplies
I’ve made up an easy DIY Frame Loom that is reasonably close to the loom I use in my projects. You can also adapt this method to suit whatever size frame you are using.
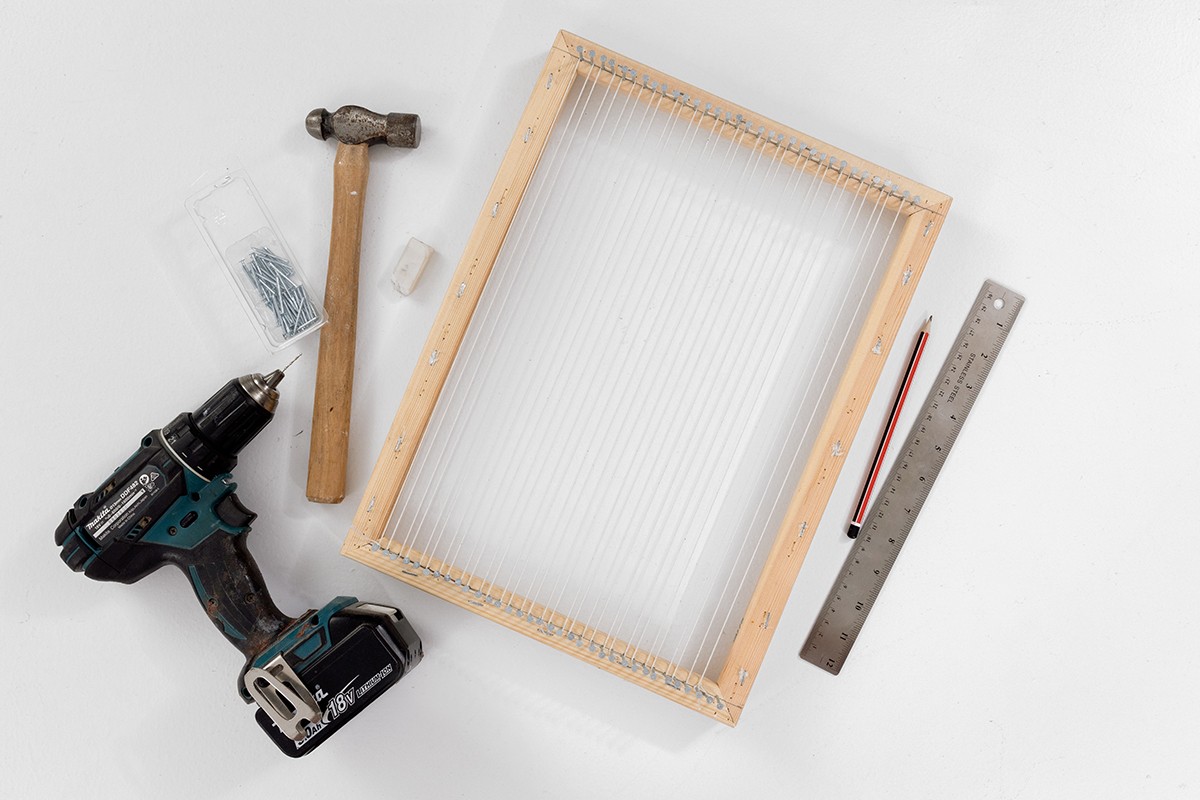
You Will Need:
-
A canvas art frame: I used a stretched artist 12 x 16 inch (approx. 30 x 40cm) frame. This is a pretty standard size, and you can source it worldwide.
-
Nails: You will need at least 60 finishing nails about 30mm long.
-
A hammer
-
A ruler
-
A pencil
-
Power drill: you will need a drill with a drill bit finer than your nail size
Source Your Frame
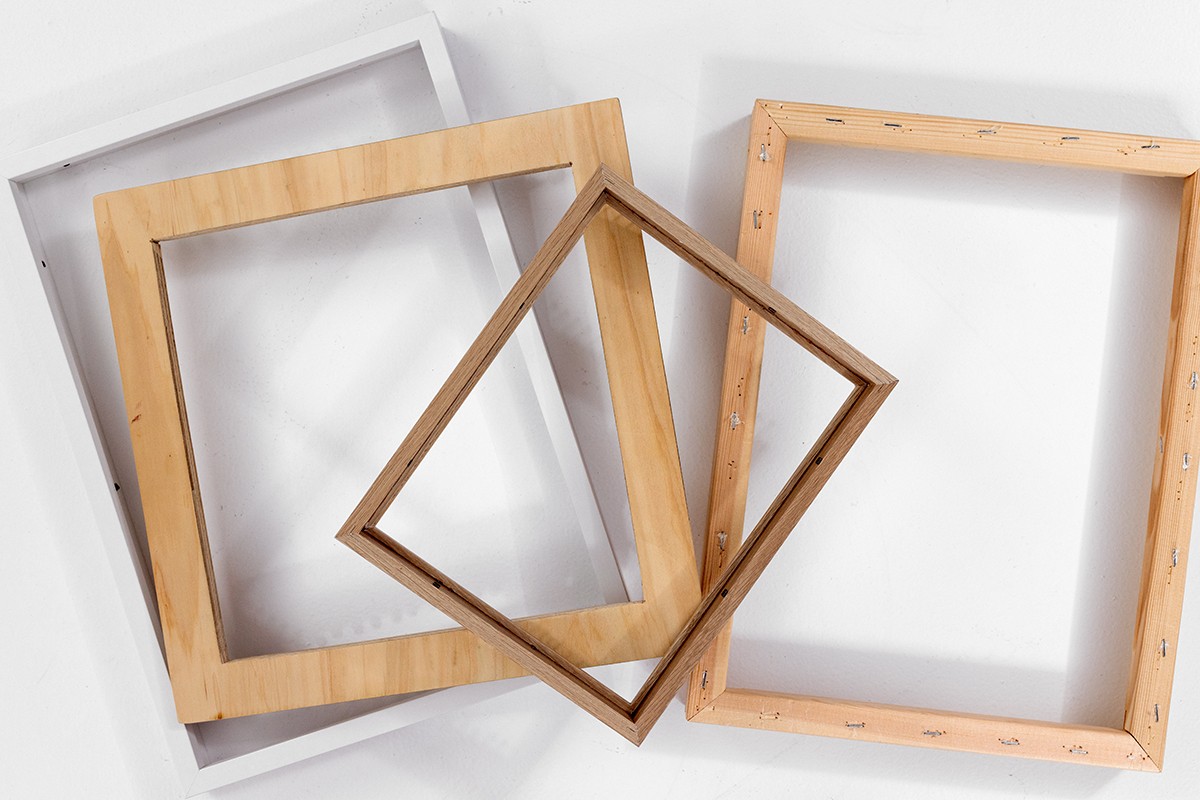
The key to making a great DIY Frame Loom is to start with a frame that is as sturdy as possible. This is important because when you warp your loom, it loads pressure onto the frame.
You want your DIY Frame Loom to stand up to this pressure and not buckle or bend while you weave on it.
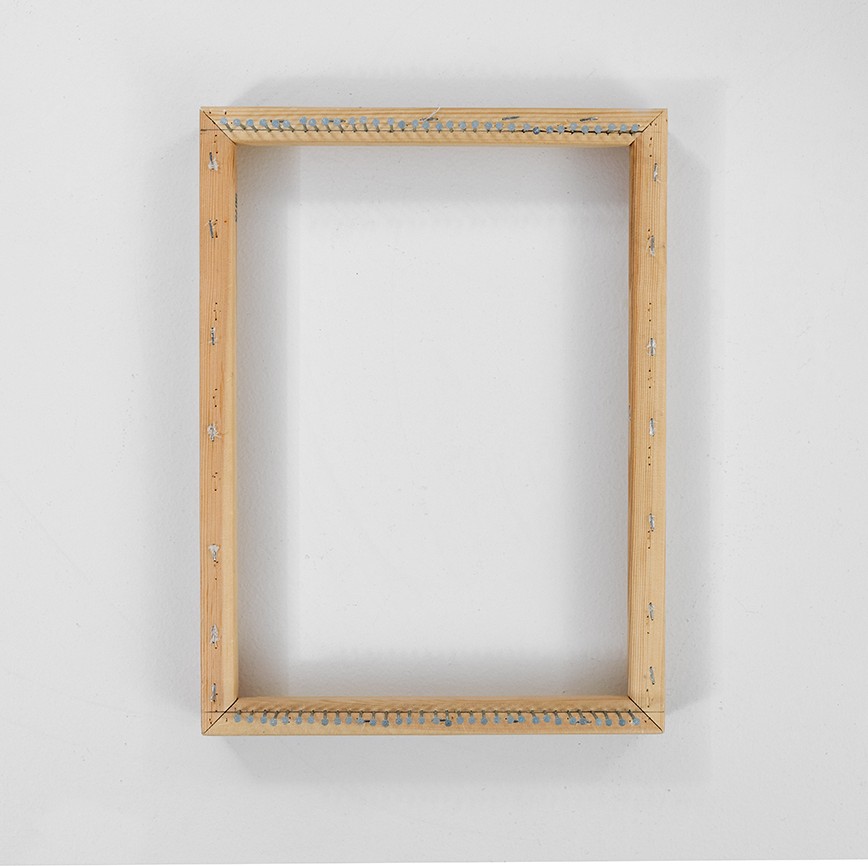
I have made frame looms in the past out of empty picture frames and plywood. You could also use an art canvas like I do here in this tutorial (you’ll need to rip off the canvas, leaving the exposed frame to work with).
Chances are, an art canvas frame will be your best bet because they are usually more sturdy than a picture frame. But overall, you can source any sturdy frame you wish.
Add the Pegs
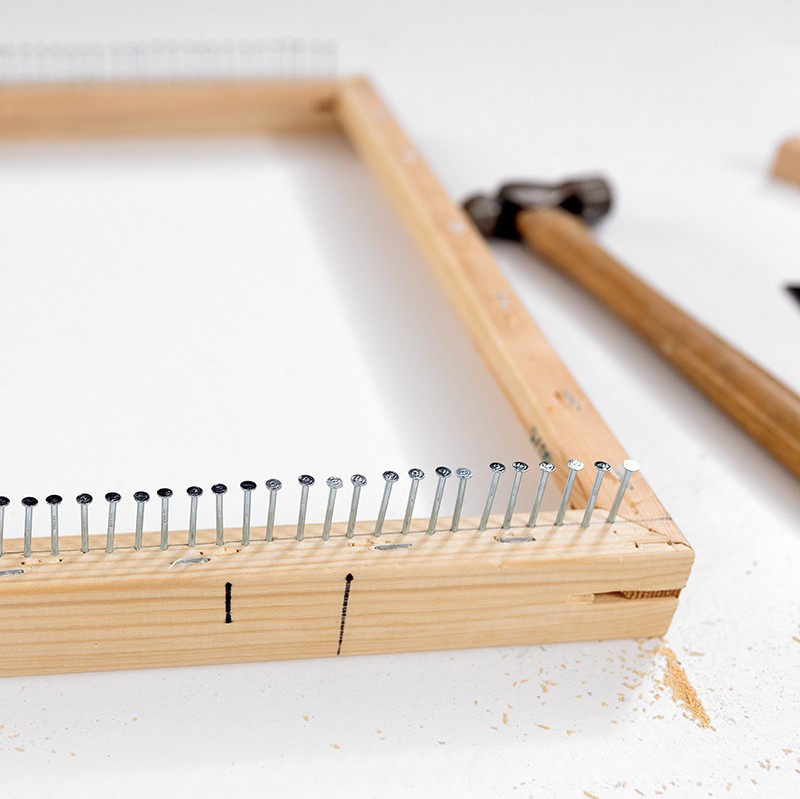
Now it’s a case of adding something to space out and secure each warp thread on your loom. You could cut out notches yourself. But I think the simplest way is to add DIY pegs to your frame using nails.
In the past, I’ve used screws, which worked well. But I think nails are the best option – they are easier to attach, and will probably be a bit more compatible with your warp thread. By which I mean less likely to cut them!
Ok let's look at this step-by-step process in detail:
Step 1.
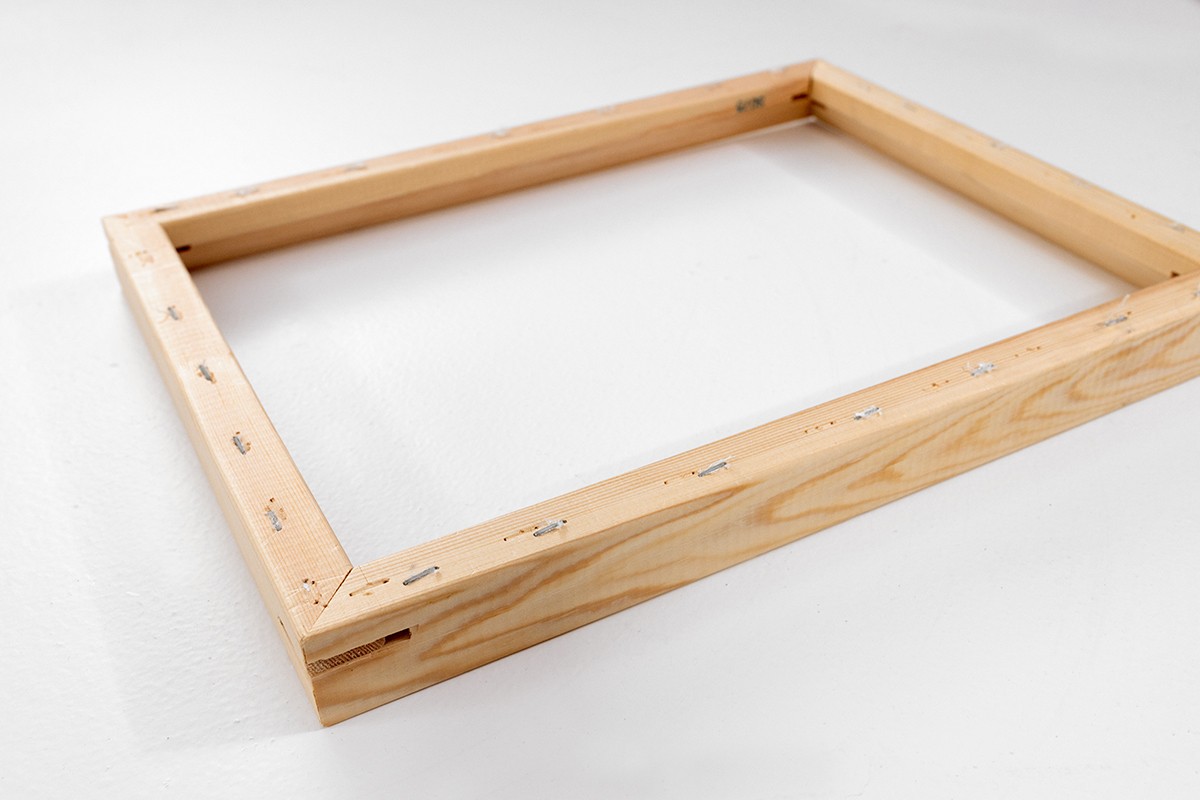
I began this process by ripping the canvas off the frame. This was actually quite tricky. I ended up needing to use a knife to prise the canvas away from the staples around the edge.
Next, I removed some of the staples, which had come a bit lose, using a staple remover (you could also use pliers or a screwdriver).
But for the rest of the staples, which were firmly in place, I just made sure they were snug against the wood so they wouldn’t snag any threads later on (I tapped them down with a hammer to be sure).
Step 2.
Hold your frame on the portrait.
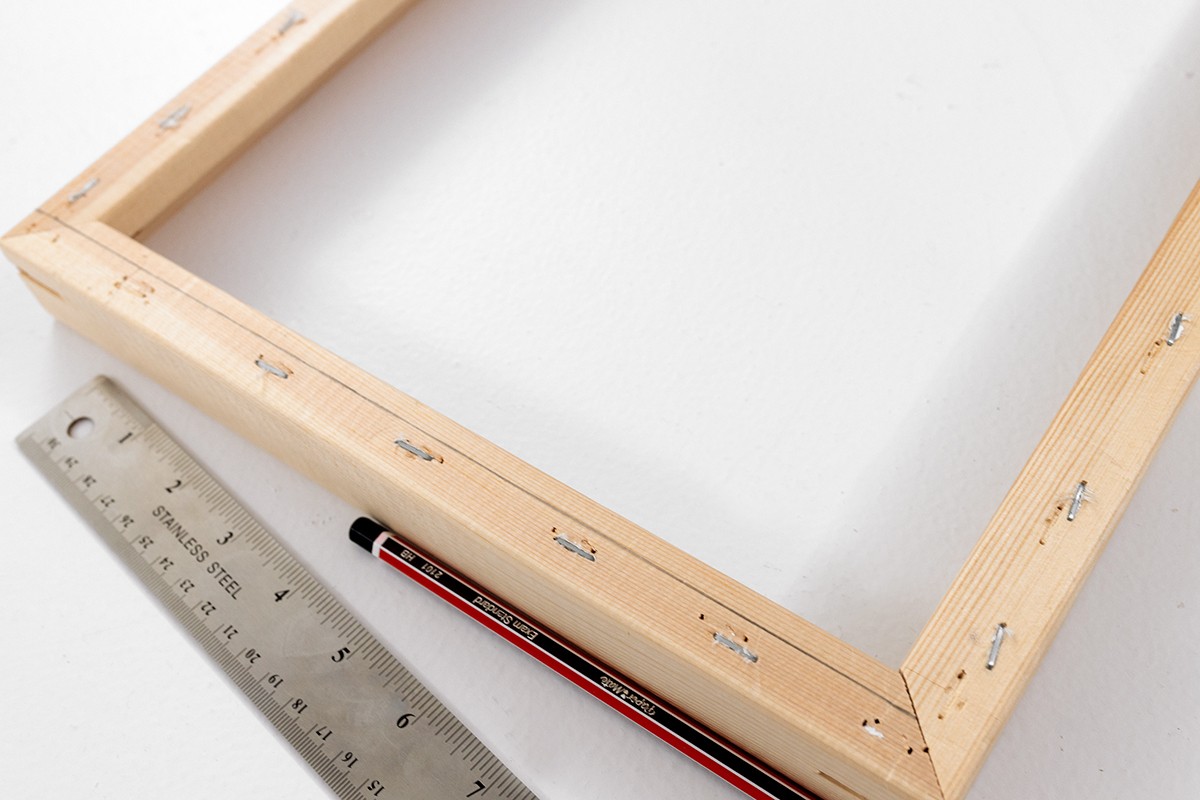
Lightly draw a line in pencil across the top and bottom of your loom, along the midsection of the frame. Ideally, this would be in the middle, but I had to move my line towards the inside edge to avoid the staples.
Step 3.
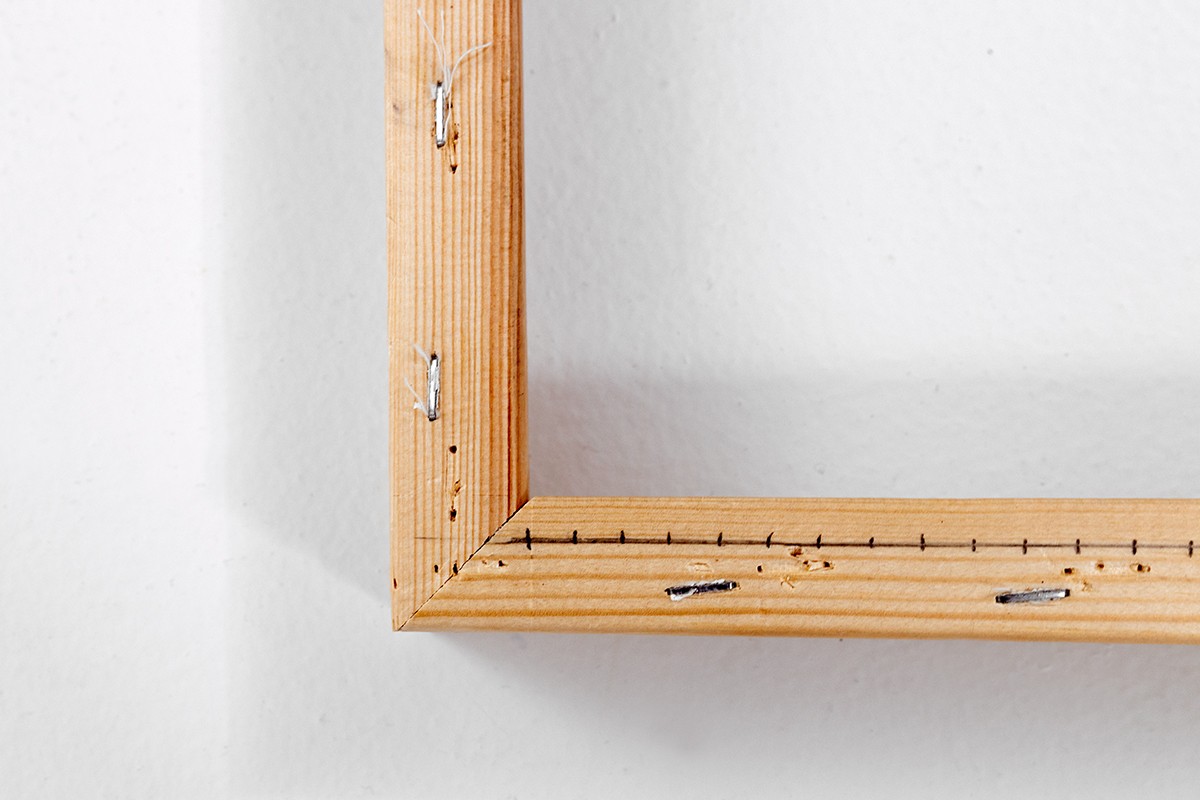
Now let’s measure out where the nails will go. Starting on the bottom left inner corner, make a mark on the pre-drawn line.
Step 4.
Next, mark along the line every 8mm, until you get to the corresponding spot on the right-hand side. This gives you enough marks to add about 32 nails along the bottom of the frame.
Step 5.
Now repeat this step to get the same amount of marks on the top side of the five frame.
Ideally, your marks will line up parallel to each other, but don’t stress if they don’t. When you’re doing such tiny measurements by hand, it’s natural that you’ll end up with a bit of discrepancy.
Step 6.
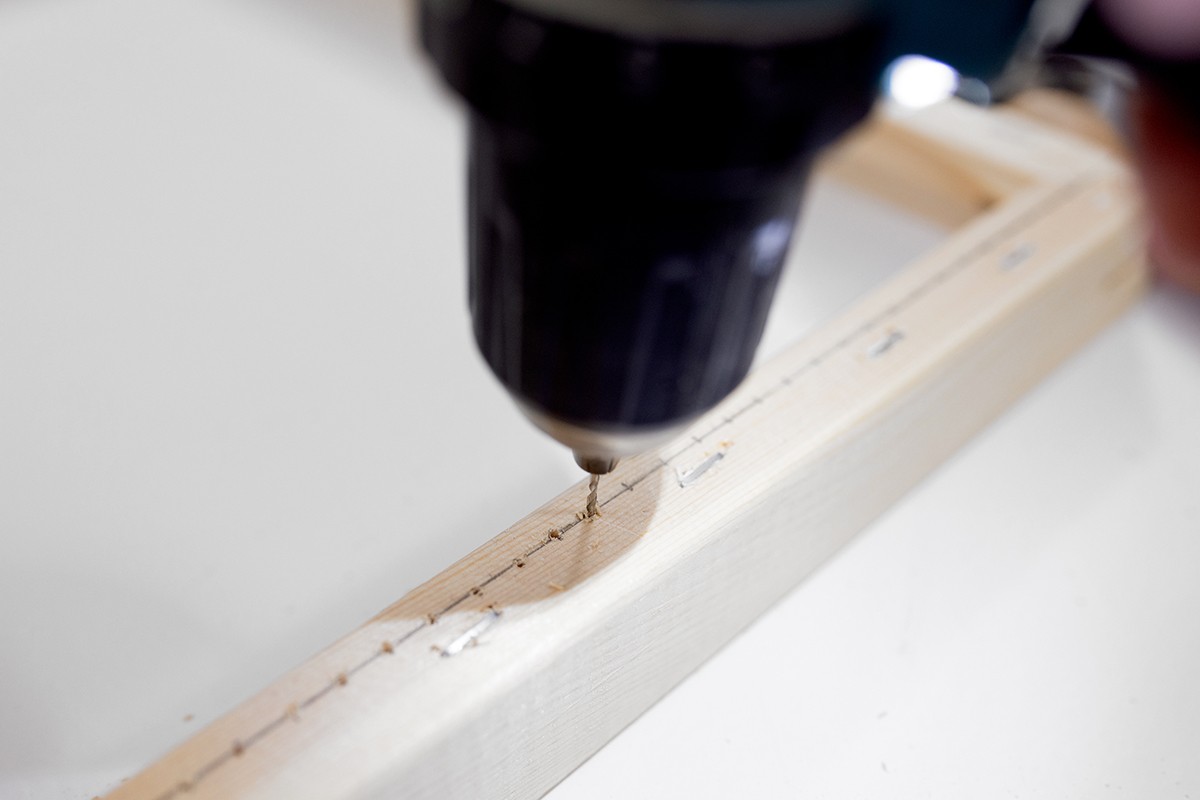
This is an optional (but recommended!) step: pre-drill the holes where each nail will go.
I find this means the nails stick in better, and there’s less chance of splitting the wood as you build up the row of nails.
I would definitely add this step if you can get your hands on a power drill (and who wouldn’t want to use one? My inner child was so excited to have an excuse to use a power drill!).
Step 7.
Ok, now it’s time to add your nails to each mark (or pre-drilled hole).
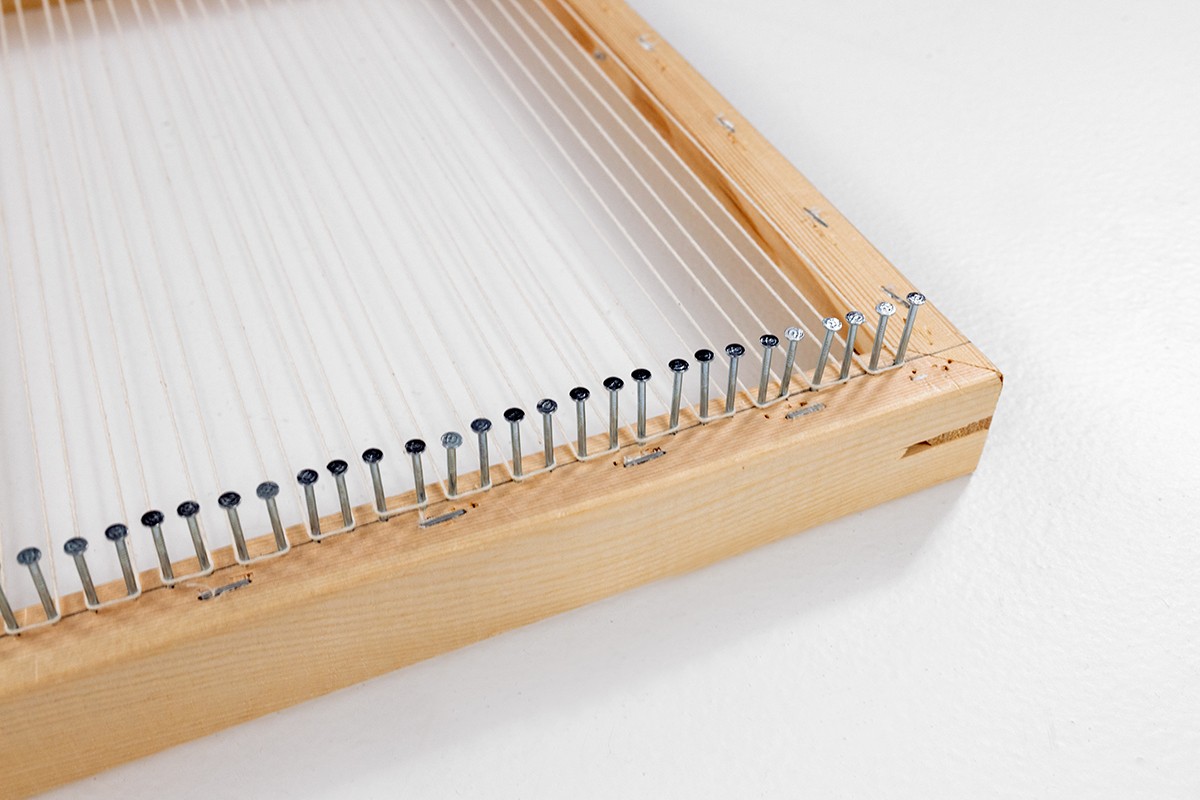
The trick here is to go easy – tap in each nail about 8mm deep. Try to be consistent with the angle of each nail along the row, so that they stand up as straight as possible.
And that’s all there is to it, my friend. You now have your own wonderful DIY Frame Loom!
Top Tips for Warping Your Loom
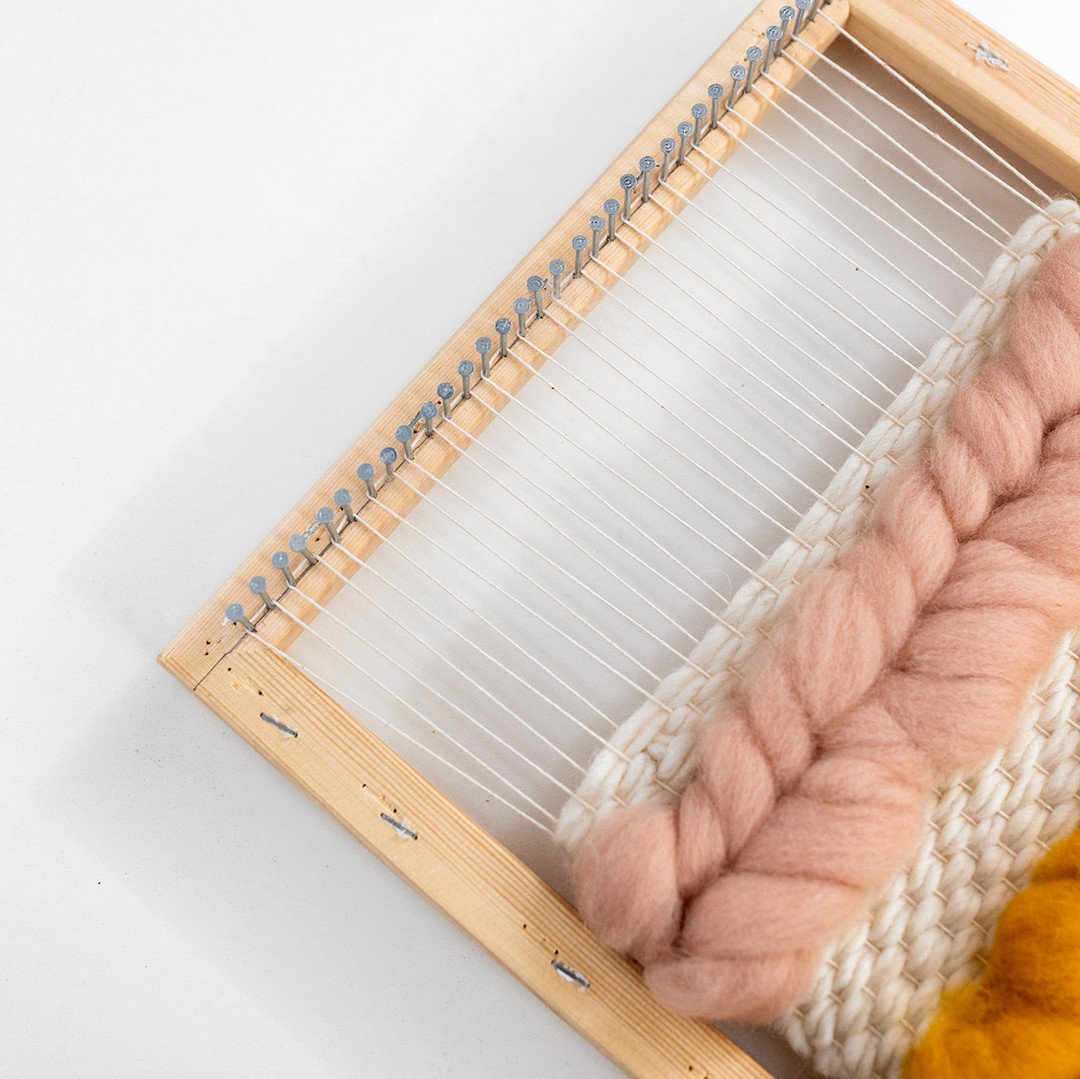
You can warp your DIY Frame Loom in the same way you would for a bought loom, by following the 'S' pattern of the nails.
Just bear in mind that you will have to adjust this process to suit the frame you are working with.
If you're a beginner, I recommend you warp around pairs of nails so that you end up with a low density style warp.
You can check out my tutorial on how to warp your loom in a low density style here. Or for a high density style, this tutorial here is the one to follow.
Cardboard mini loom
A cardboard mini loom is a great option if you want to keep costs down and use up supplies from home, plus have flexibility in terms of different loom sizes.
I would also recommend these cardboard mini looms if you have children that are interested in weaving.
These looms are much smaller than regular looms, so it takes much less time and patience weave a wall hanging to life.
I’ve previously taught a workshop on how to make cardboard mini looms, and I was super impressed with the number of people's children who created their own mini wall hangings from them.
Plus, they would have been super stoked to hang these creations up in their bedrooms.

You will need:
-
Cardboard: you’ll need some sturdy, unbent cardboard. I used some from a standard delivery carton. Here are the exact dimensions I used for my loom, which is made out of three pieces. You don’t have to follow this exact method if you want to make it a bit bigger or smaller:
-
The main part is 27cm x 16cm
-
The 2x struts are each 16cm x 3cm
-
So all up - I used a piece of cardboard about 33cm x 16cm
-
Glue: This is for attaching the struts of the loom. I used a glue stick, or you can try any quick dry glue or double-sided tape
-
Ruler
-
Pen
-
Sharp scissors
Step 1.
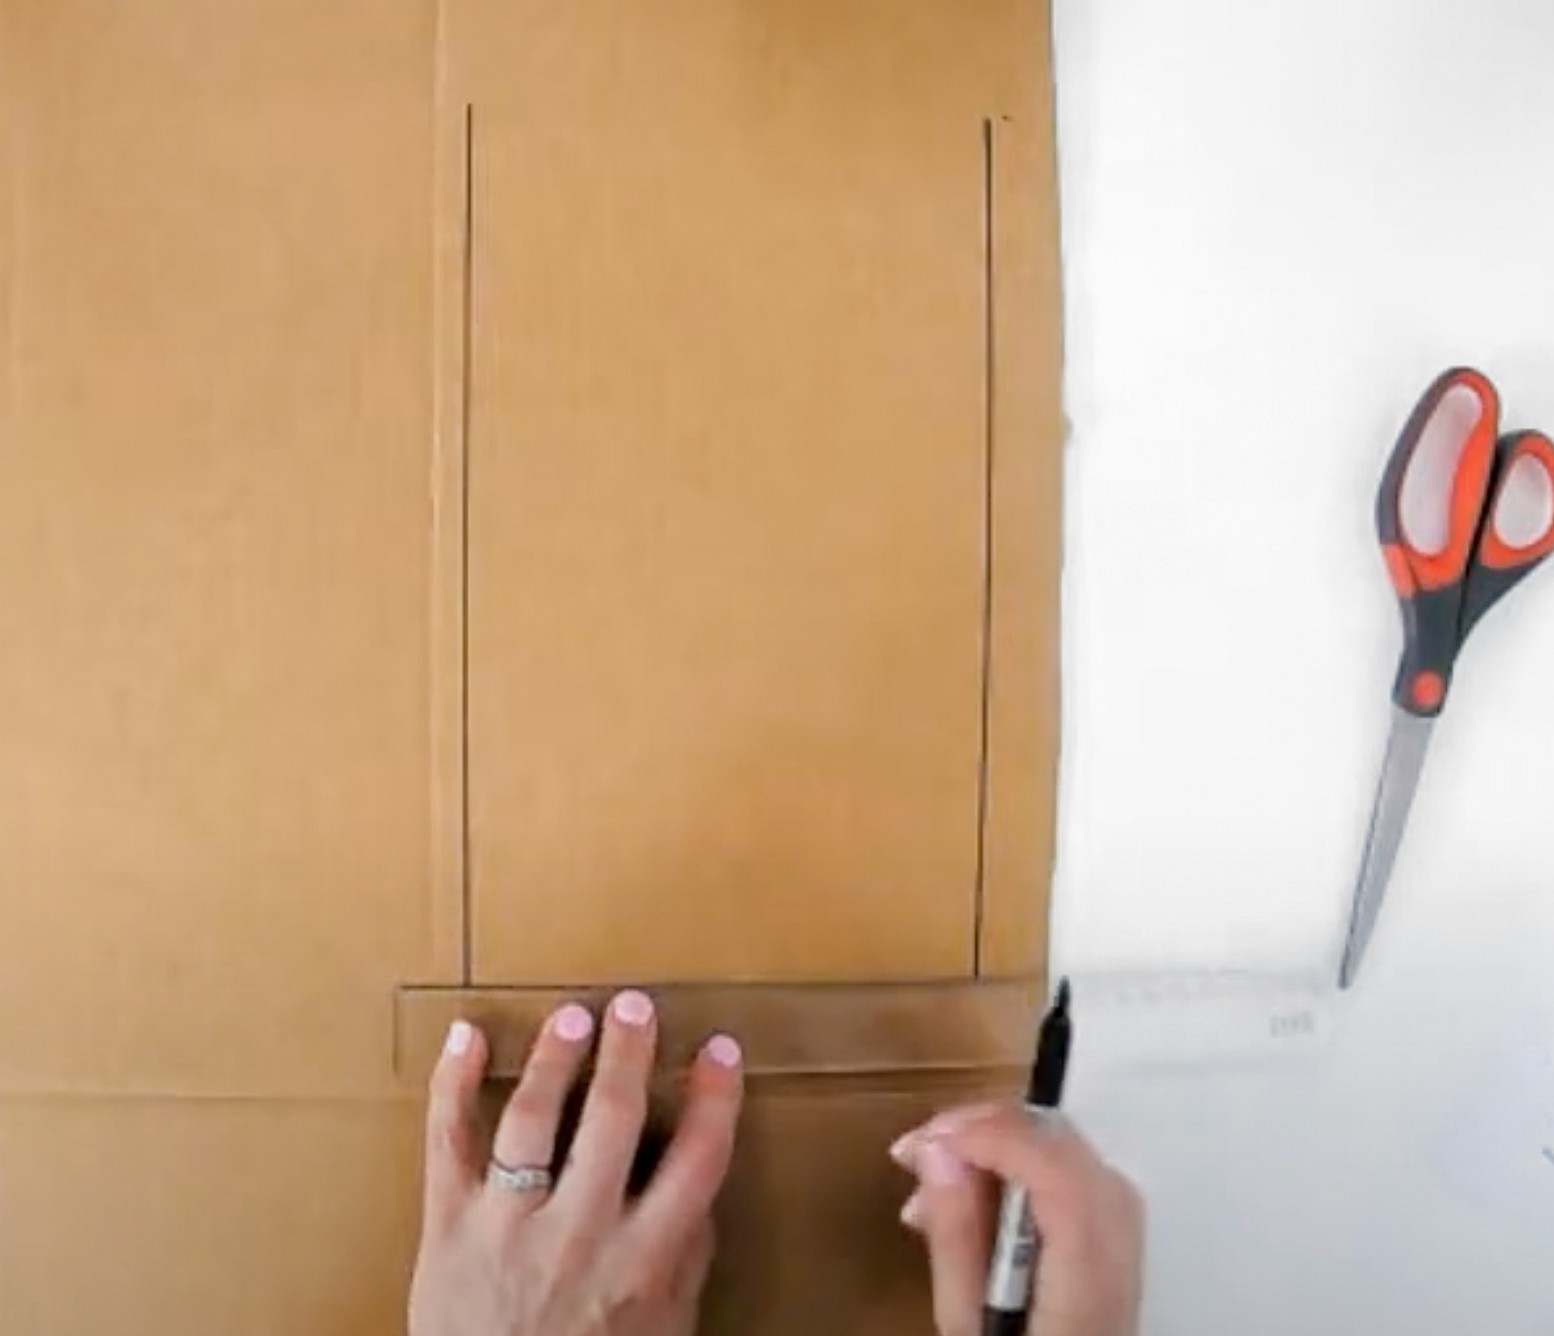
Measure up a piece of cardboard approx 16cm wide x 20cm long. This shape forms the basis of our loom.
To get the most accurate measurements, I measure every angle and then check if all the angles match up and are correct before I cut out the shape. But don’t worry too much if the lines are a little bit wonky, this will still do the job just fine!
Tip: Make sure the grain of the card is going in the same direction that your warp threads will be heading (lengthways). This means there’s less chance of your cardboard mini loom bending as you weave on it.
Step 2.
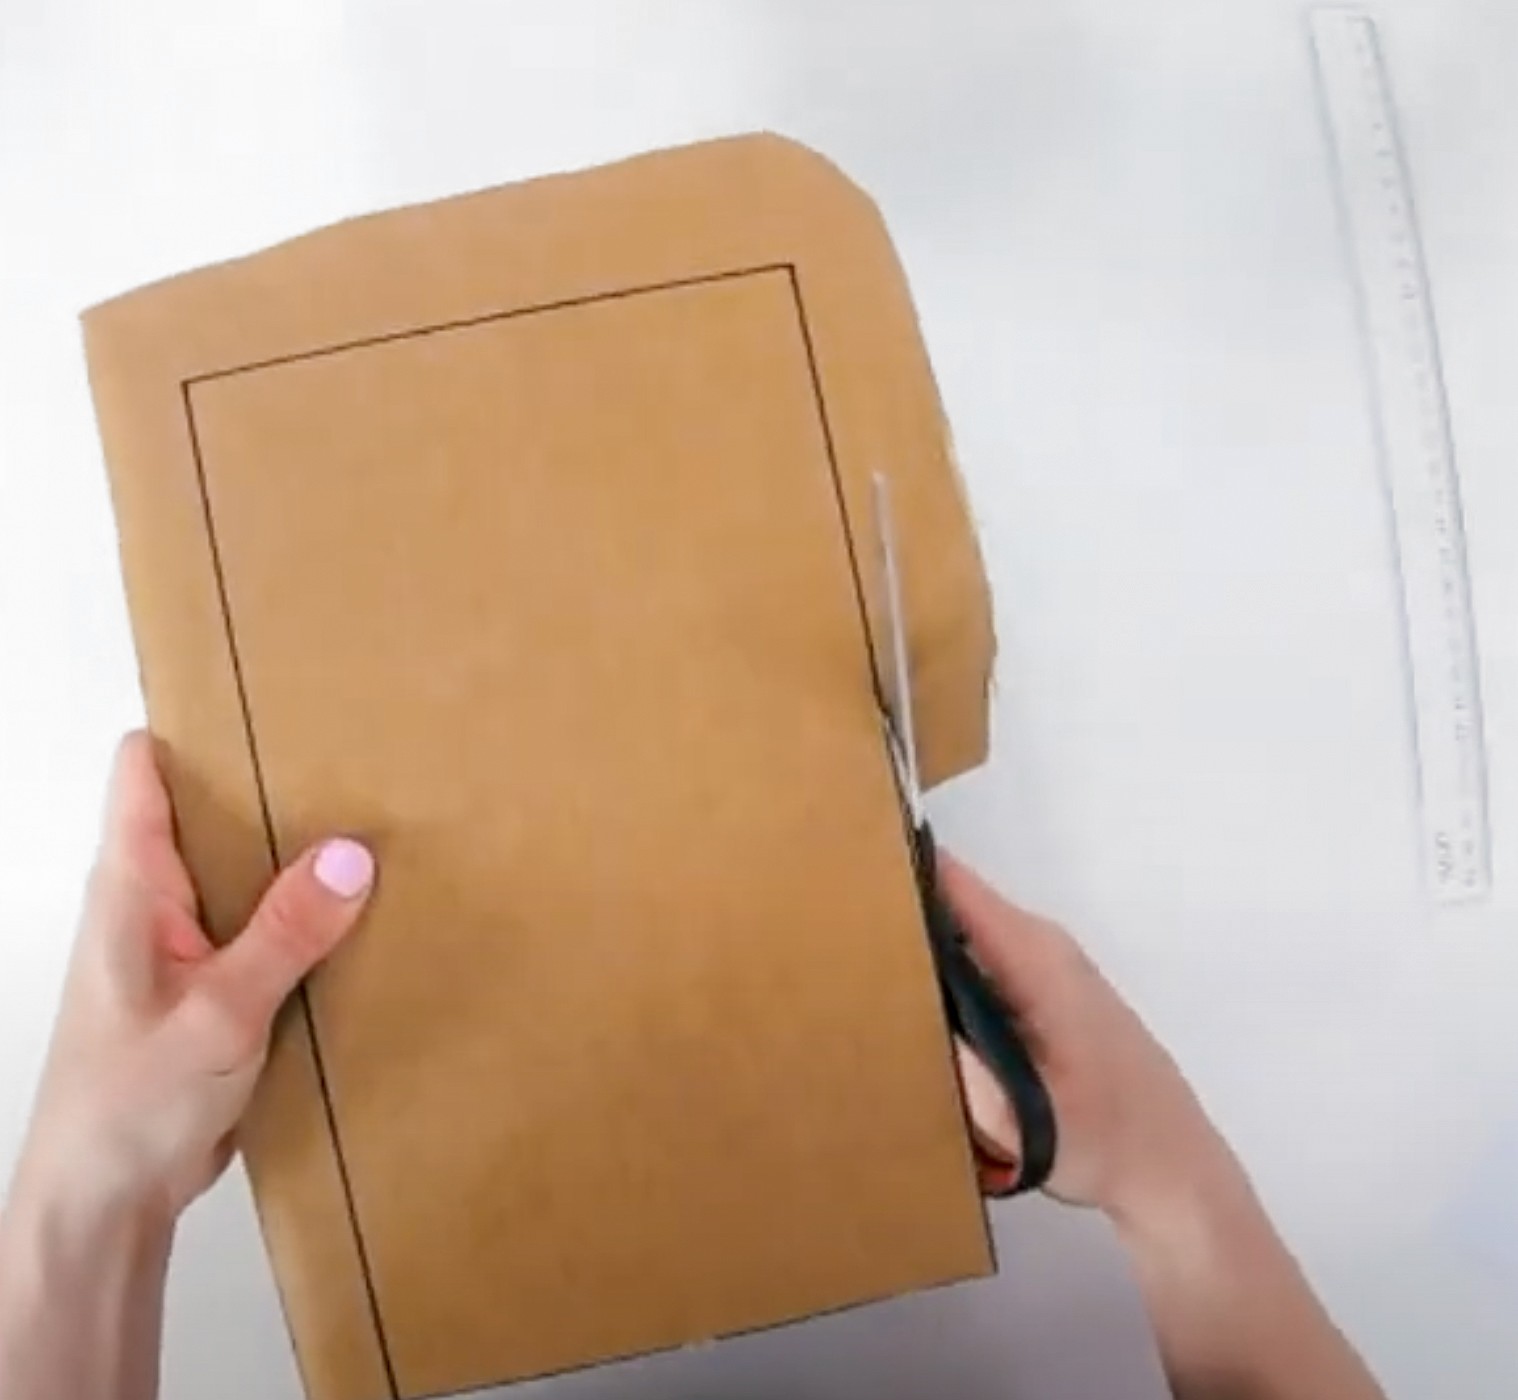
Cut out this shape. To make it easier for my scissors to get into these tight areas, I often bend back the card that I’m chopping off as I go along.
Tip: You might find it easier to chop around the loom shape and discard the left-over cardboard now. Because it’s easier to cut out this shape if you're not wrestling with a big piece.
Step 3.
So now it’s time to cut out the struts!
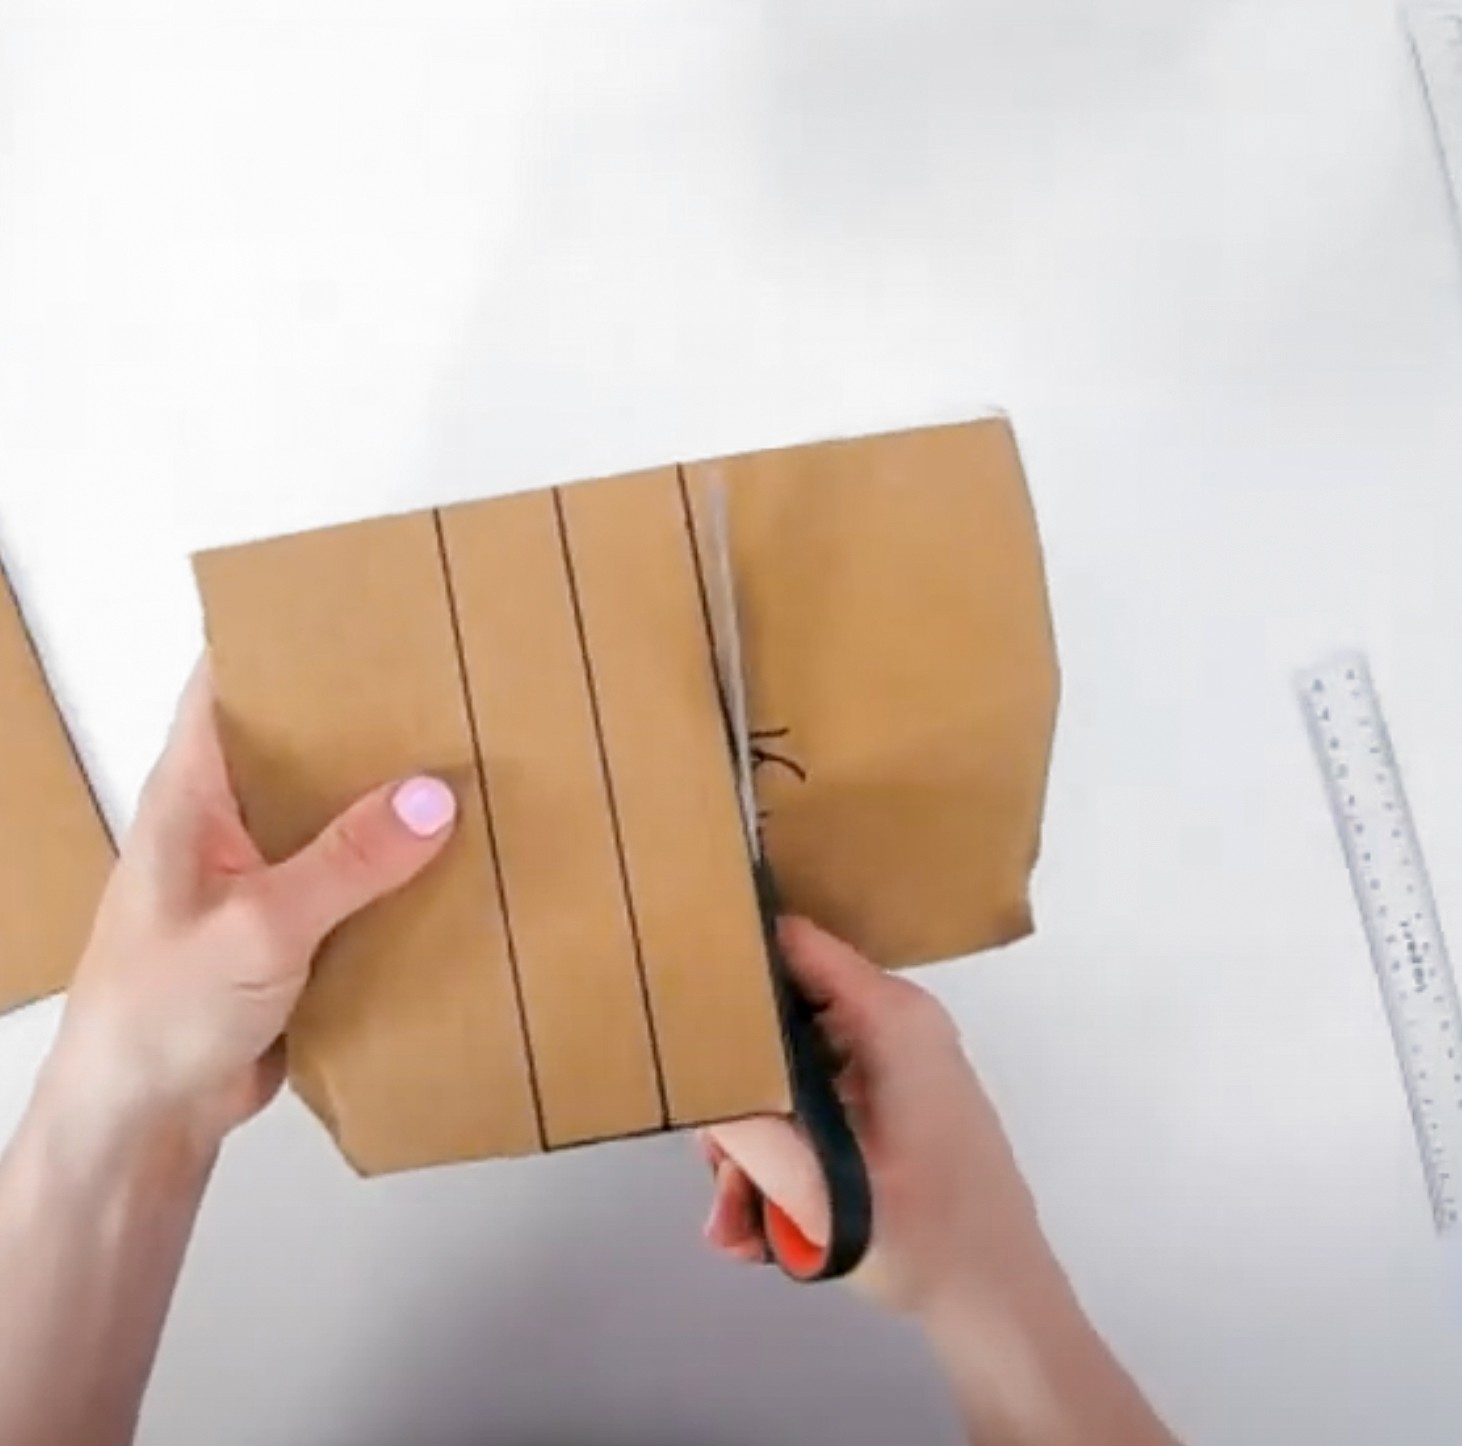
To do this, measure out two pieces of card about 16cm wide x 3cm long. Then cut these shapes out and put them to the side.
Tip: You could line these shapes up next to each other, and this will save some effort when it comes to measuring and cutting these out (as a mum with young children, any time saved is a win in my book!).
Step 4.
It’s notch time baby.
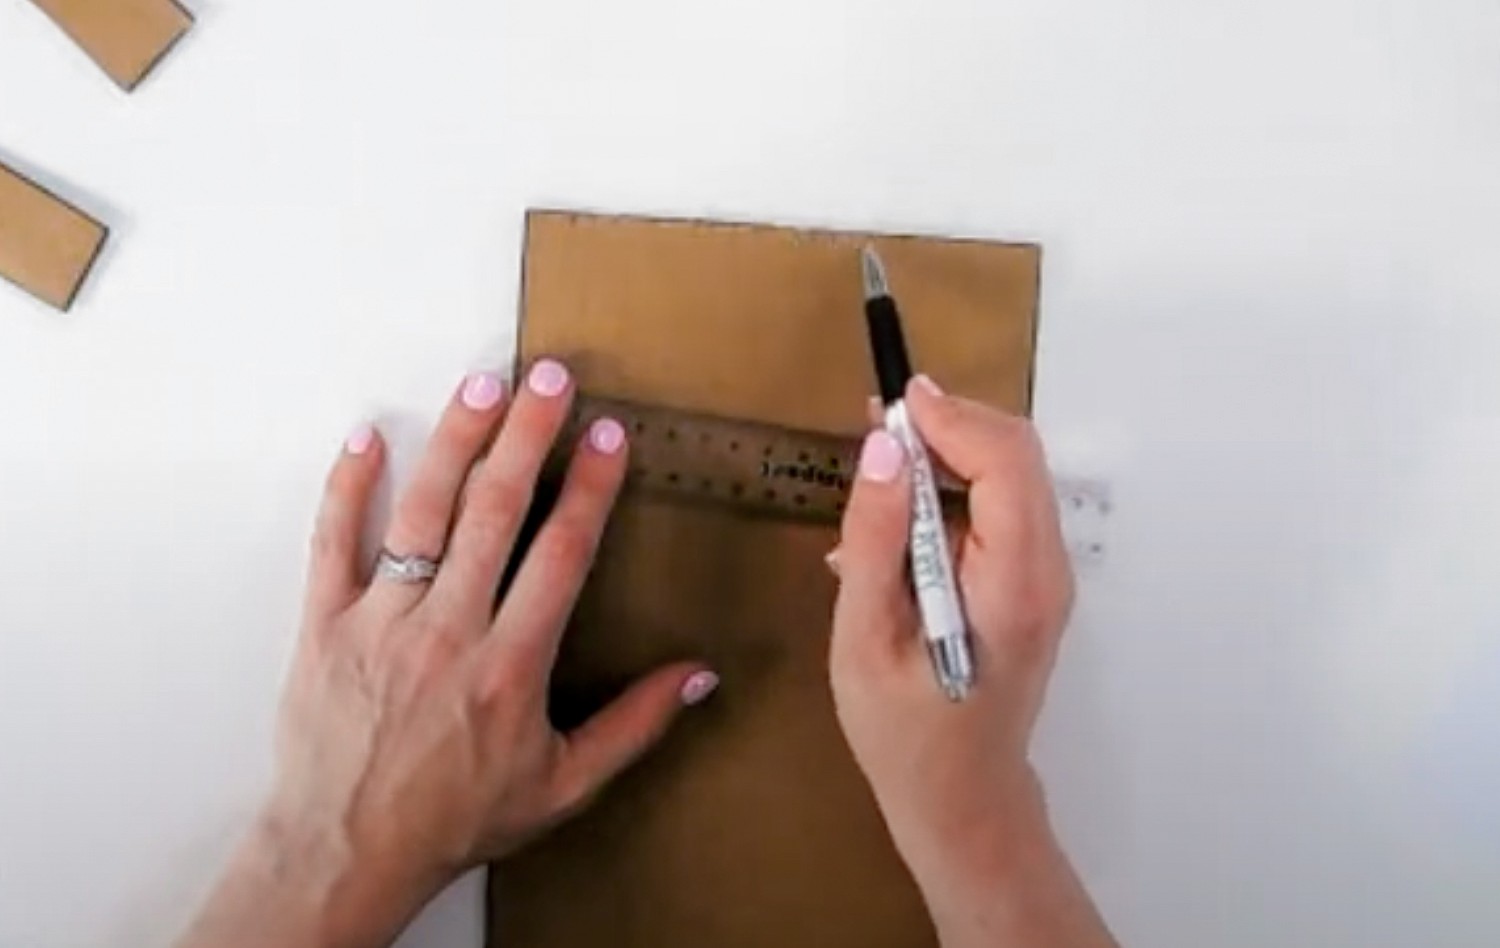
Starting at the top left of your loom, mark a line around 15mm from the corner (this translates to roughly ½ an inch for my American friends).
Then mark out the rest of the lines every 6mm (or ¼ of an inch) across the top width of the loom from the first point.
To do this, you can just move the ruler along every 6mm, or if you’re good at maths (which I am not) then you should be able to continually add up 6mm and rule along these points.
Once you’re finished, you should end up with 22 lines across the top of your loom. But if you end up with more or fewer lines then do not worry - that is totally fine!
You can actually also warp up this loom at different intervals too. The only thing you need to do is make sure the number of notches at the top and bottom of your loom match, so you can warp your loom.
Repeat this same process along the bottom of your loom.
Step 5.
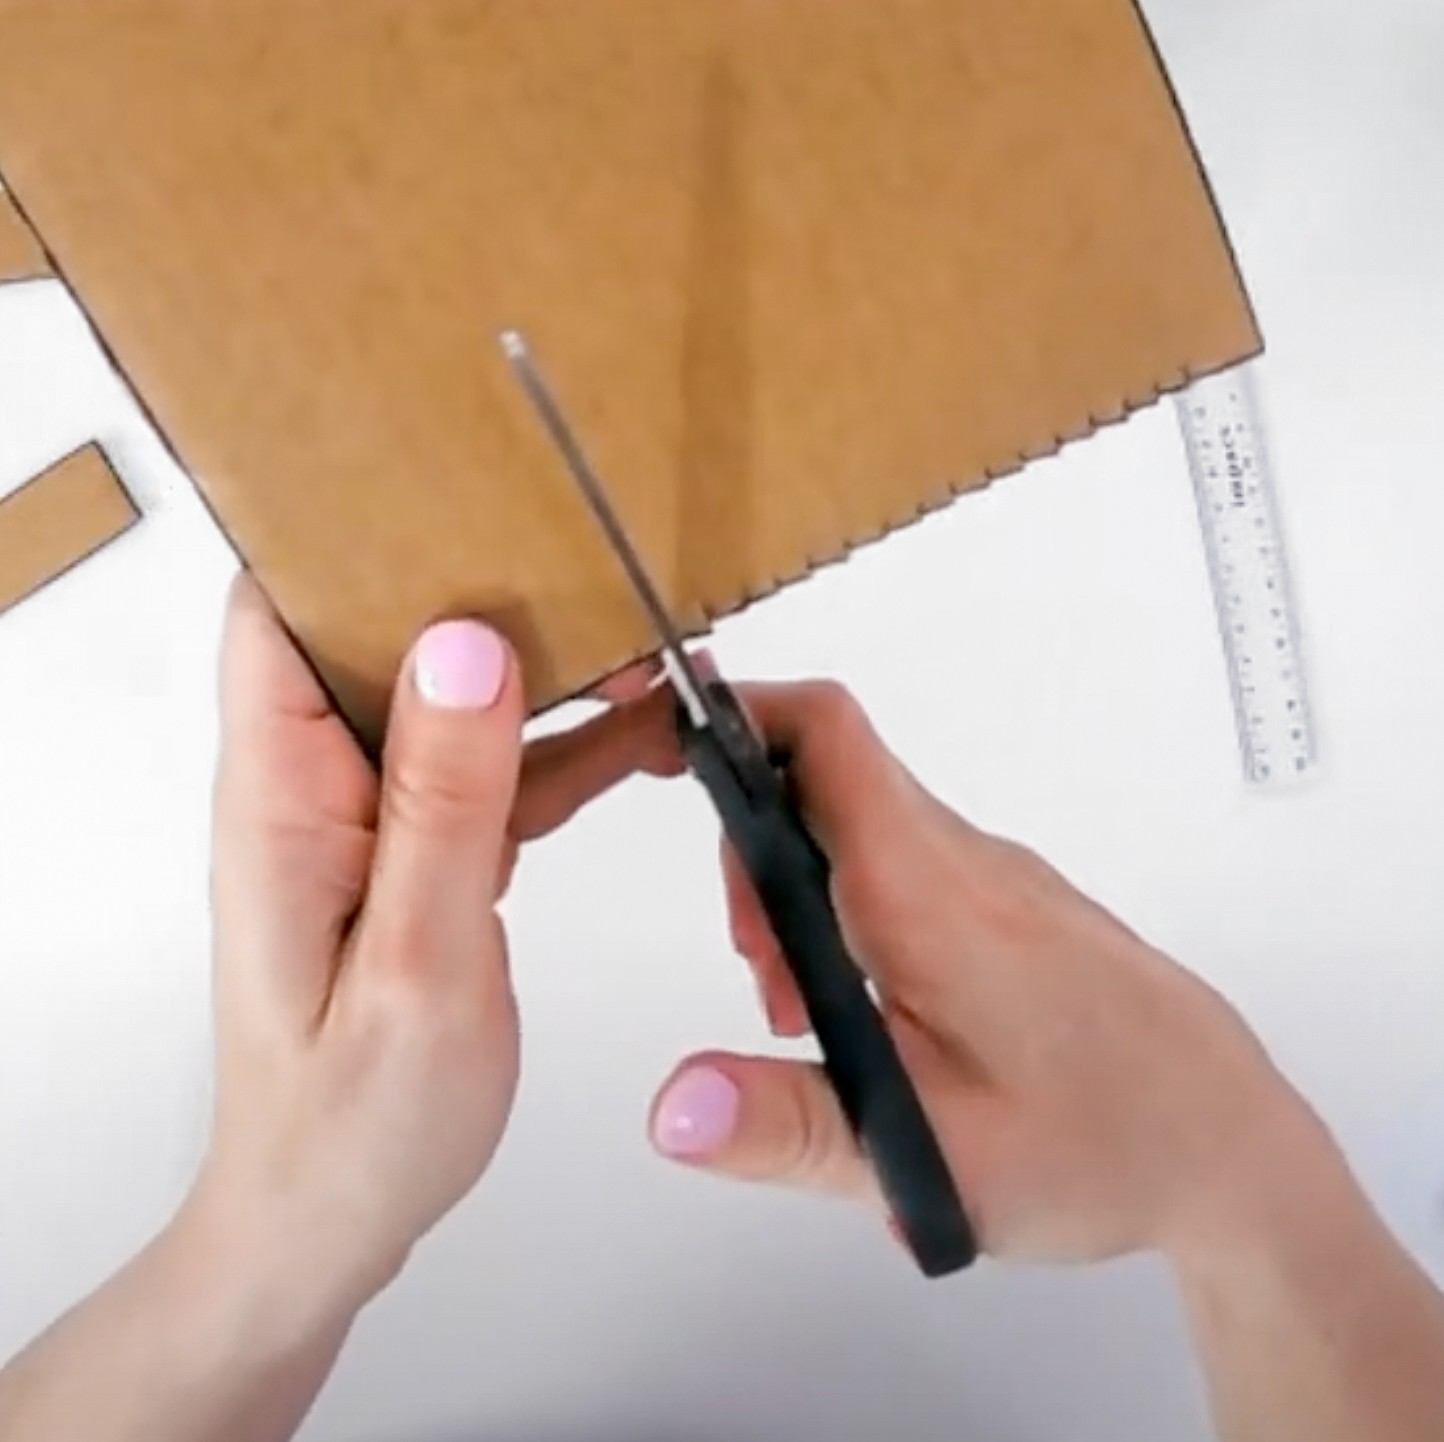
Now we are going to create the notches. So I just get my scissors and cut in the measured lines around 7mm long right across the width of the loom. I find that using the point where the scissor's blades meet is the best way to cut these lines.
Then repeat this step on the bottom of the loom too.
Step 6.
It’s time to glue on the struts!
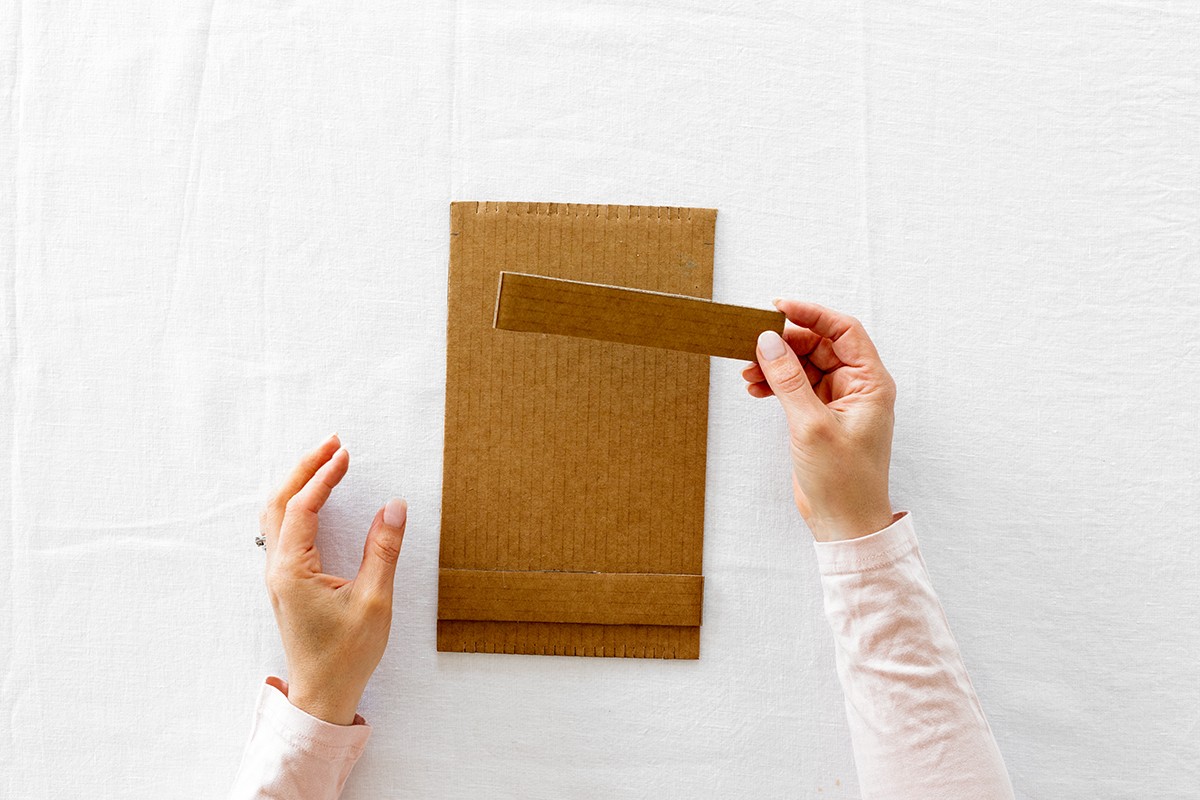
So, measure a line that’s about 2cm down from the top of the loom. Then measure a line that’s 2cm up from the bottom of the loom. These lines are where the struts are going to sit.
Pop-out your glue and apply a heavy coat across the back of your struts. I usually just use a glue stick for this, but you could use double-sided tape or quick-dry glue if you’d prefer. Glue Stick glue doesn’t dry straight away, but this is totally fine.
Then place these struts along the edge of the lines you have drawn. If you find that these struts are popping up a bit after you’ve stuck them down, then you can always put a book on top to weigh them down while they dry.
Step 7.
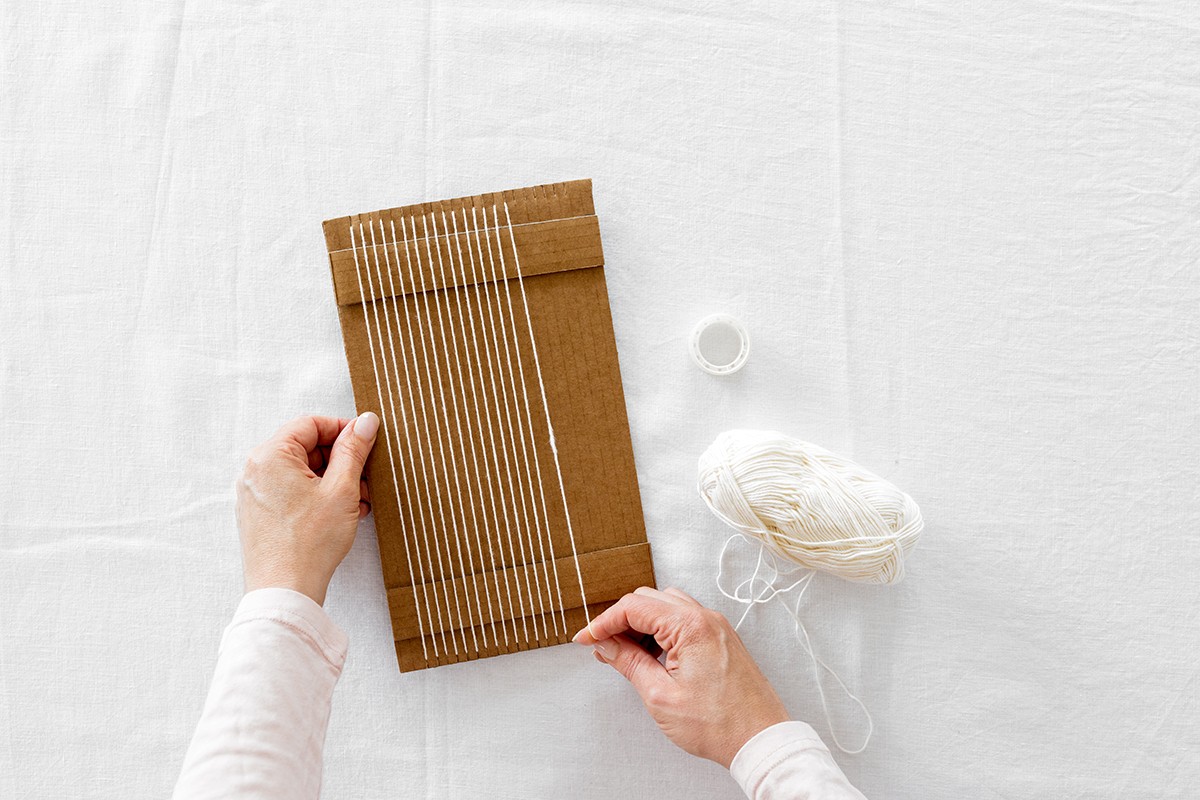
Wait until your glue is touch dry (this should take around 5 minutes), and now you have your own Cardboard Mini Loom! You can warp it up and start weaving, how fun!

Conclusion
So there you have it, my method for making an easy DIY Frame Loom and DIY Cardboard Mini Loom. These looms are perfect if you want to make something with your hands and try out weaving before investing in a store-bought loom.
For stores to buy your supplies from, you can check out your local craft store or a weaving supply store. Many online retailers also offer a great selection
If you liked this blog, you might also like my other blog, What Beginner Weaving Supplies do you Need to Create your First Woven Wall Hanging?
So, what are you going to use as your frame for your first DIY Loom?
