





Easy Halloween Embroidery Ideas (No Sewing Machine Required!)
Introduction
Every year I tell myself I'll get organized for Halloween early, and every year I find myself doing something crafty at 10pm on the 30th of October. Anyone else?
So this year, let's actually get ahead of it! These are Halloween projects you can genuinely finish in an evening, with no sewing machine, no pattern drafting, and no tracing.
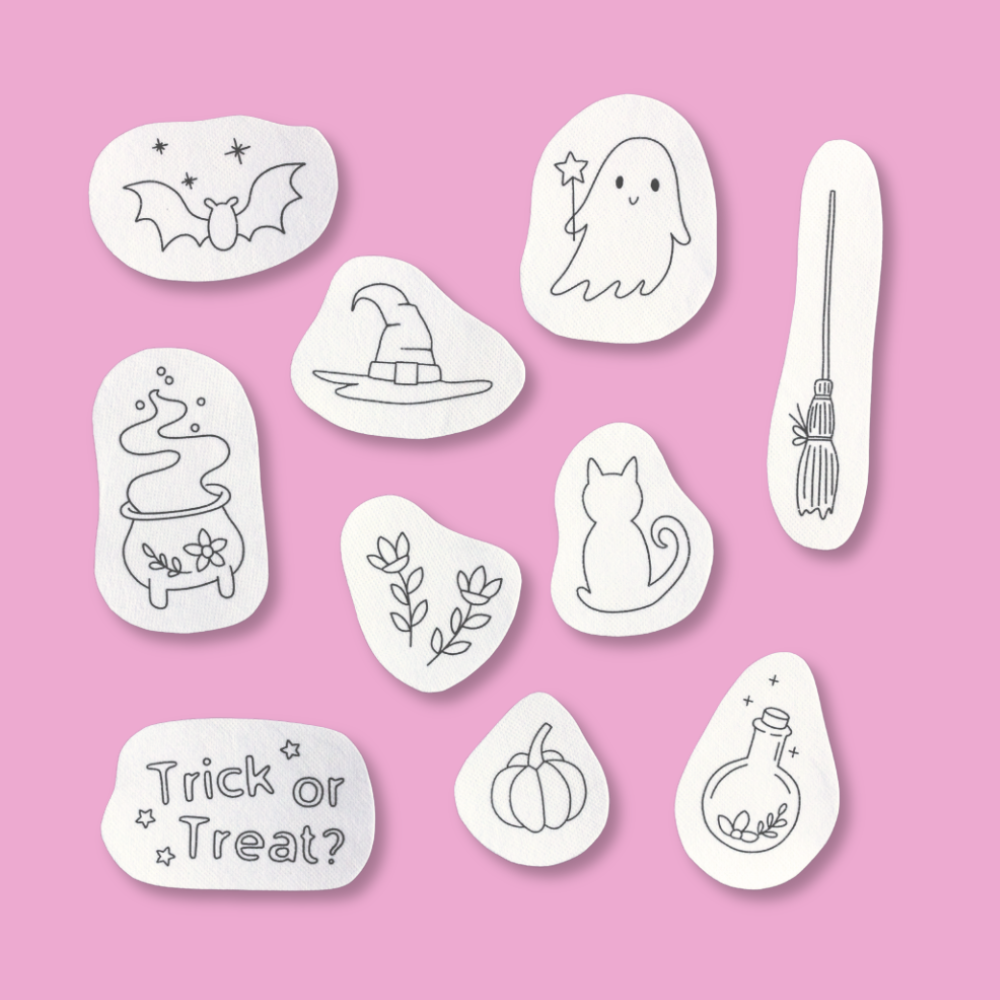
Our Halloween Magic wash away stickers come pre-printed, so you just peel, stick, stitch, and rinse the sticker away in water. The pack has 10 designs: a ghost, a witch's hat, a black cat, a cauldron, a witch's broom, a potion bottle, a bat, a pumpkin, some florals, and a "Trick or treat?" slogan.
This blog will cover:
-
Quick costume upgrades
-
Trick-or-treat bags
-
Halloween decor you'll reuse every year
-
Which stitches to use
-
Colors that work on dark fabric
Quick costume upgrades
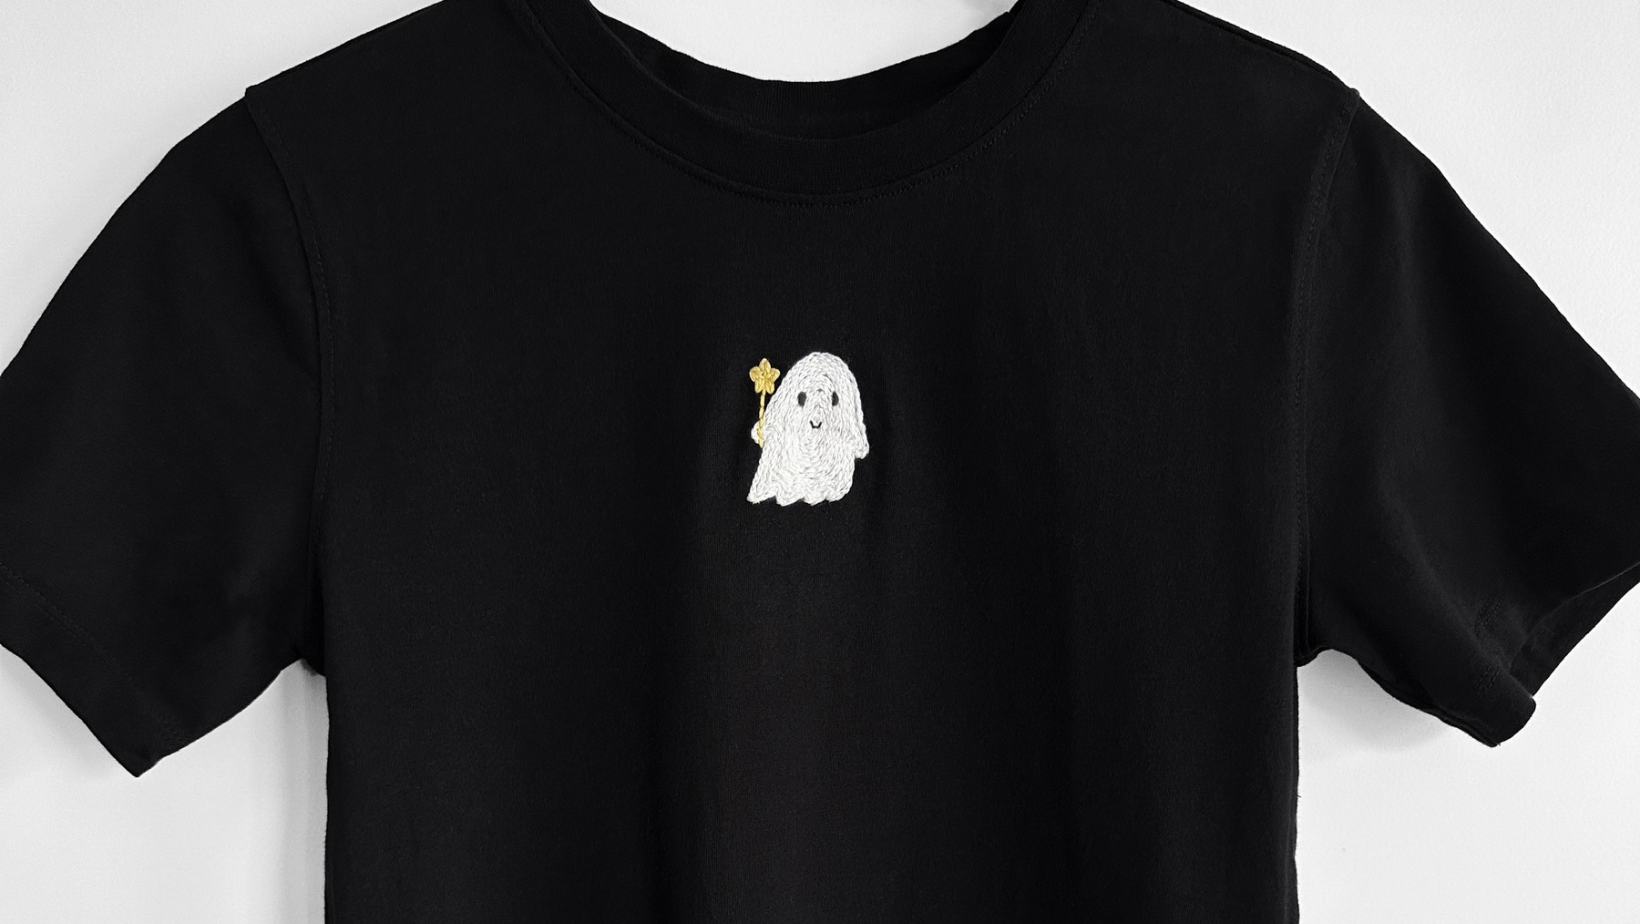
You don't need to make a costume from scratch. A plain black t-shirt or a thrifted dress plus one really good embroidered detail does a lot of work.
A witch's hat or a cauldron on a black t-shirt is an instant witchy vibe, no sewing pattern required.
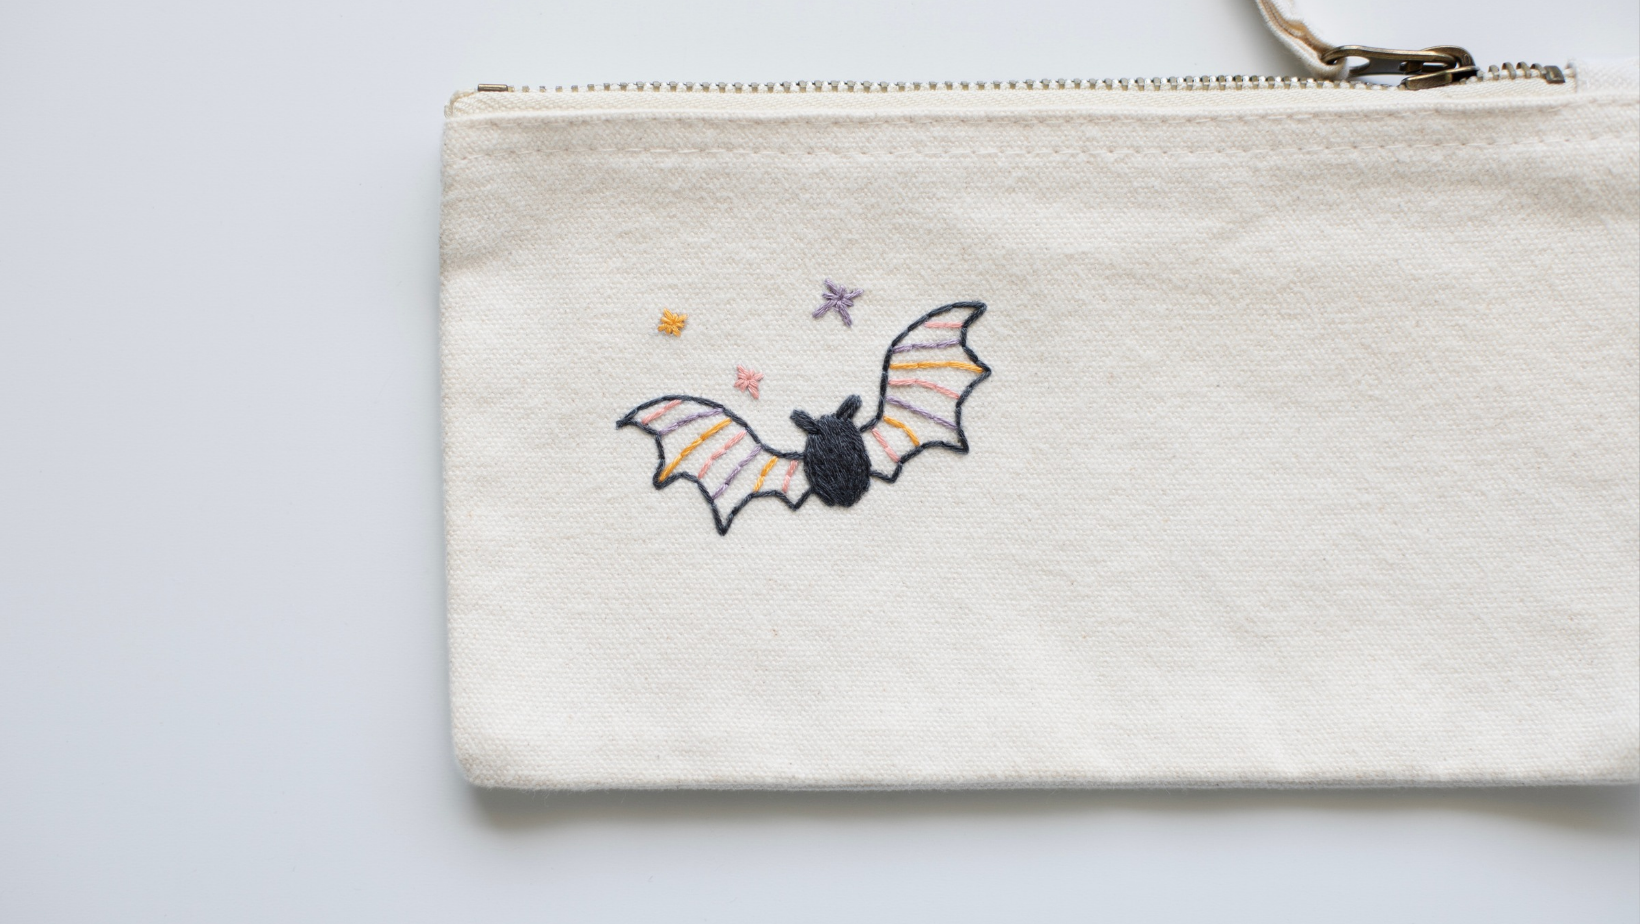
A bat across a shoulder or a pocket looks brilliant on denim, and it's subtle enough to wear all through October rather than just on the night.
A potion bottle on an apron or a tote is a lovely detail if you're going more "apothecary" than "witch".
The "Trick or treat?" slogan across the front of a t-shirt is the quickest costume in the world, and kids love it.
Trick-or-treat bags
This is my favorite one, because it lasts.
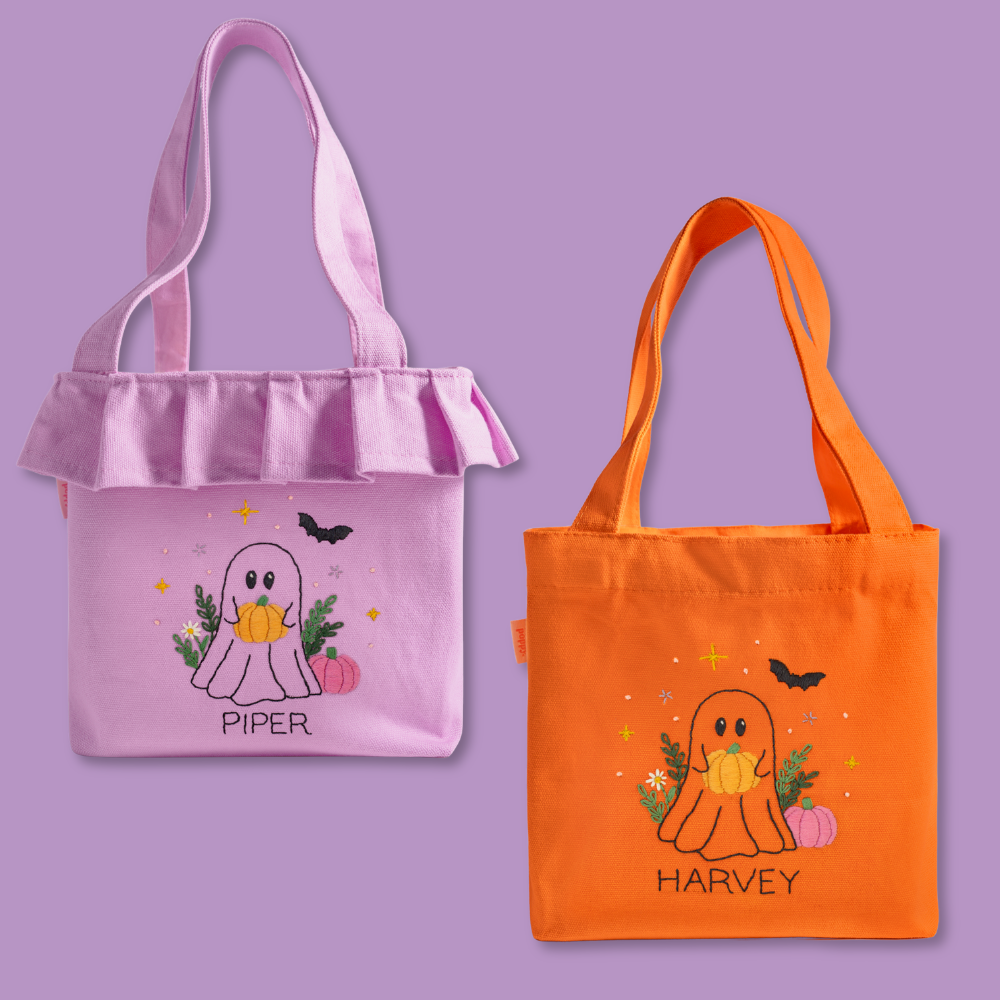
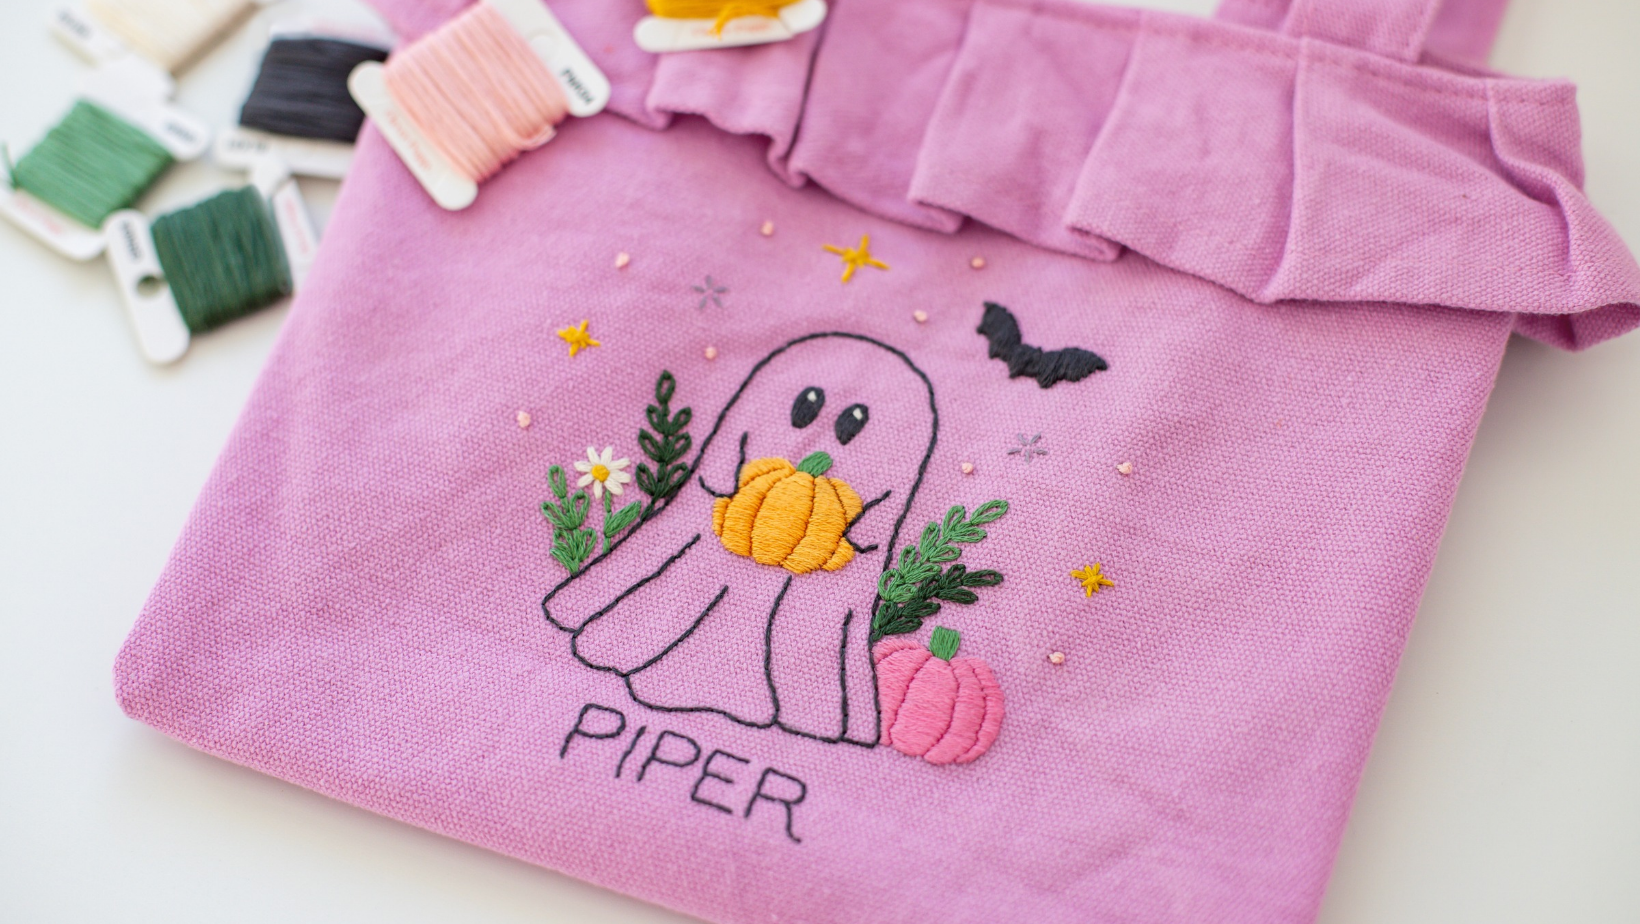
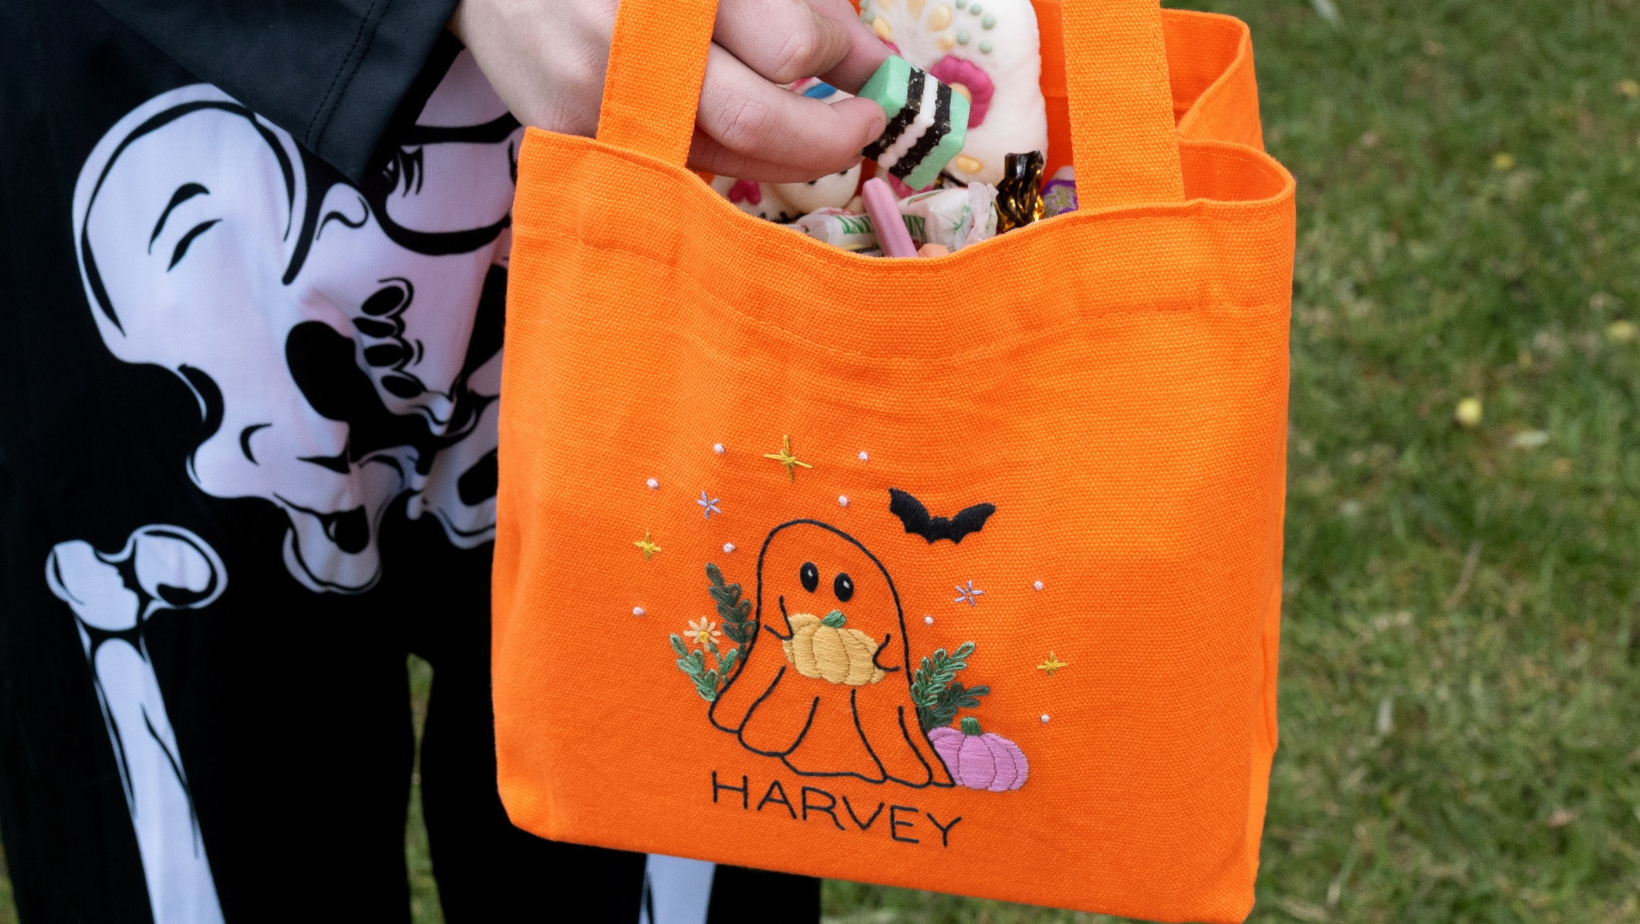
A plain canvas tote with a pumpkin, a ghost or a black cat on it becomes the Halloween bag – the one that comes out of the cupboard every year and gets more loved each time. It's sturdier than a plastic bucket, it holds more sweets, and it doesn't end up in a landfill in November.
If you're making one for a child, stitch their initial next to the design so there are no arguments about whose bag is whose.
If you'd rather have everything ready to go, our Personalized Trick-or-treat Bag Beginner Kit includes the bag, the Spooky Pumpkins design and alphabet templates for the name.
A tip: canvas is a lovely weight to stitch on, but it's thicker than a t-shirt. Use fewer strands of floss so your needle passes through easily.
Halloween decor you'll actually reuse
Tea towels: A pumpkin or a cauldron on a kitchen towel is a lovely bit of seasonal kitchen decor, and it's a gorgeous gift for a Halloween host.
Pillow covers: More surface area, more impact, and it takes a couple of minutes to swap them in and out each October.
A little bunting or hoop display: If you'd rather keep the design as art than put it on clothing, stitch it onto a piece of fabric and pop it straight into a hoop on the wall.
Kids' pyjamas: A ghost on the pocket of a pair of pyjamas is very sweet, and it doesn't need to come off after the 31st.
Which stitches should I use?
Each design is a blank canvas, so you pick the colors and the stitches. Here's where I'd start:
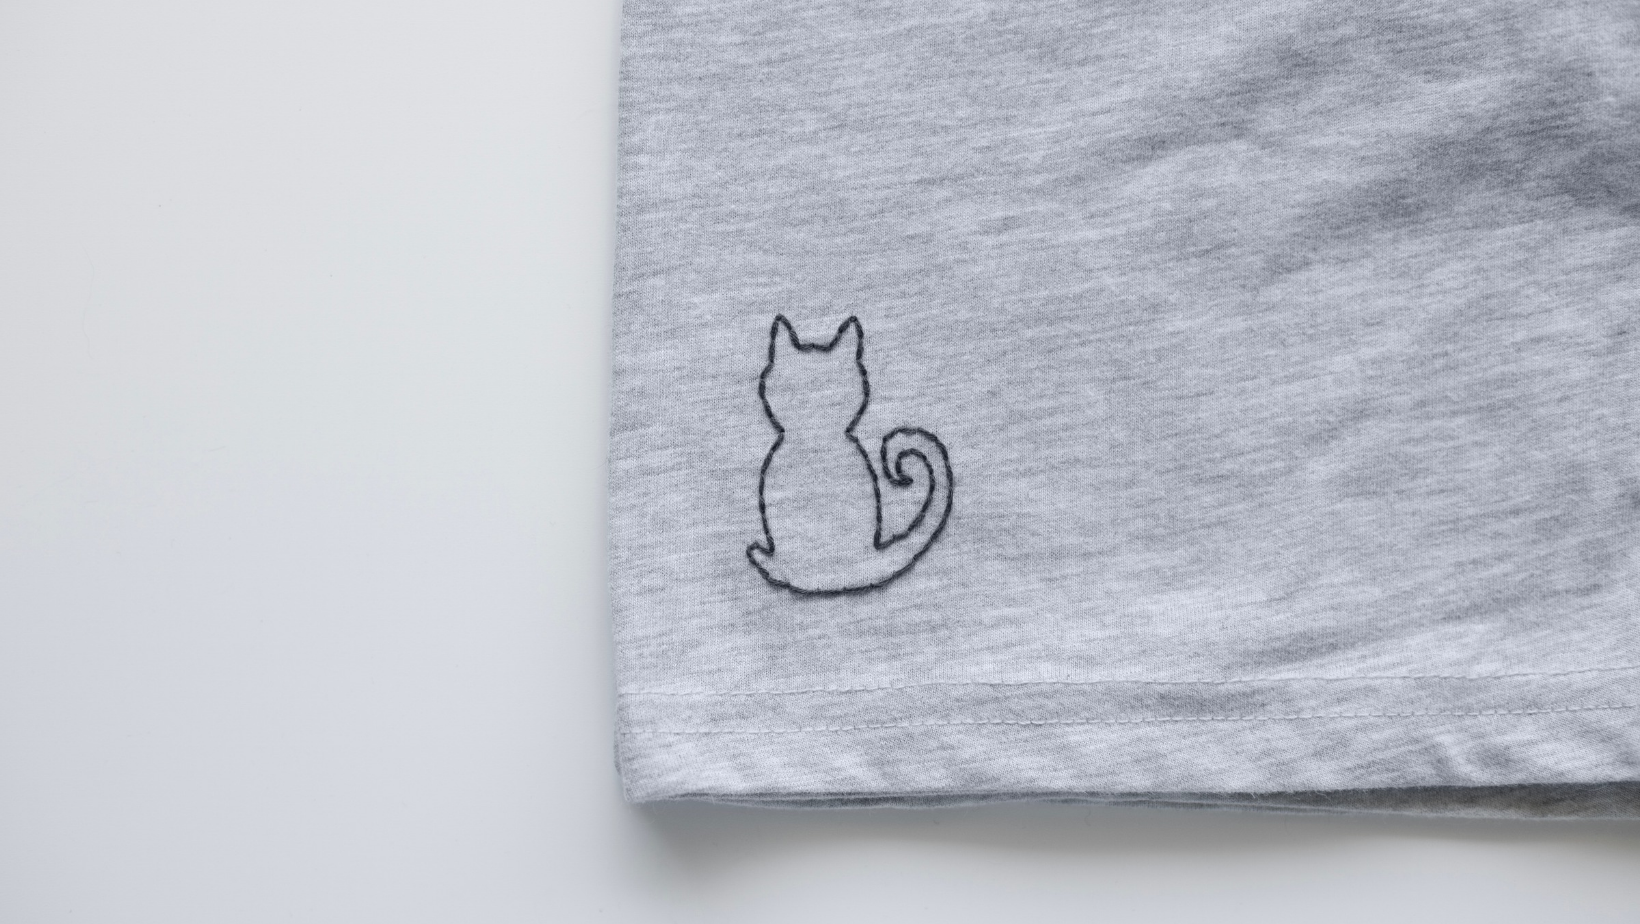
Back stitch for outlines – the bat, the broom, the "Trick or treat?" lettering. Solid, continuous and very forgiving.
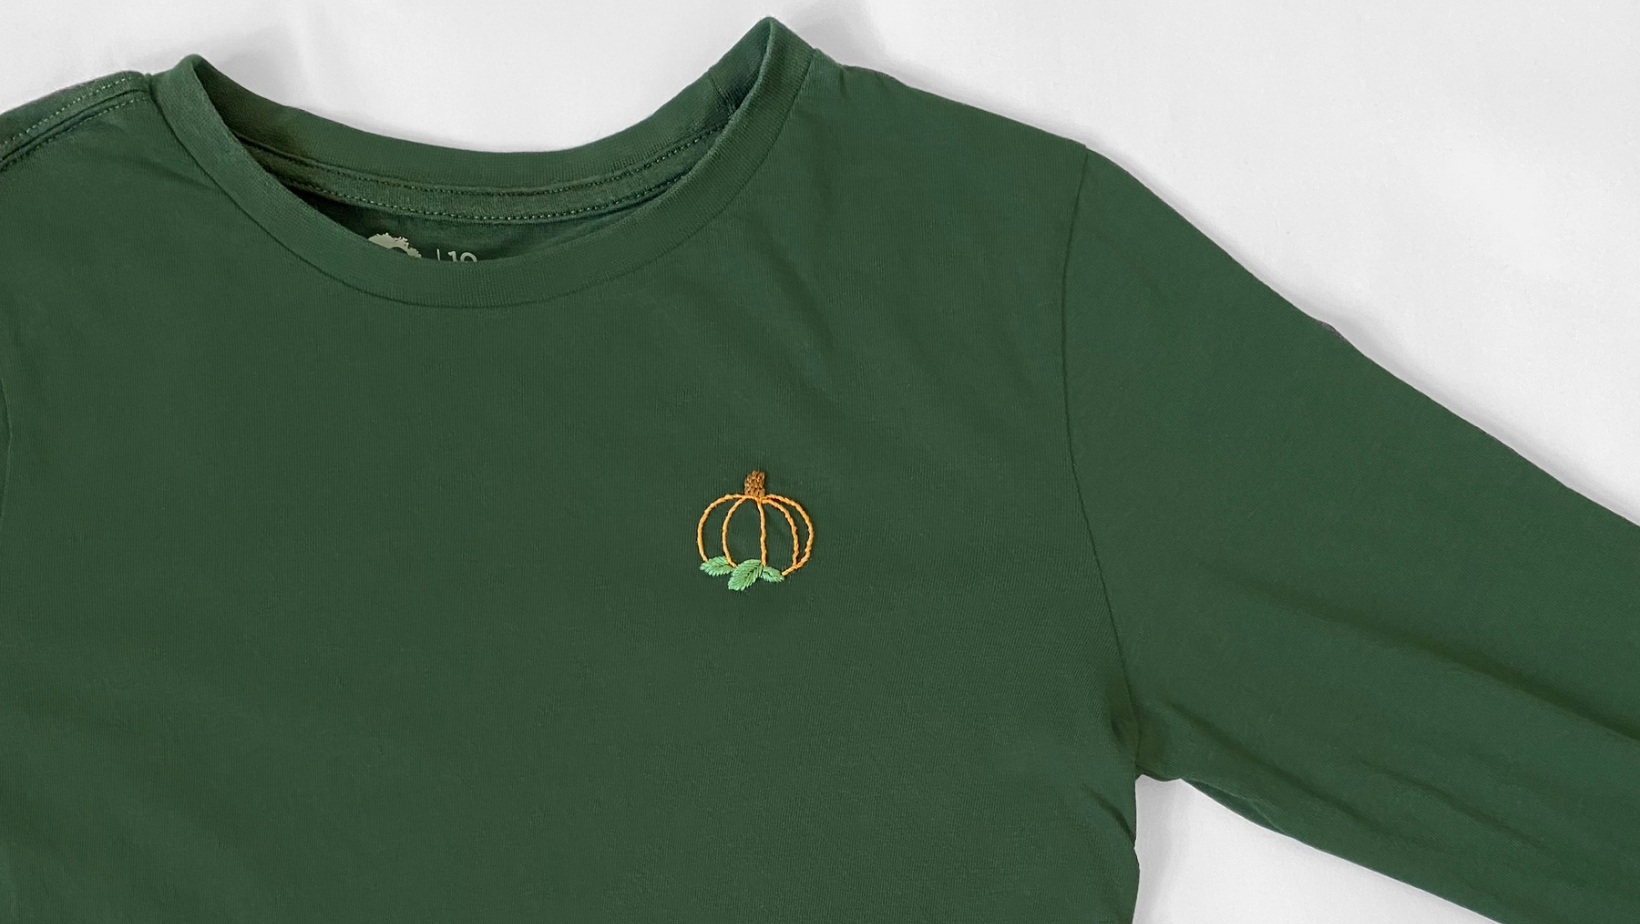
Satin stitch for filling small solid shapes. A pumpkin filled in with satin stitch looks fantastic, and so does a witch's hat.
French knots for bubbles rising out of the cauldron or the potion bottle. So satisfying, and they add a lovely bit of texture.
Straight stitch for whiskers on the black cat, and for little stars or sparkles around the potion bottle.
Turkey stitch if you're feeling brave – it creates a fluffy raised texture that is perfect for a black cat's tail.
Not sure which to use where? Our stitch guide matches every stitch to the shape it works best on.
Colors that work on dark fabric
Most Halloween projects end up on black, and there are a couple of things worth knowing.
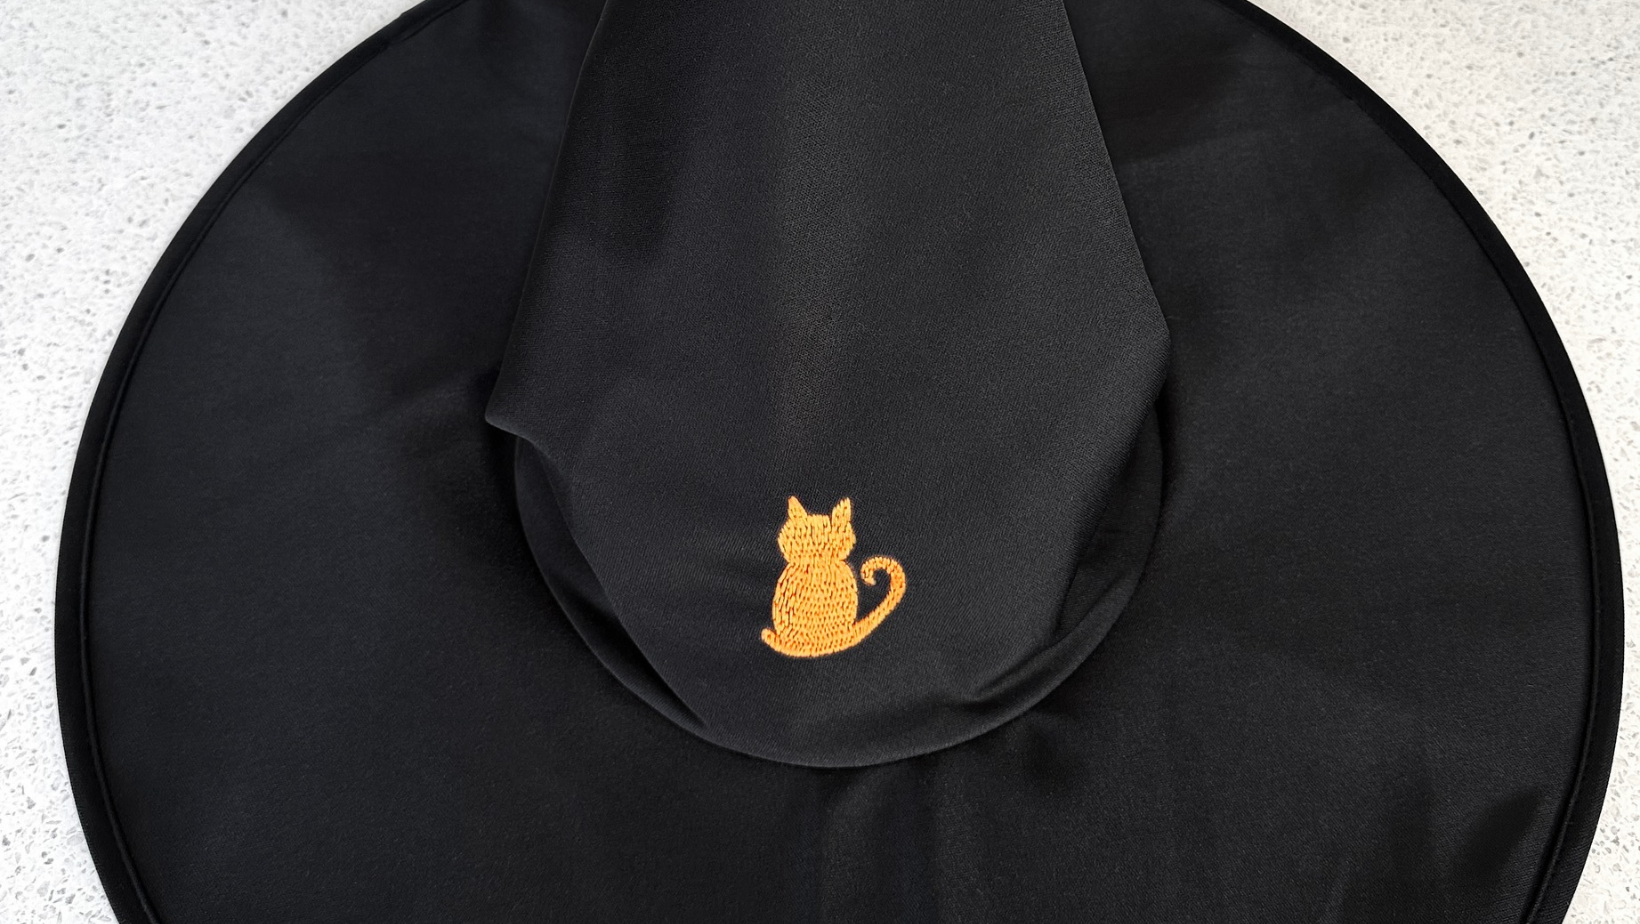
Go bright - Orange, bright green, purple and white all pop beautifully against black. Anything muted will disappear.
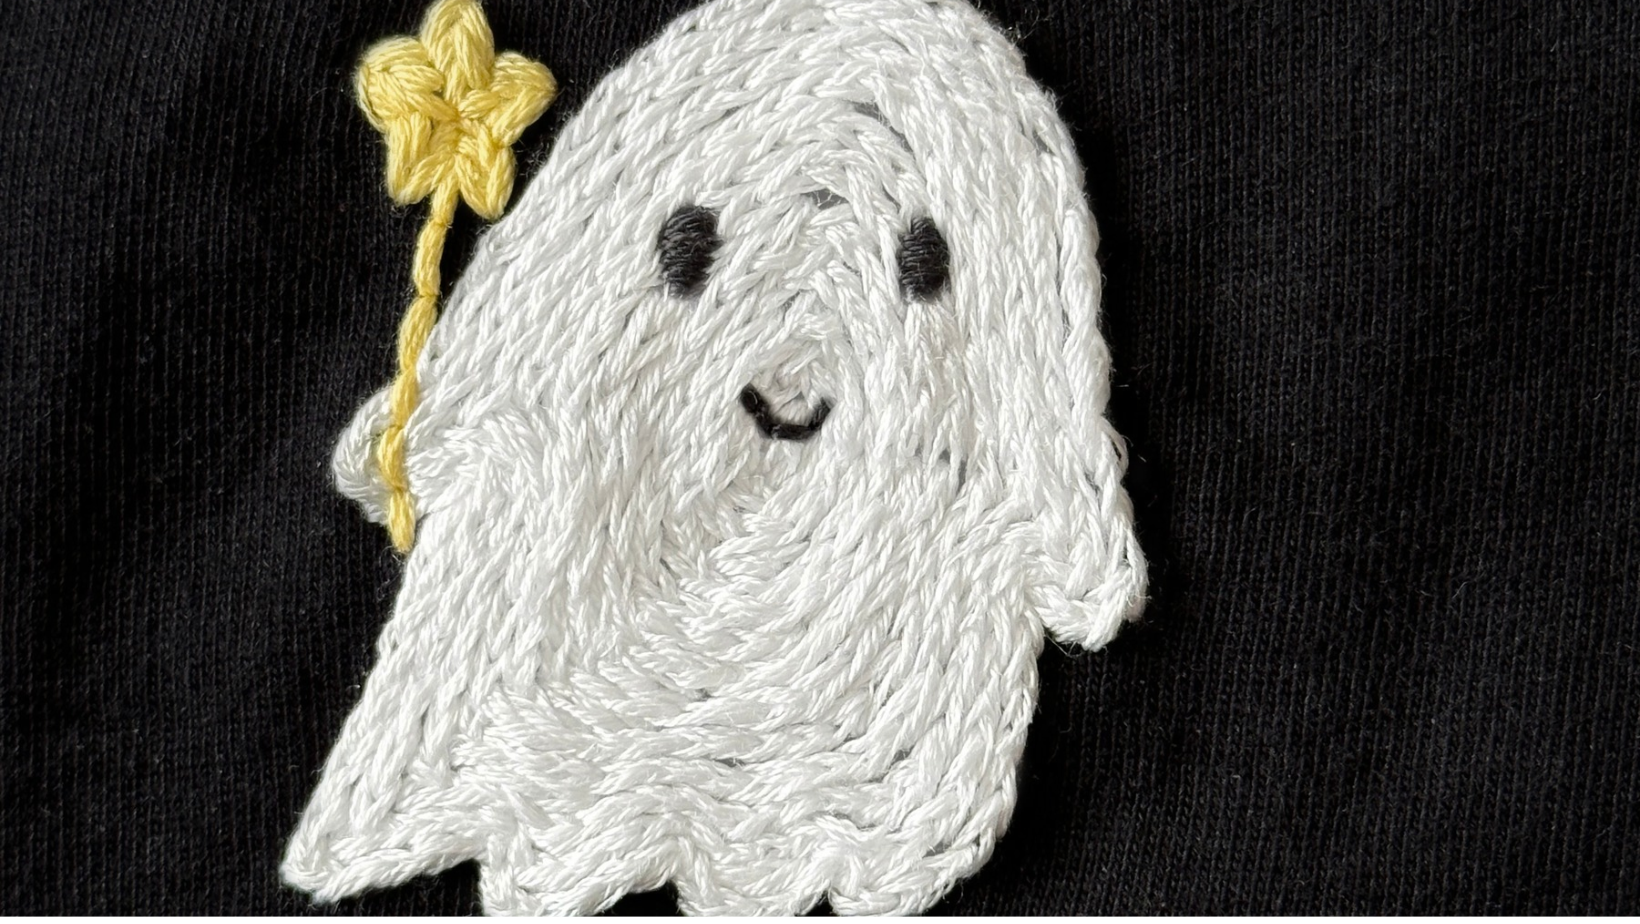
White is your best friend for ghosts and for lettering. It reads clearly from across a room, which matters if it's going on a costume.
Use more strands than you normally would. On dark fabric, a thin line can look a bit lost – a chunkier line has much more presence.
Watch your lighting - stitching black thread on black fabric in the evening is genuinely hard on your eyes! Do the dark-on-dark bits in daylight if you can.
Before you start...
A couple of quick practical things:
-
Pre-wash new clothing so it doesn't shrink around your design later.
-
Use colorfast thread – your finished piece gets rinsed in water. Ours are colorfast.
-
Check you can reach the back of wherever you're placing the design.
There's more in our 5 Top Tips for Using Wash Away Stickers blog.
Conclusion
So there you have it, a whole Halloween's worth of stitching that won't take you all month!
The thing I love about these is that they're not disposable. A costume t-shirt gets worn every October. A trick-or-treat tote gets used for years. It's such a nicer way to do Halloween than buying something that falls apart by November.
Have fun with it – and go a bit wild with the colors!
What's next?
The Halloween Magic Wash Away Stickers Pack has all 10 spooky designs, and every pack comes with step-by-step video instructions covering how to use the stickers and how to embroider onto clothing.
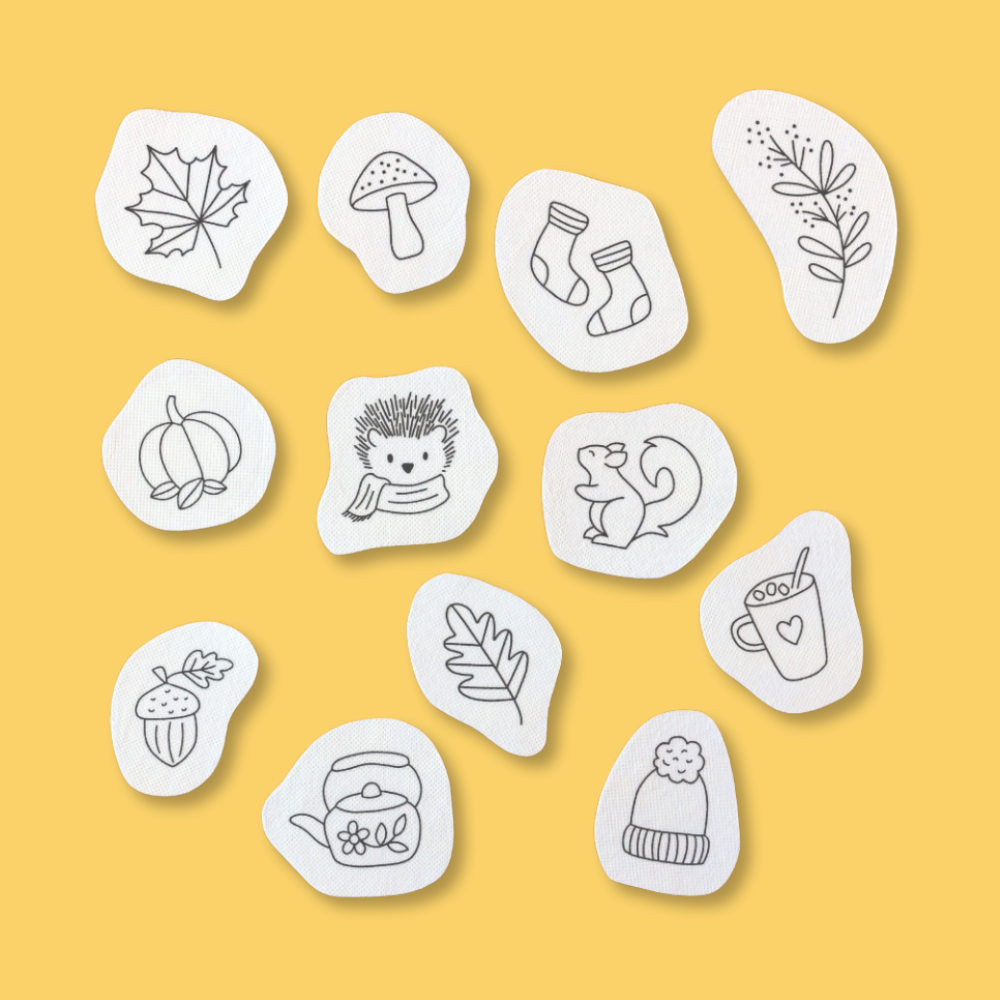
Feeling seasonal? The Cozy Fall pack is lovely alongside it, or if you'd rather have a project with everything included - our Personalized Trick-or-treat Bag Beginner Kit is a lovely place to start. It features our Spooky Pumpkins design, and you add your child's name using the alphabet templates included. Choose a purple ruffle or orange classic bag, and everything else comes in the box - supplies, stickers and video tutorials.