Fishbone Stitch - Learn How to Do This Modern Embroidery Technique
Introduction
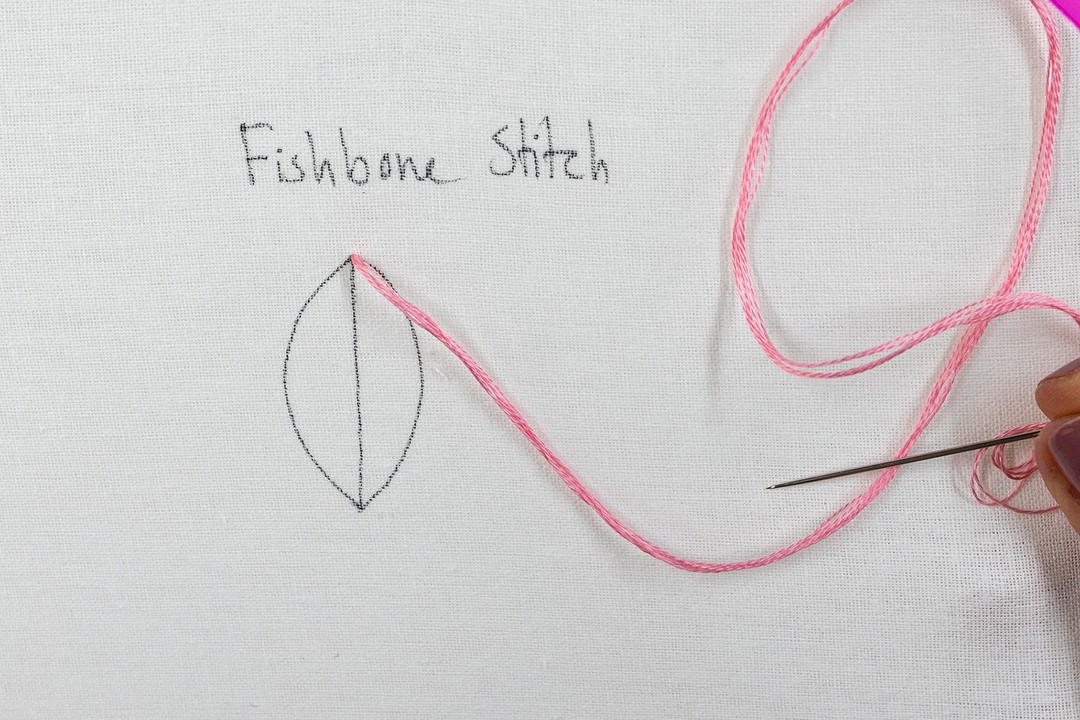
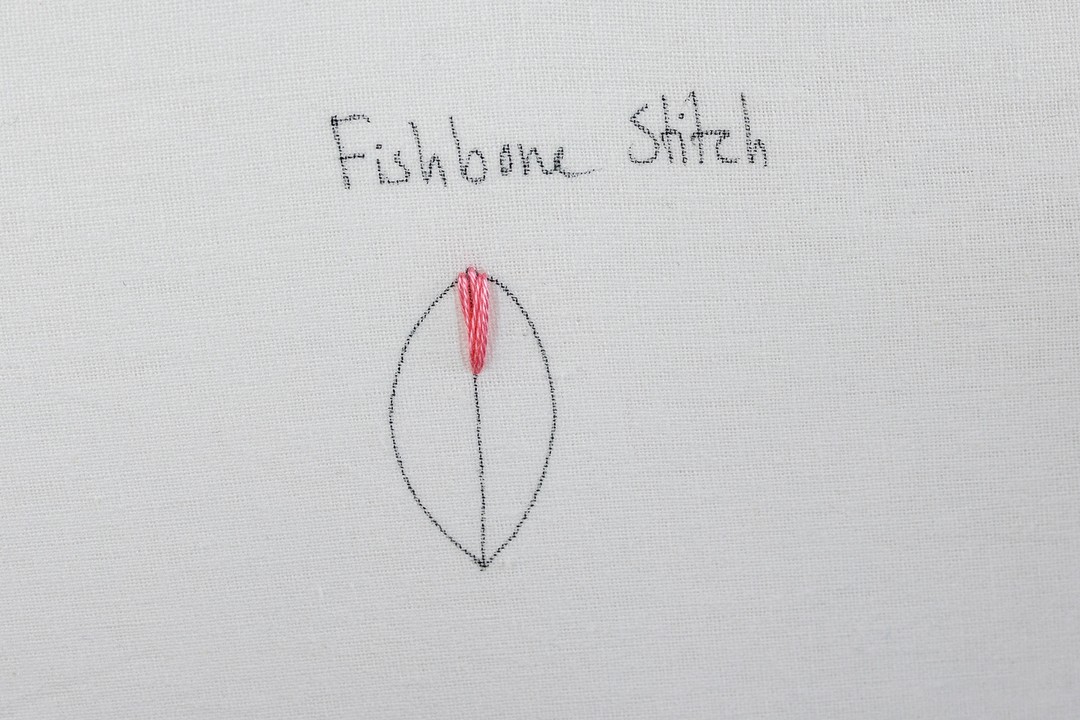
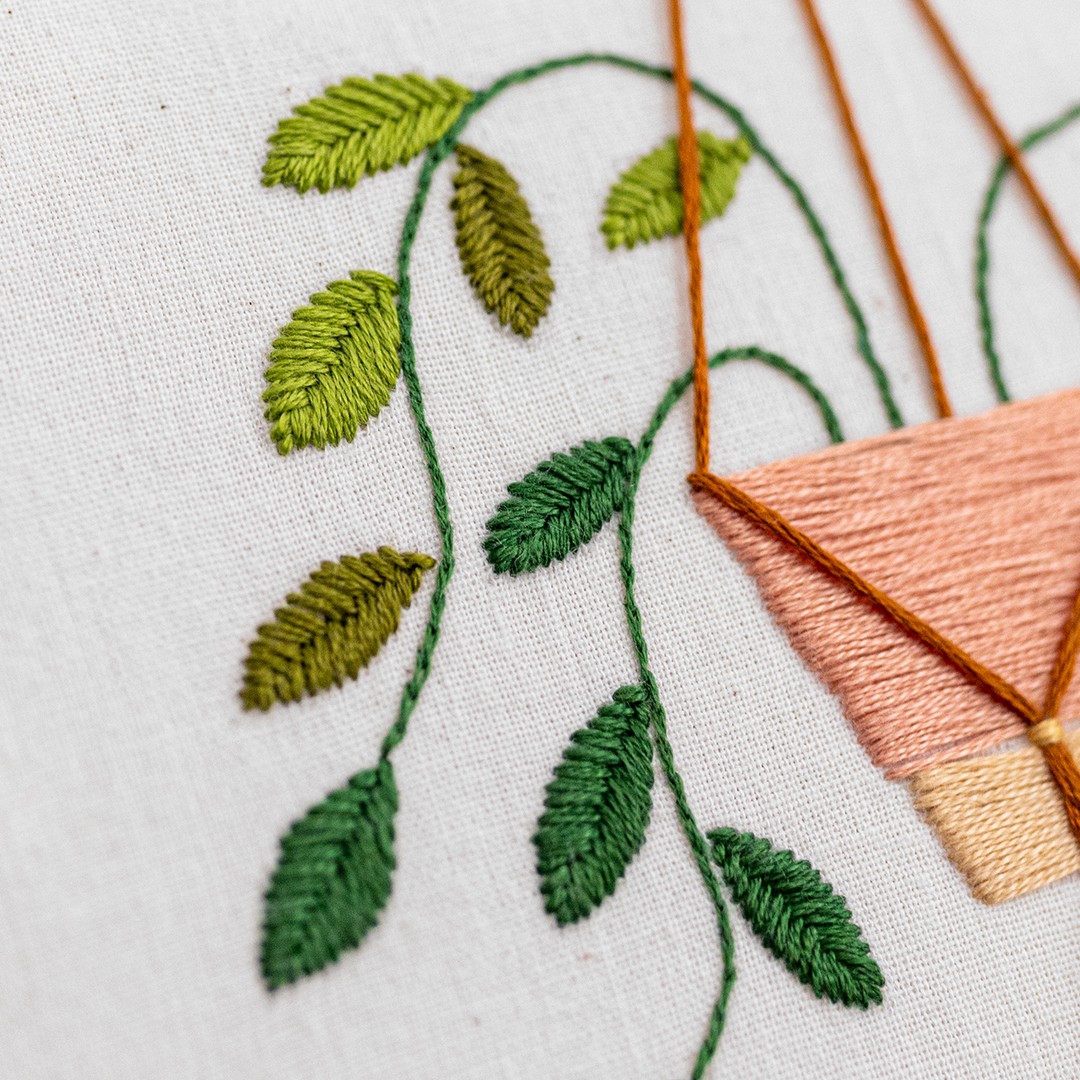
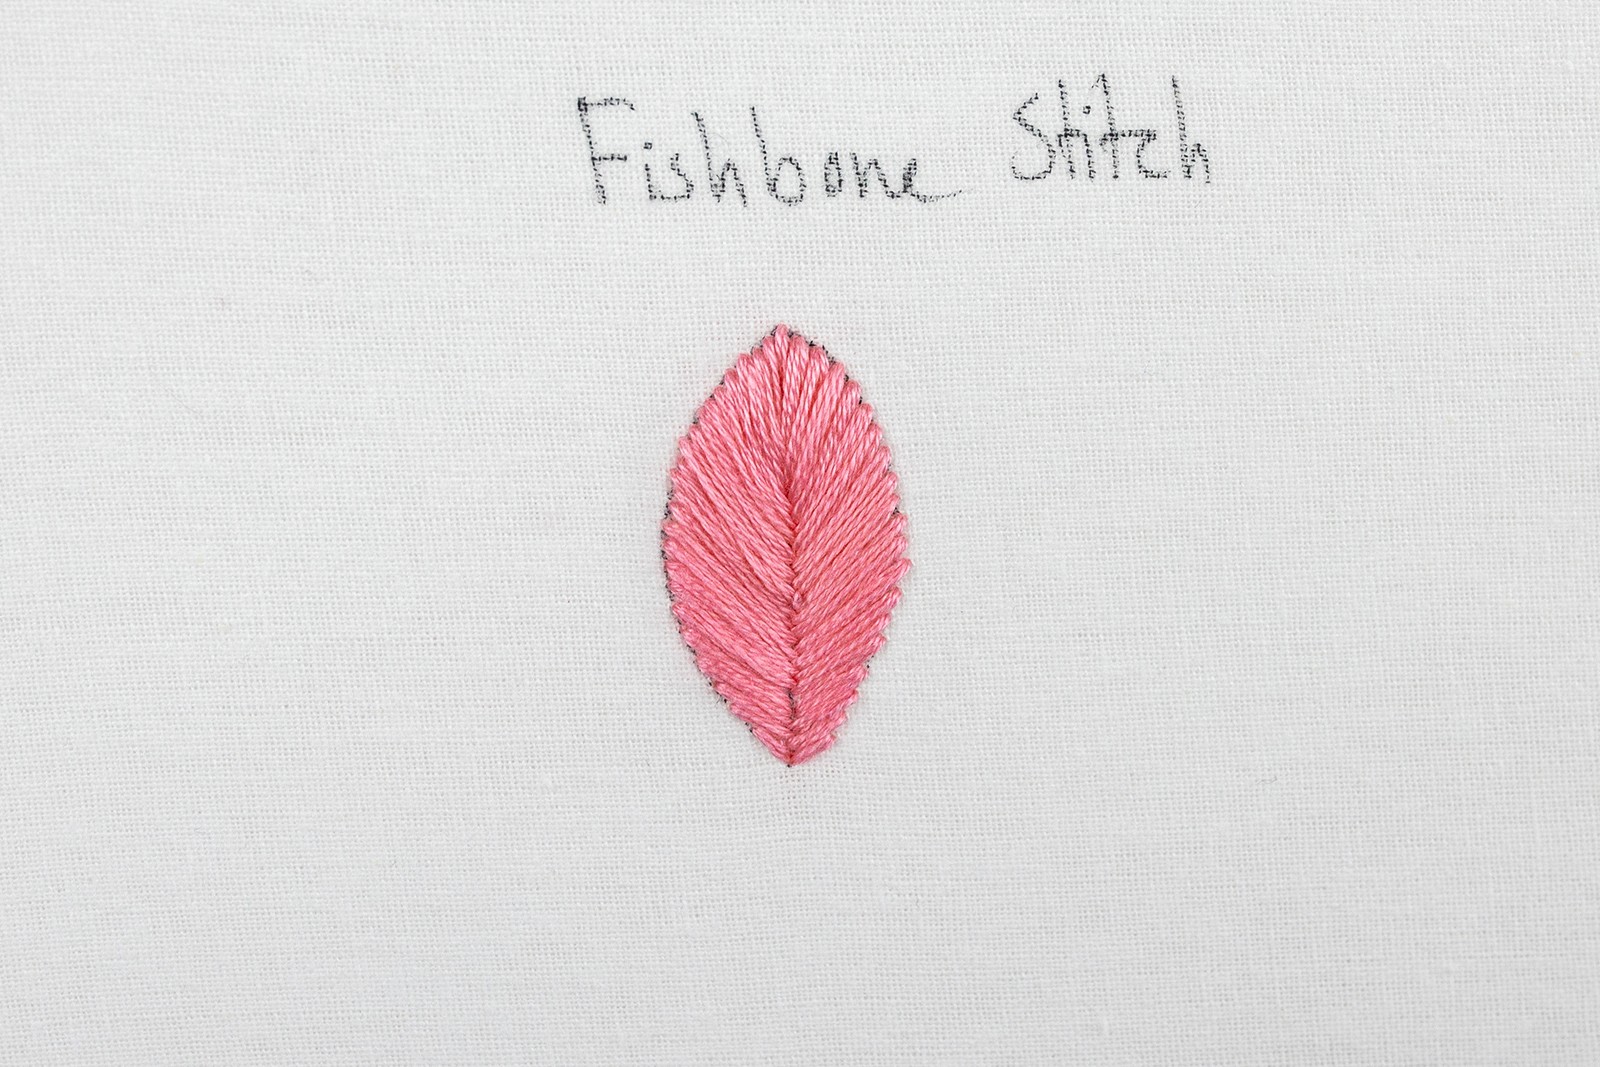
Fishbone Stitch is a lovely way to fill in areas of fabric, especially for leaves or petals. You are basically splitting the shape down the middle with a spine, then doing alternative stitches in a diagonal effect.
I use this technique in nearly all of my patterns because I just love stitching anything that's floral, leafy or botanical. Petals and leaves just look so stunning worked in Fishbone Stitch!
The way I’m teaching this stitch isn’t quite the traditional way (see below) butI’ve found this way works well so I’m embracing it for modern embroidery!
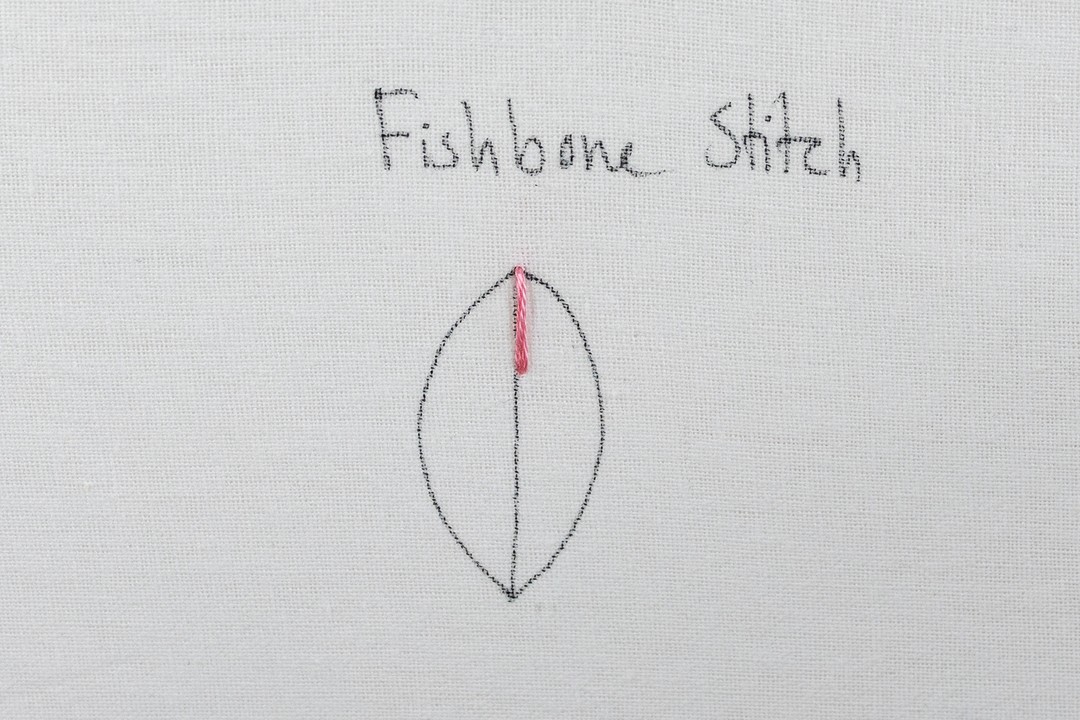
Step 1.
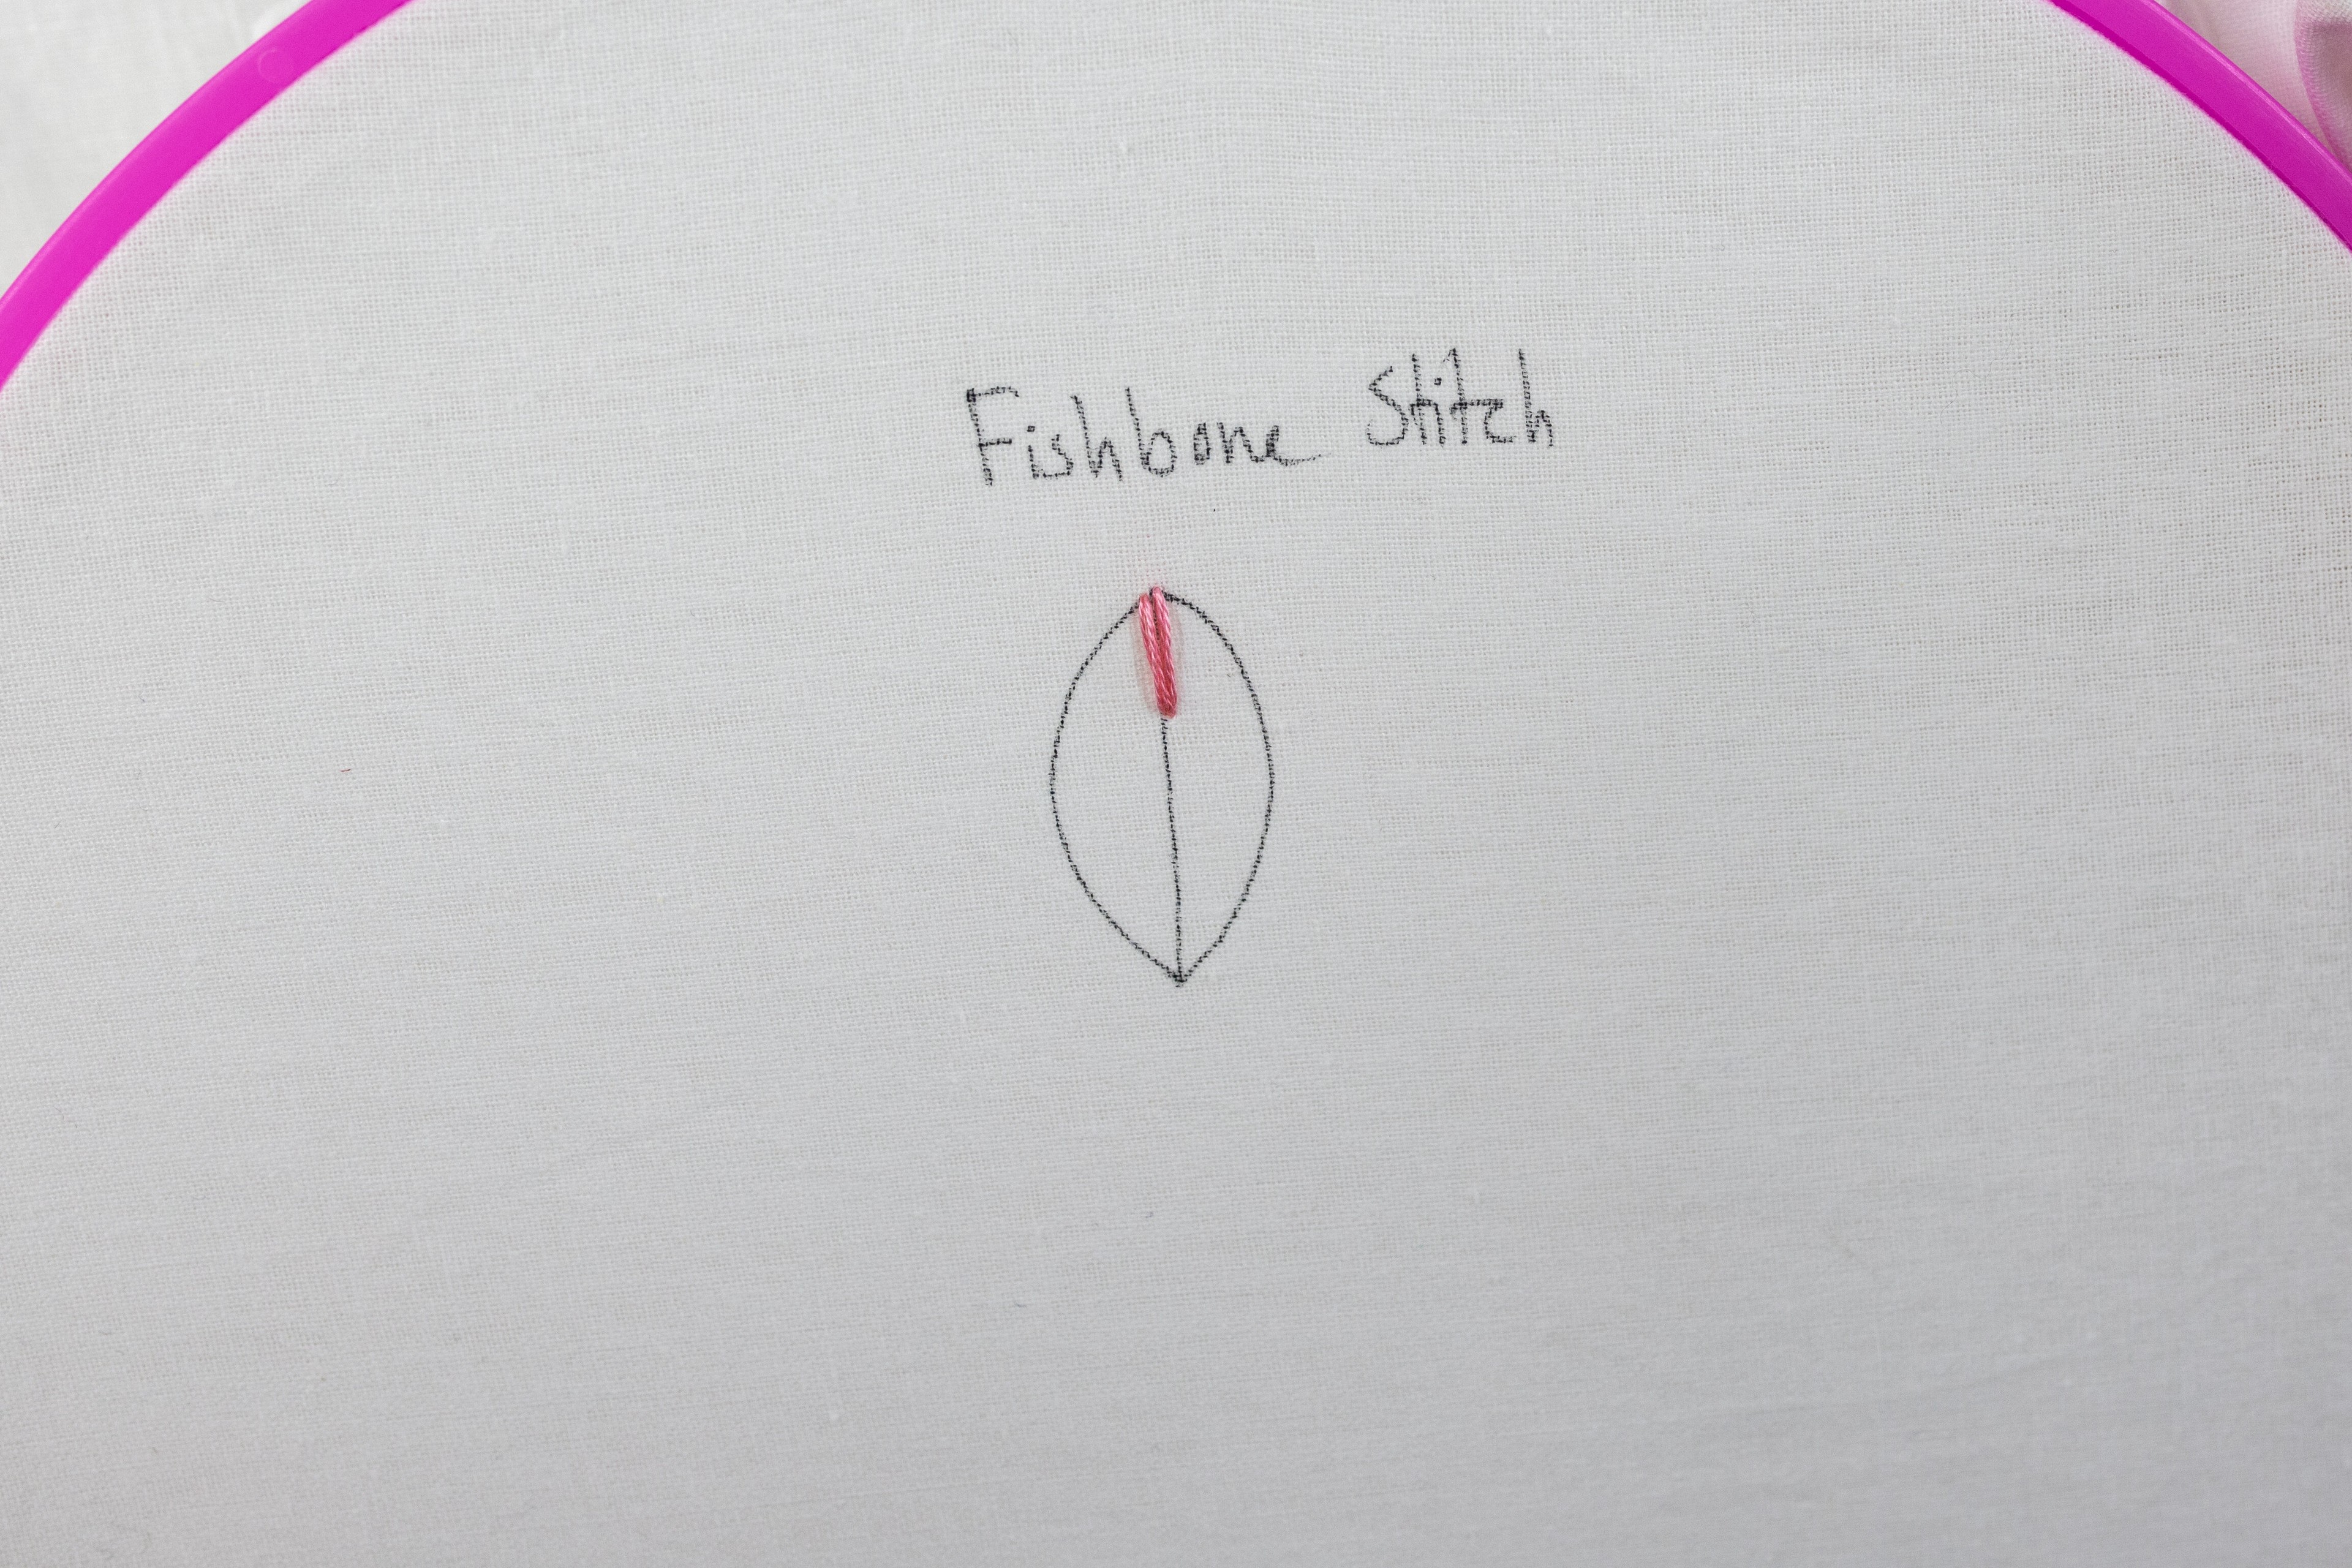
Bring your needle up from the back of the fabric at the far tip of the shape. Now do a short, straight stitch down the spine.
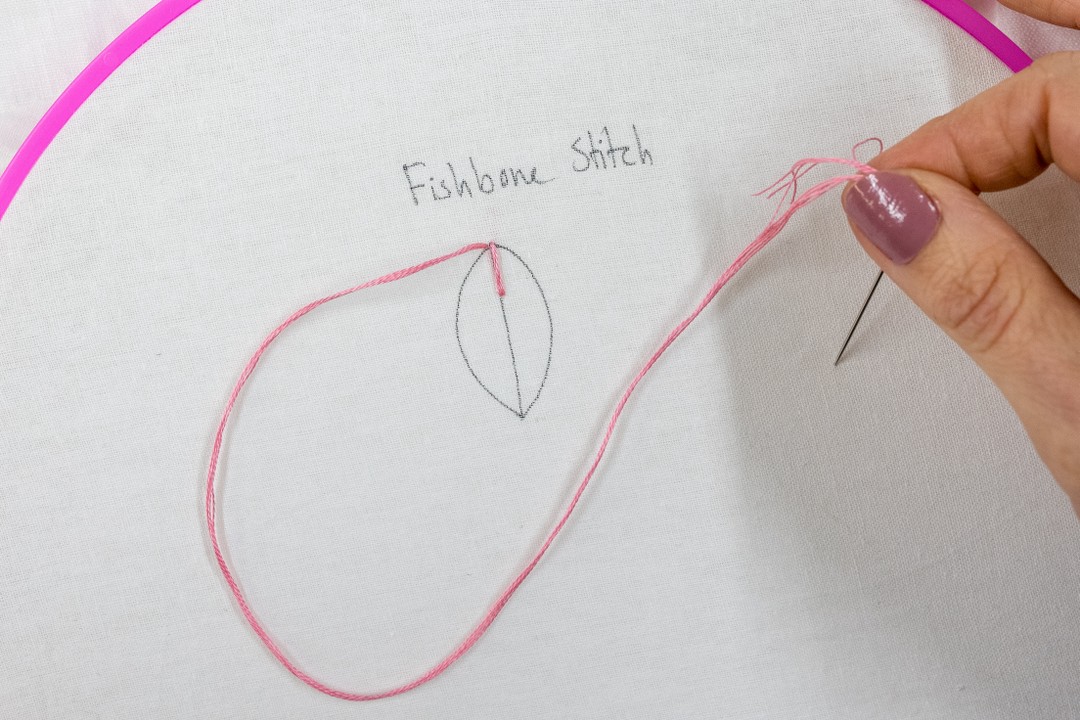
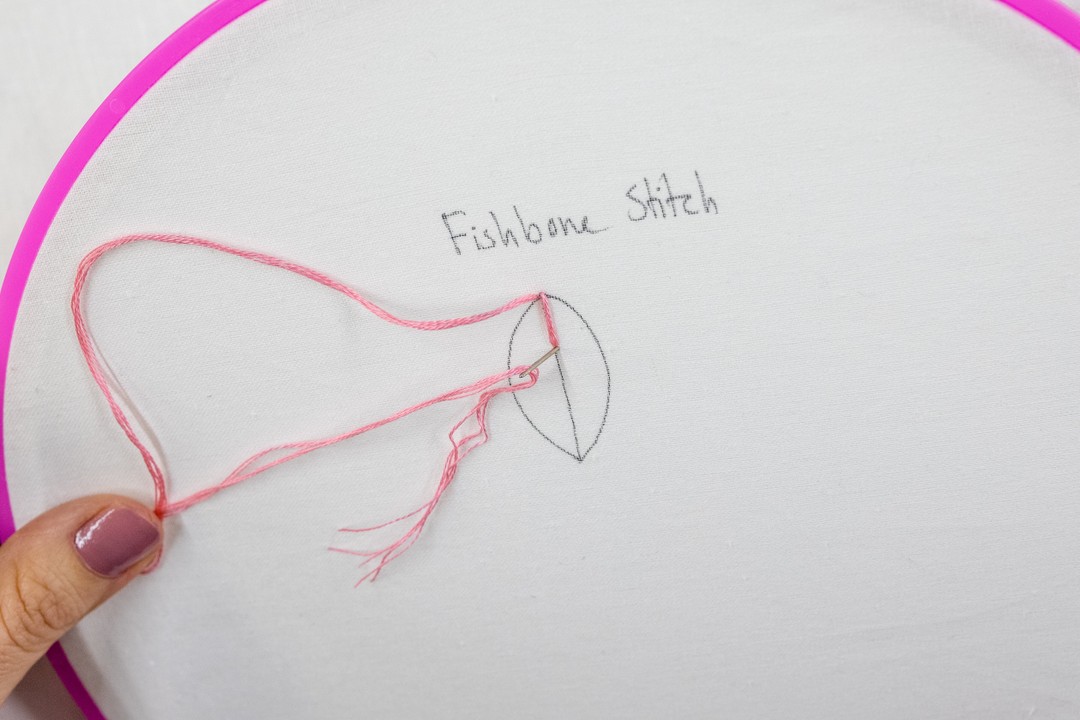
Step 2.
Now bring your needle up again, just to the left of your stitch at the top.
Bring your needle back down again on the centerline, just below the bottom of the first stitch.
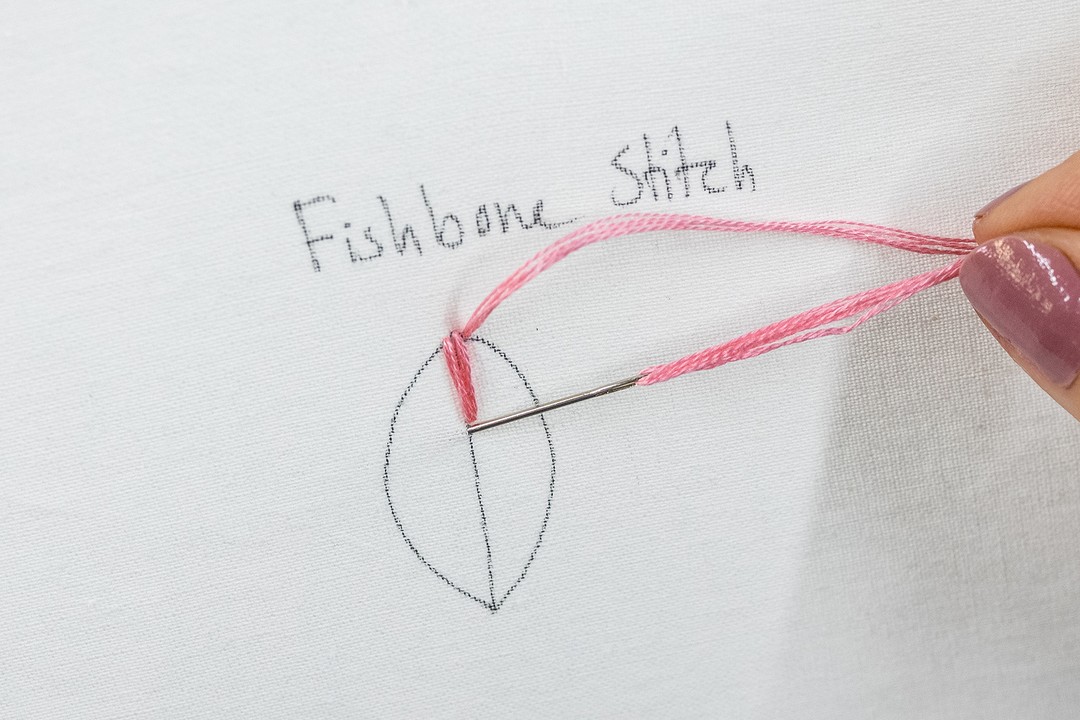
Step 3.
Bring your needle up again at the top, but this time on the right side of the top stitch. And once again poke it down on the centre line, underneath the last stitch.
Step 4.
Keep doing this on alternate sides to fill your shape.
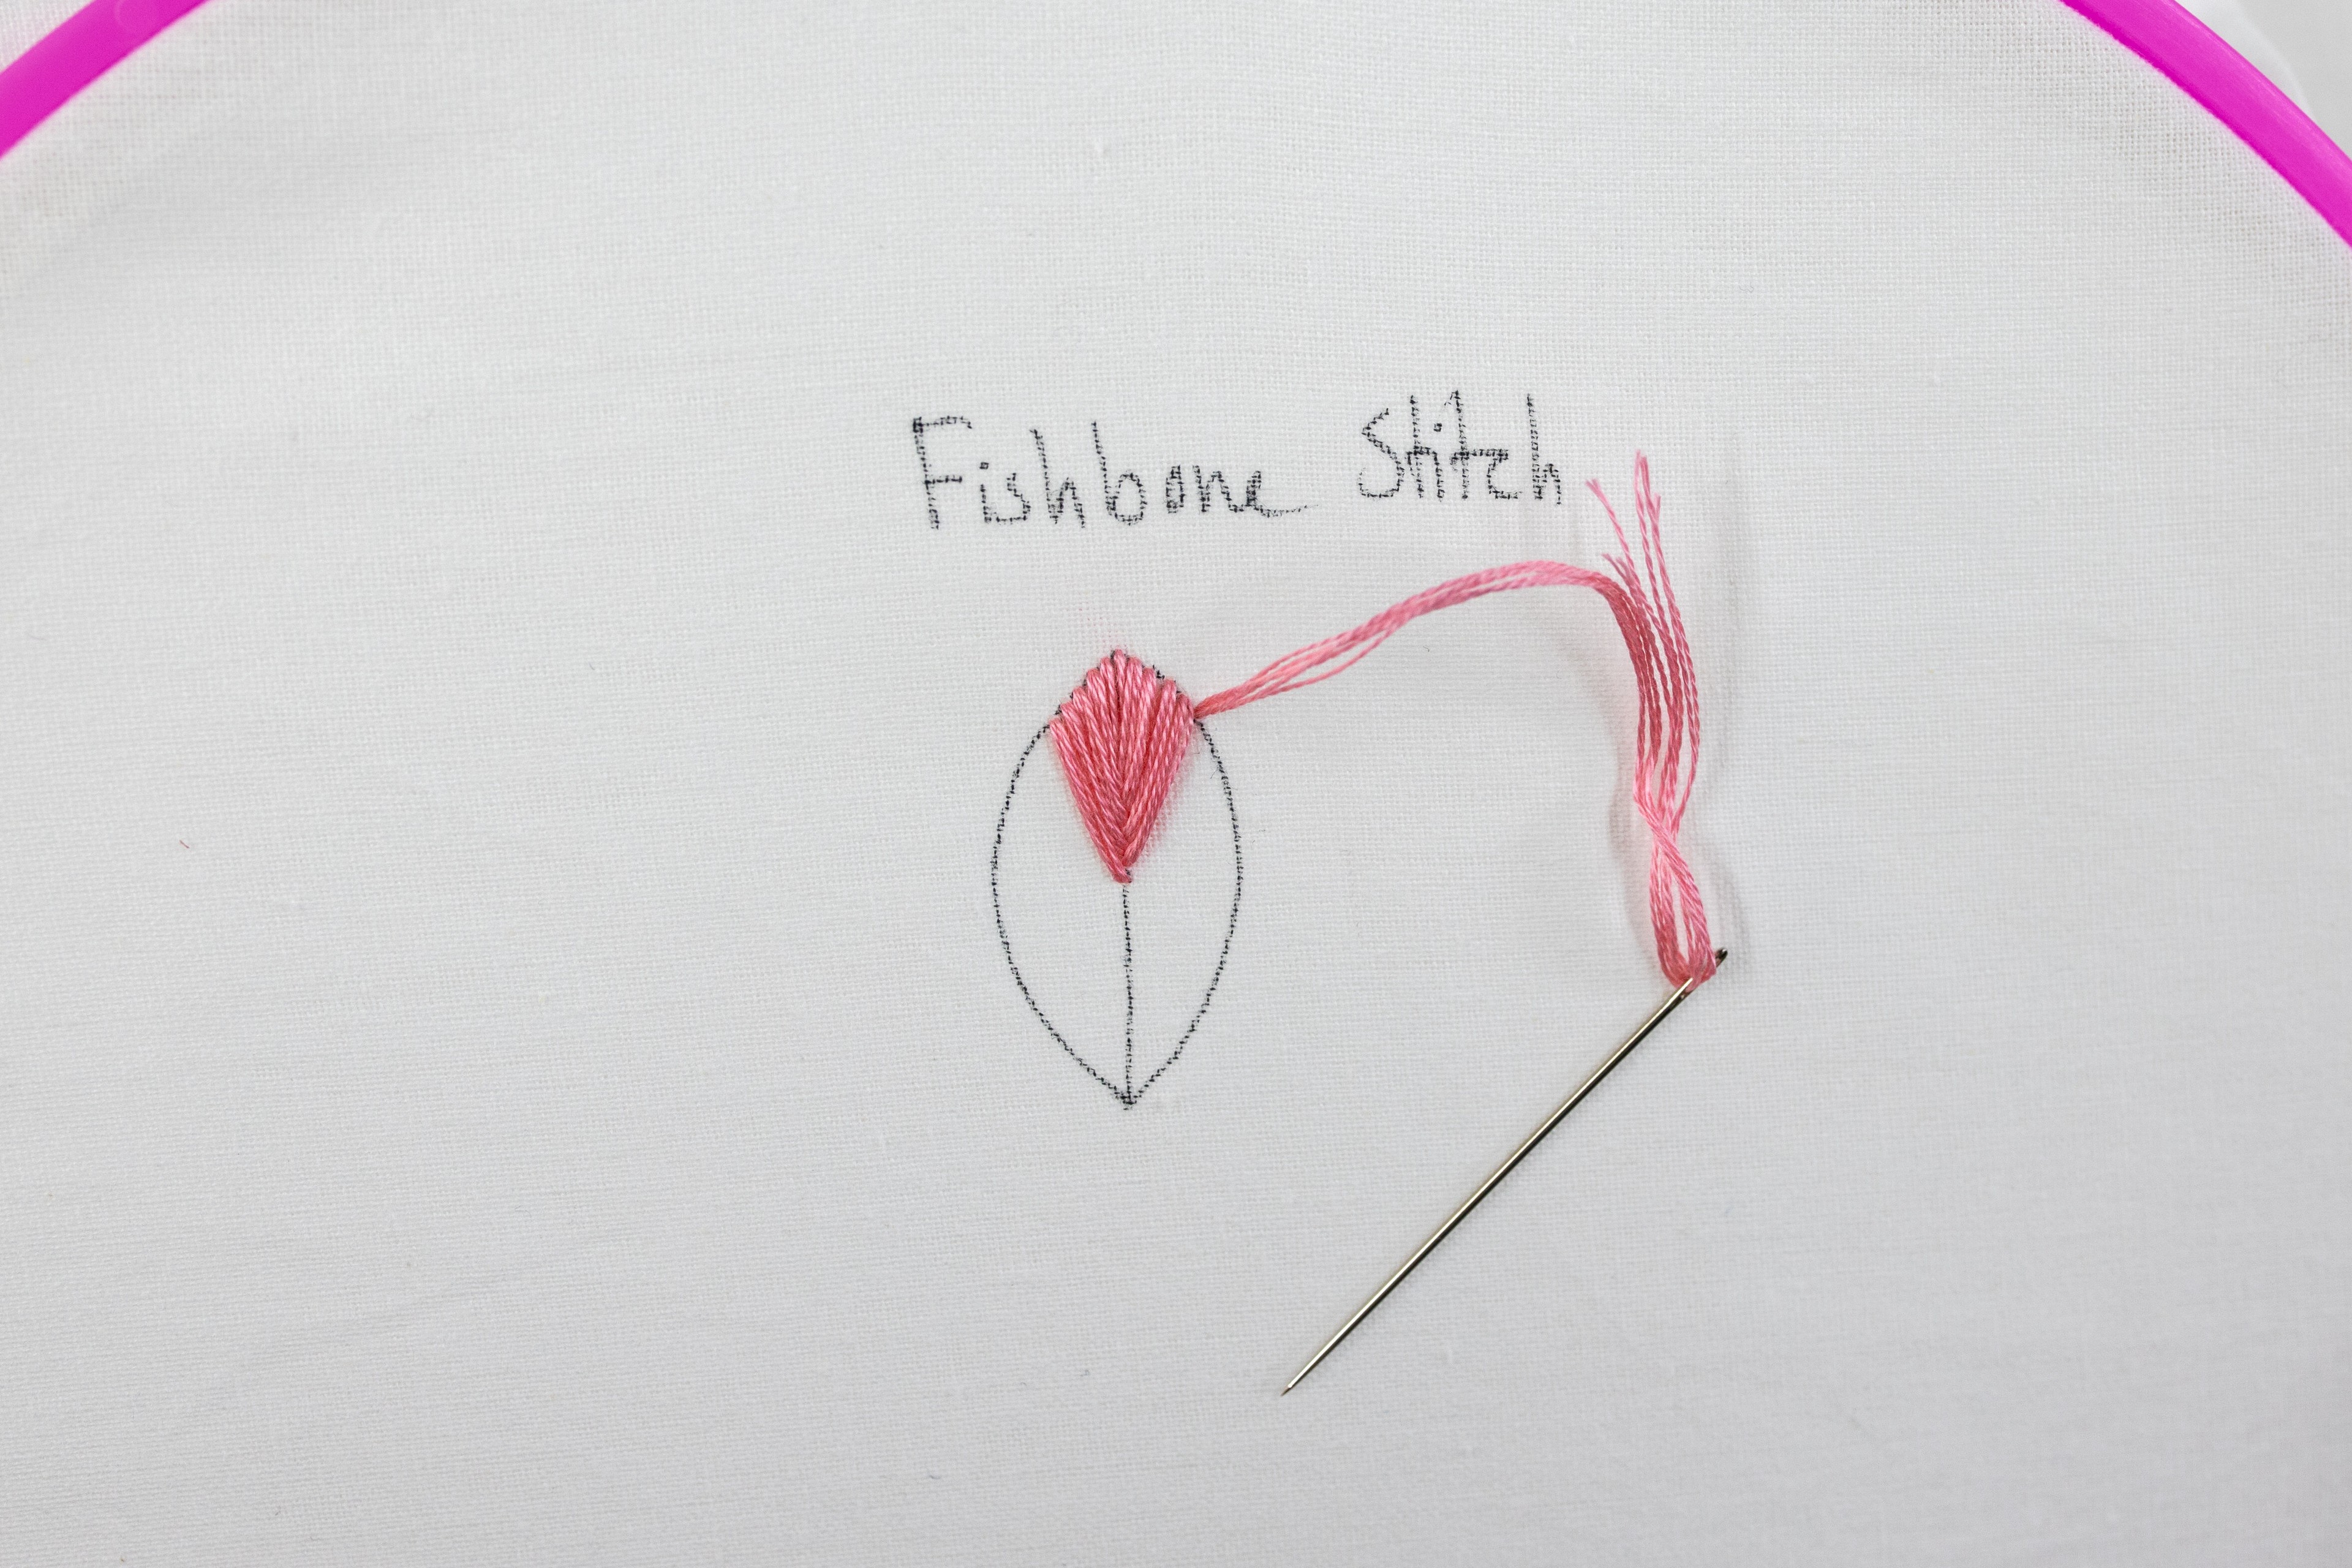
Tips for Fishbone Stitch:
-
Just like with Satin Stitch, if you can keep your stitches quite close together, it will create a lovely smooth, and tidy look. You definitely don't have to be a perfectionist though!
-
You can sew this technique, by scooping the fabric with each stitch. I think if you have lots of practice this would be a quicker way to do it. But personally, I find the stabbing technique is easier and more accurate, especially for modern embroidery beginners!
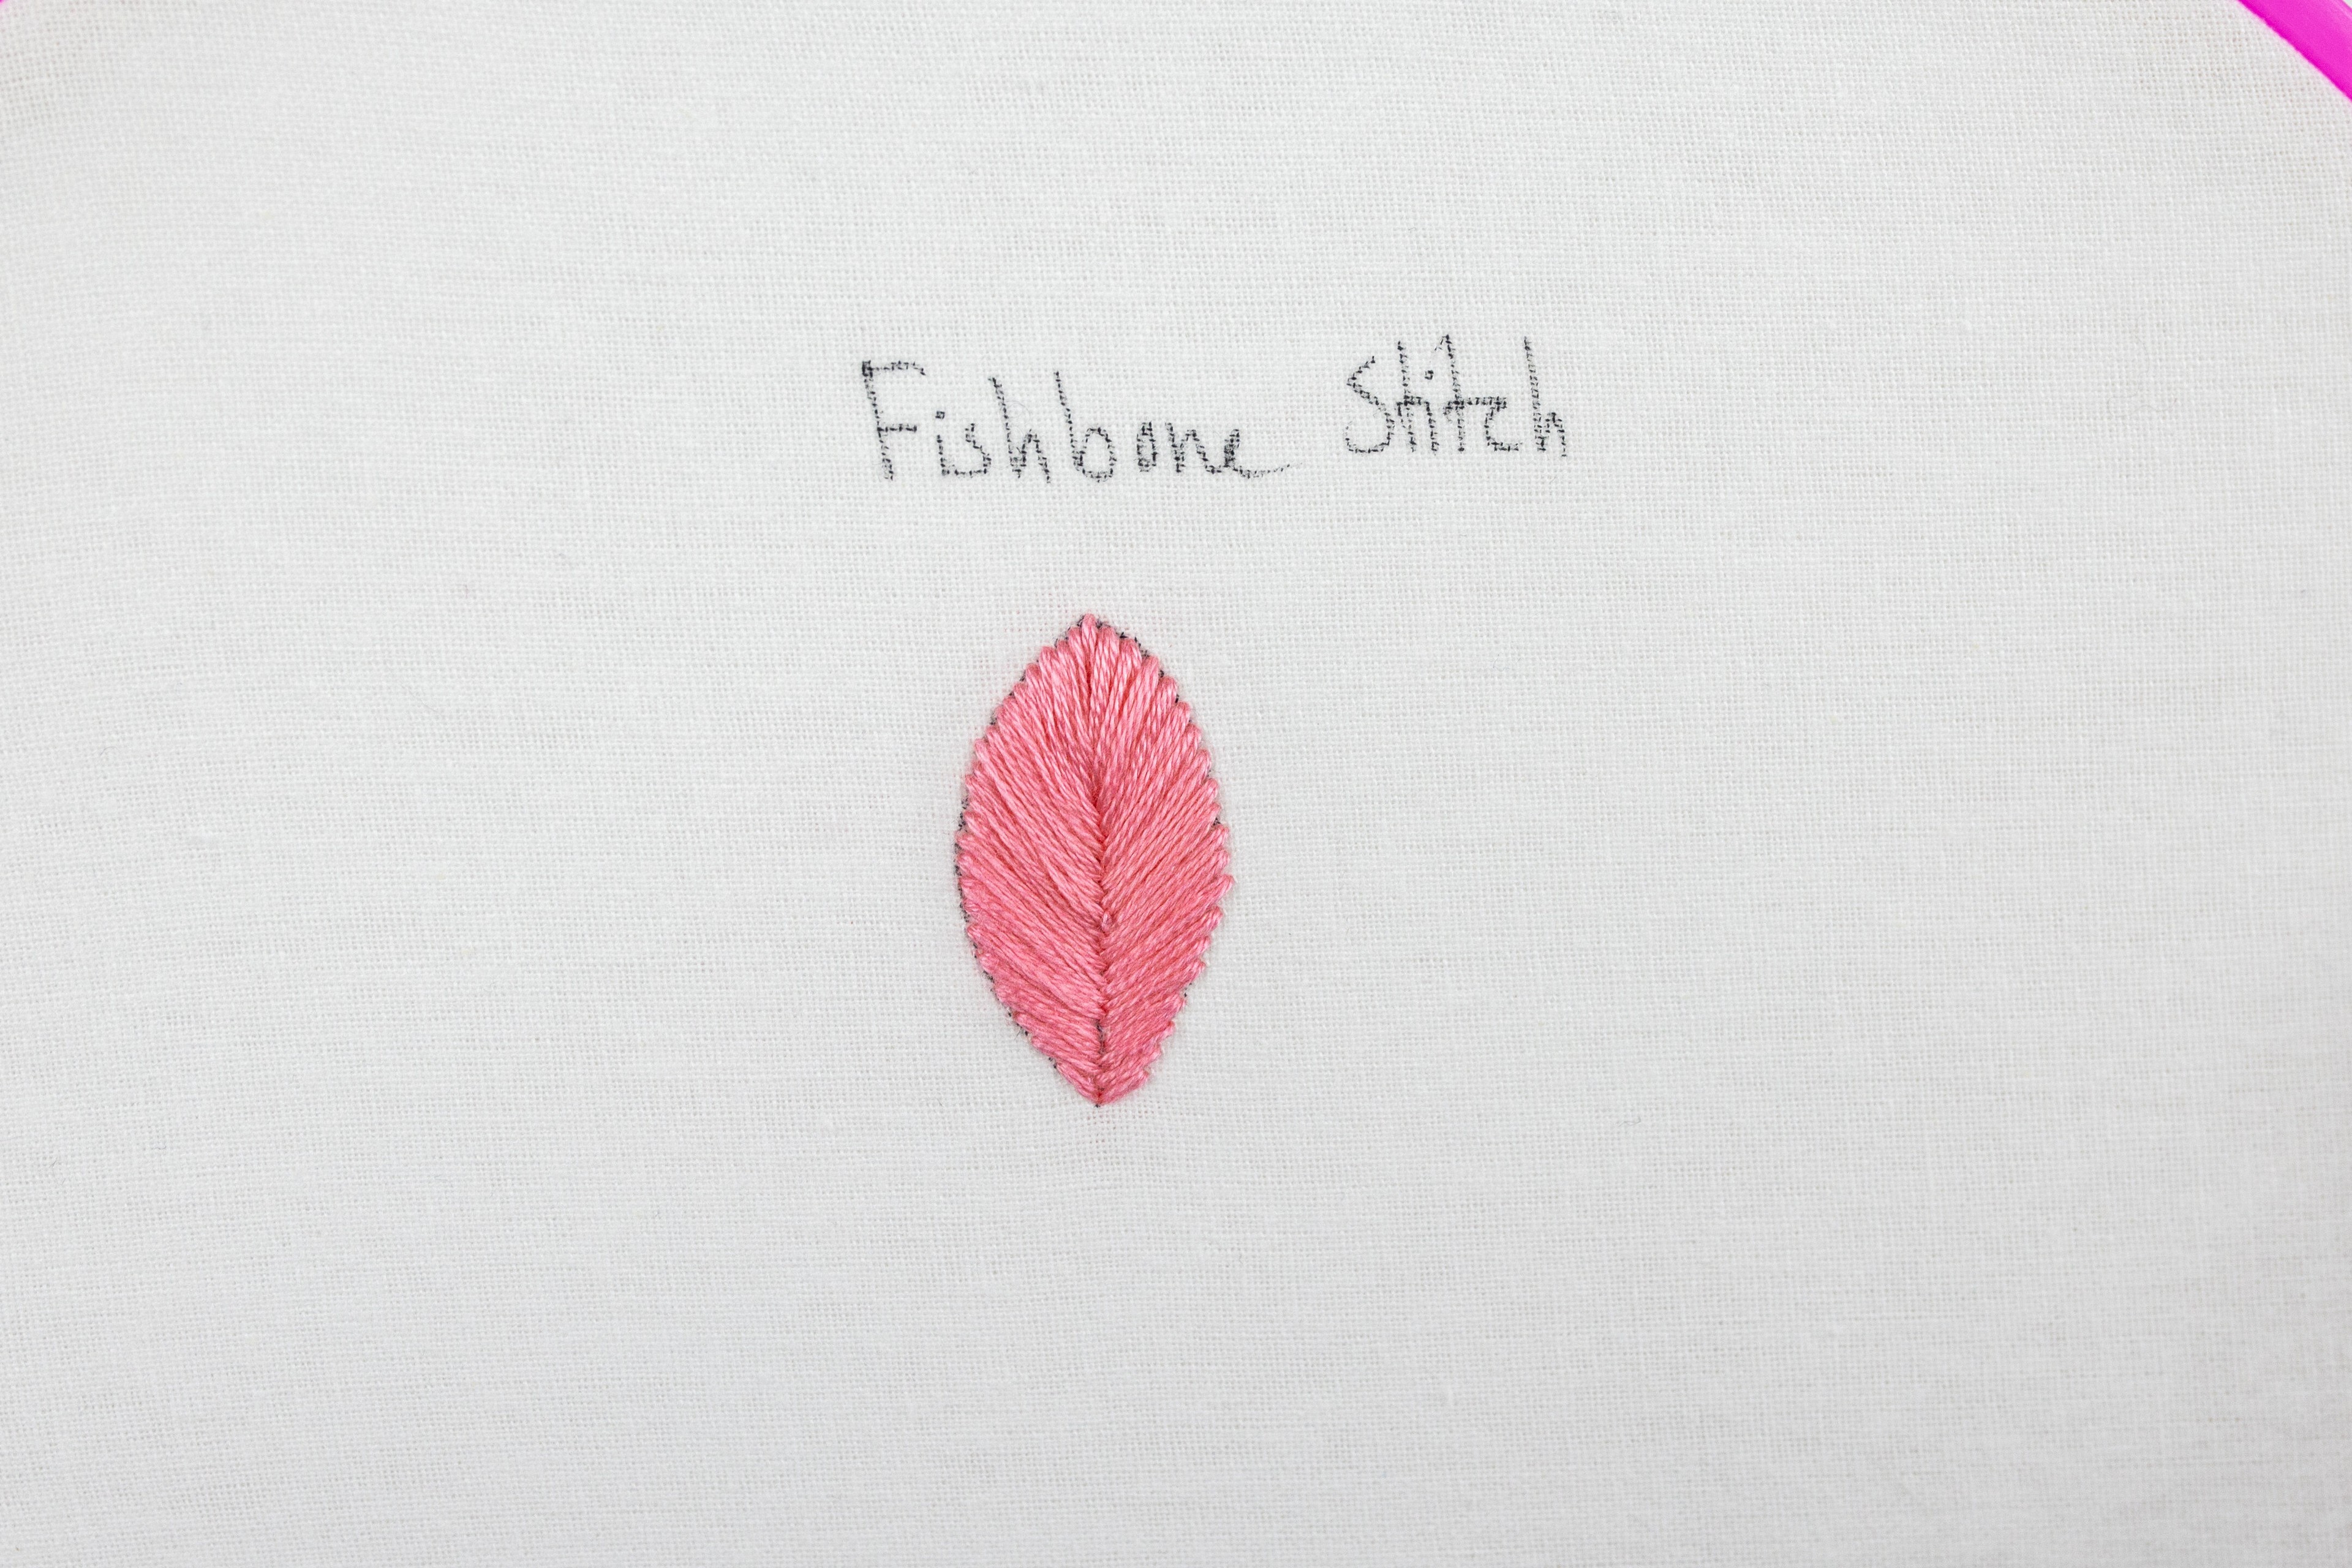
NOTE: As mentioned earlier, this stitch is traditionally done by crossing over the bottom stitches where they meet the spine, which means the stitches are all covering each other with quite a lovely effect. You are more than welcome to try this! I just found it easier to keep working my way down the spine in a straight line, and thought you might too.
Examples of Fishbone Stitch in my patterns
I bet you are dying to try this stitch in your next pattern, so let's look at where it features in some of my designs!
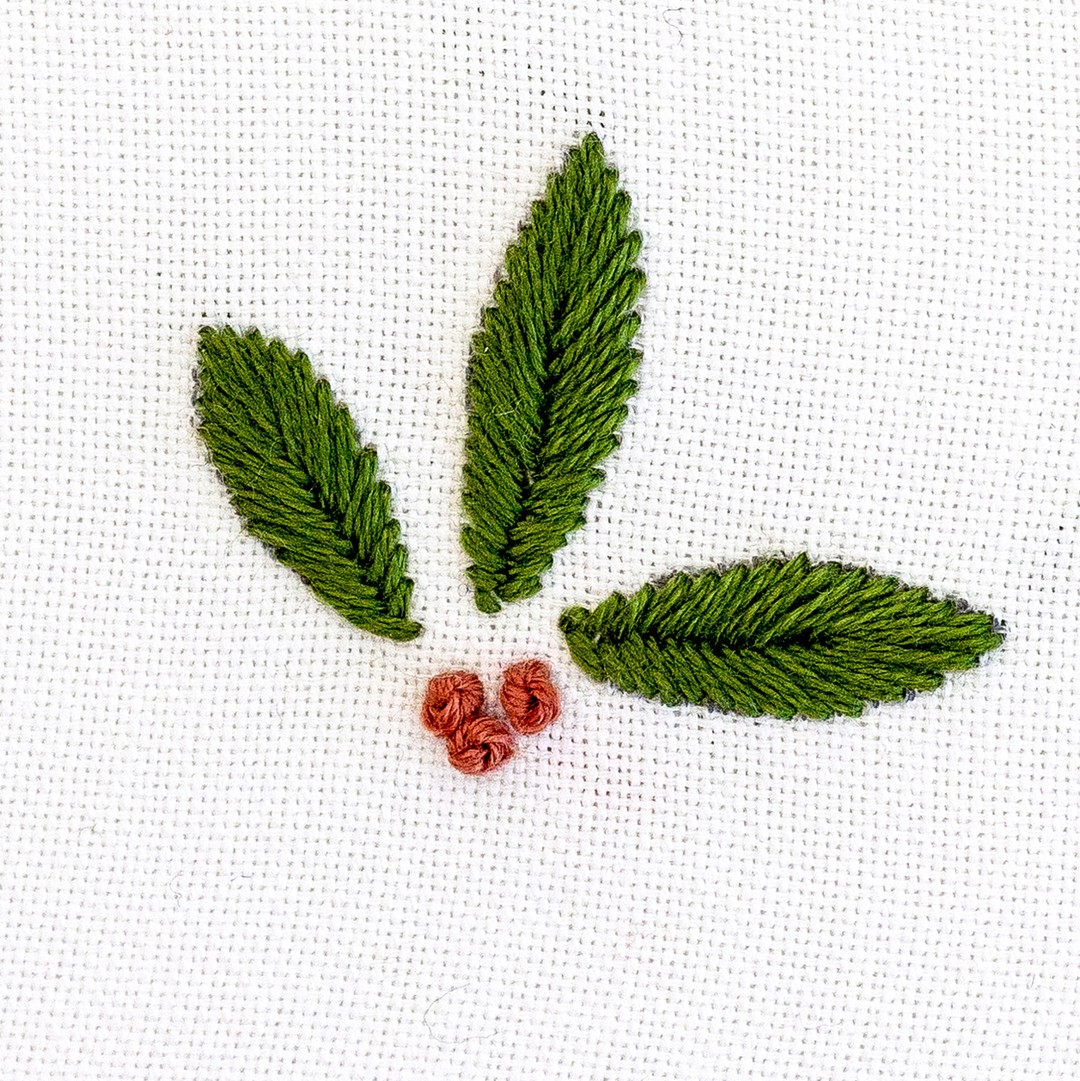
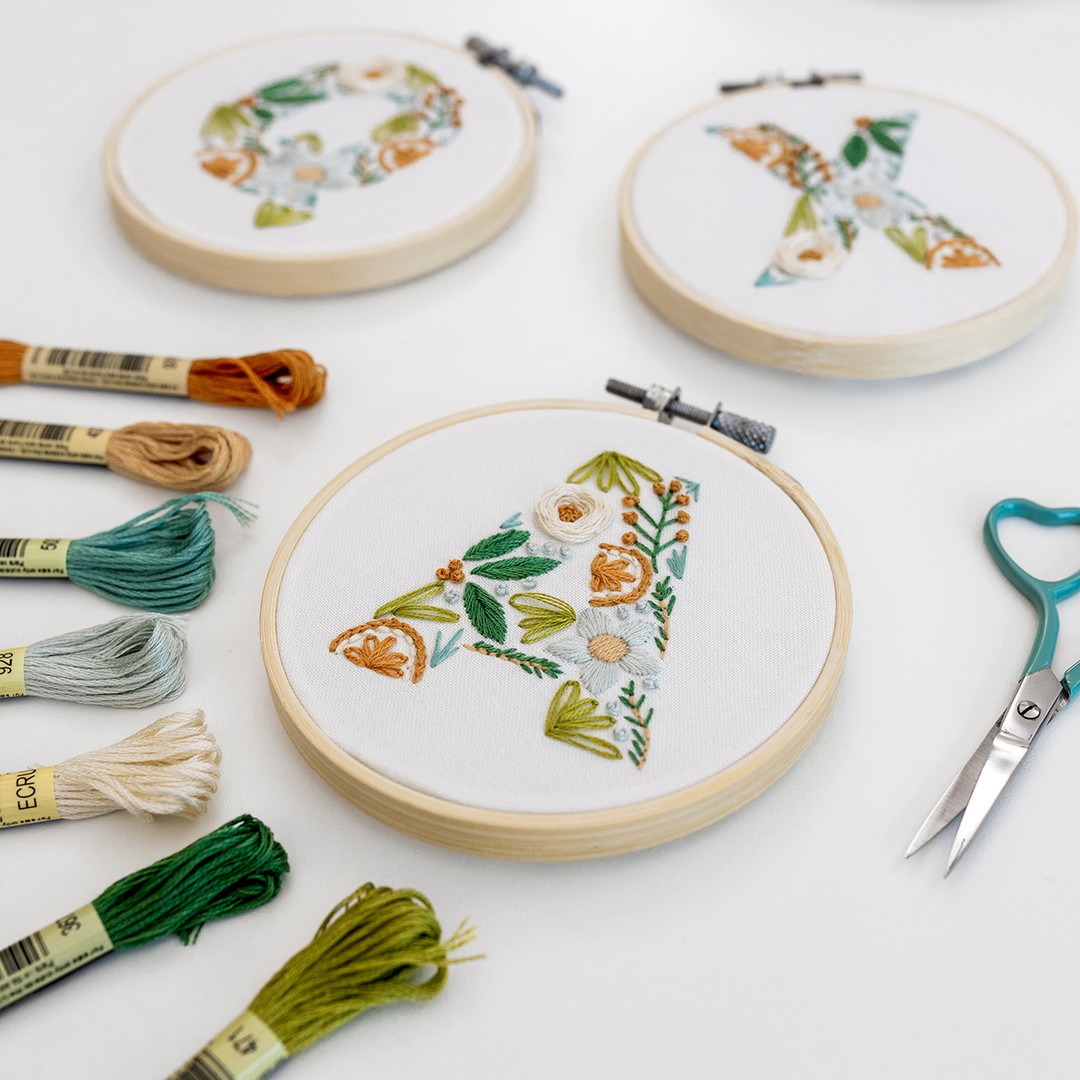
First up is my Festive Alphabet pattern, one of my all-time most popular projects. See the little clusters of holly? Don't they look so lovely worked in Fishbone Stitch?
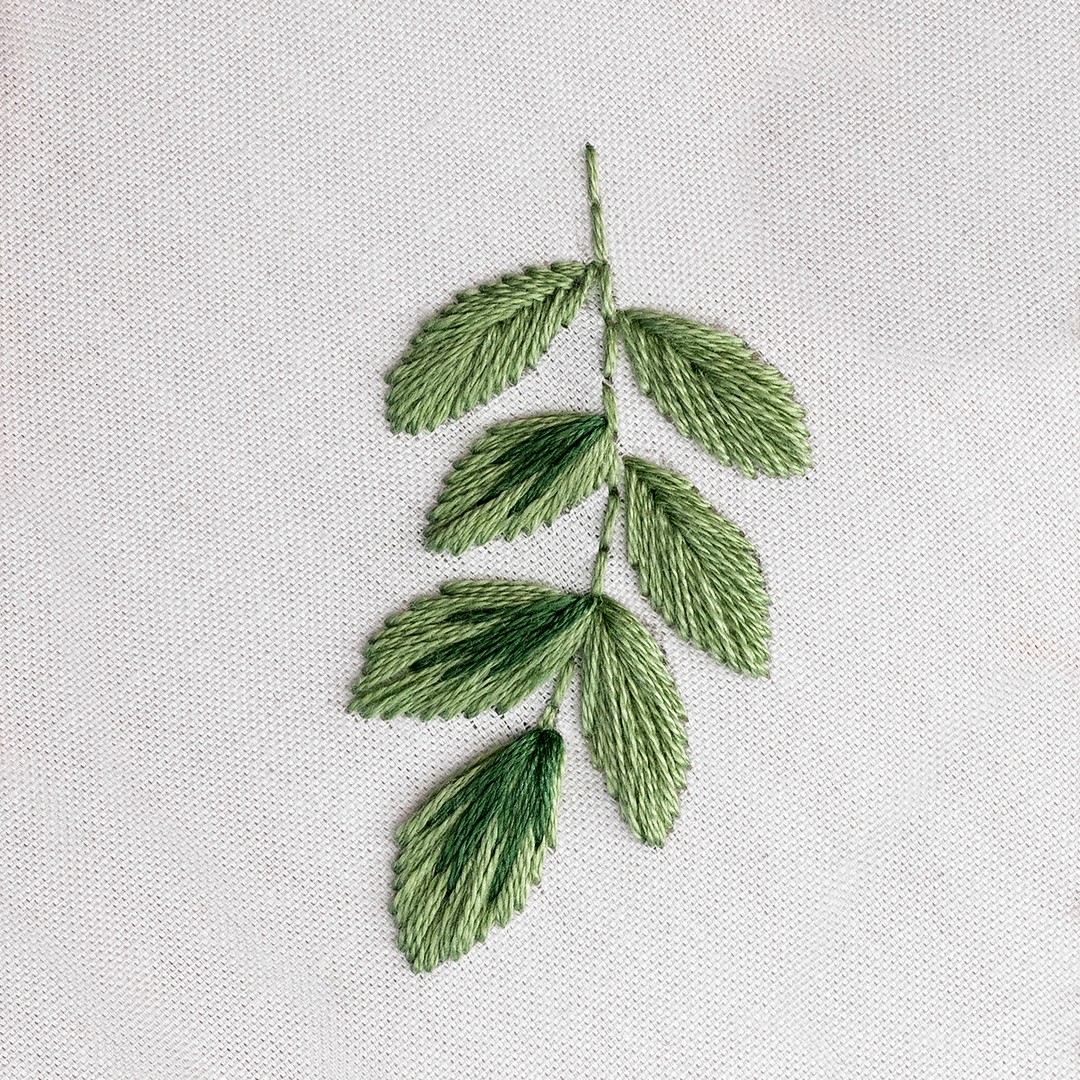
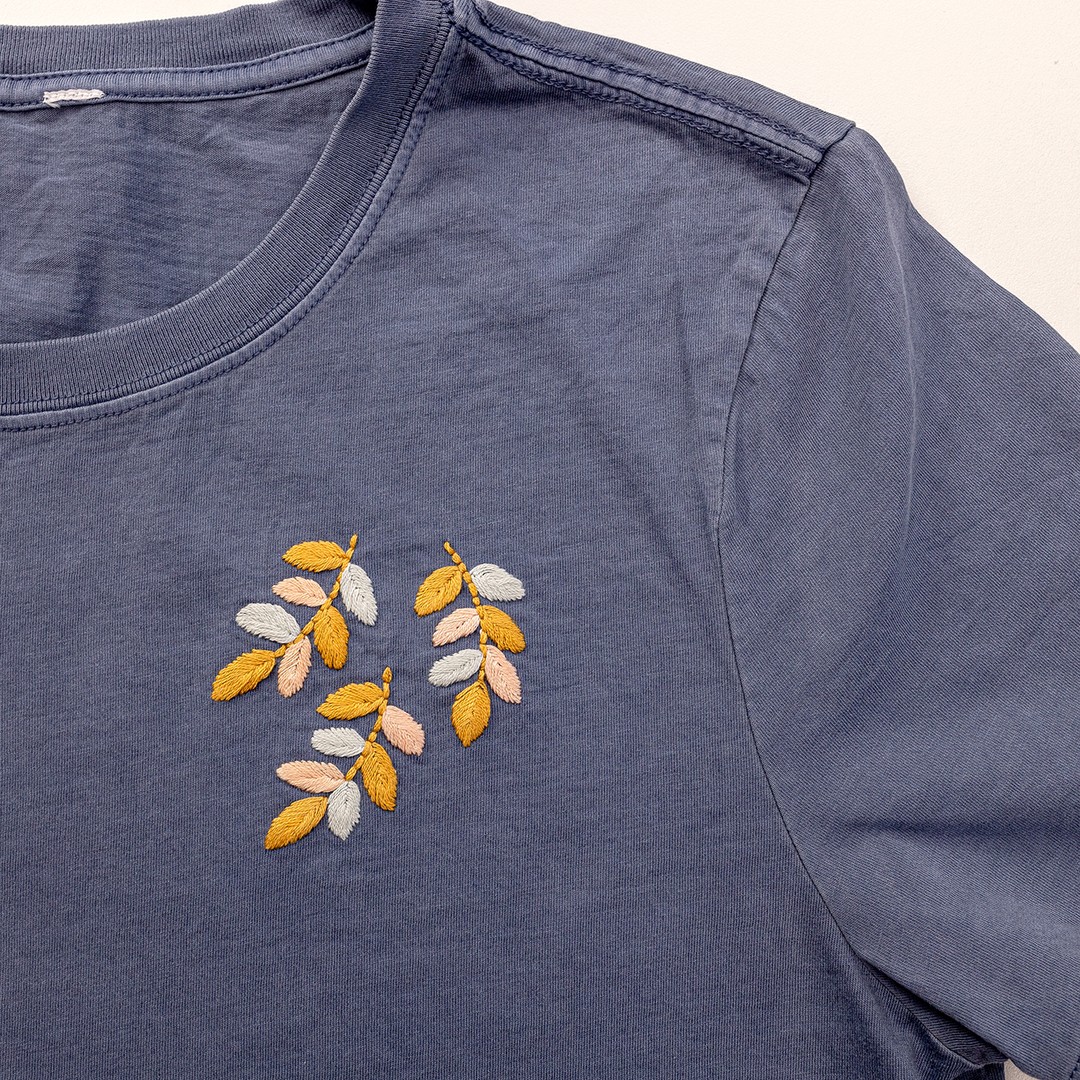
Another example is my Happy Designs for Clothing pattern that is available in The Makers Academy. See how these beautiful fronds are worked in Fishbone Stitch? It's so fun to use this technique on clothing! Just be sure not to pull your stitches too tight.
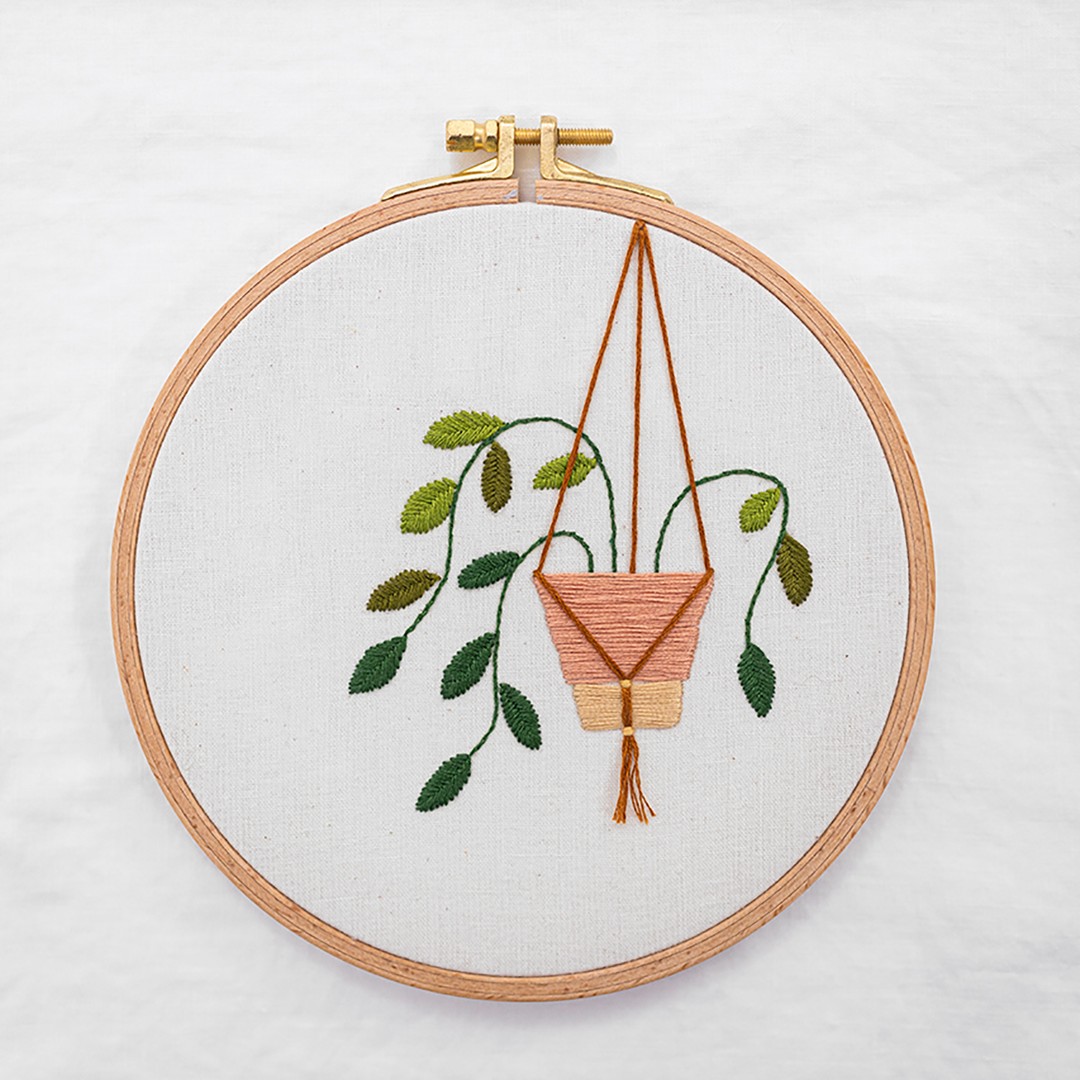
Last up is the Fishbone Stitch featured in my Hanging Planter pattern that is availabe in The Makers Academy. This pattern really is the perfect chance to practice this technique, as it spills out of this cool hanging pot plant.
Conclusion
Yay, I am so happy that you now know how to Fishbone Stitch and use it in so many patterns! This stitch can be a little bit time-consuming, but gosh, it's worth the effort.
What's next?
Our beginner embroidery kits are a favourite among new stitchers for their simple, step-by-step instructions and beautiful designs that make learning easy and fun. Whether you’ve been wanting to learn embroidery or are just searching for your next creative hobby. These kits are the perfect introduction to embroidery.
Why people love our beginner kits:
-
Everything you need is included: fabric, thread, hoop, and more!
-
Clear instructions to guide you every step of the way.
-
Gorgeous designs you’ll be proud to display.
Our most popular beginner kits


