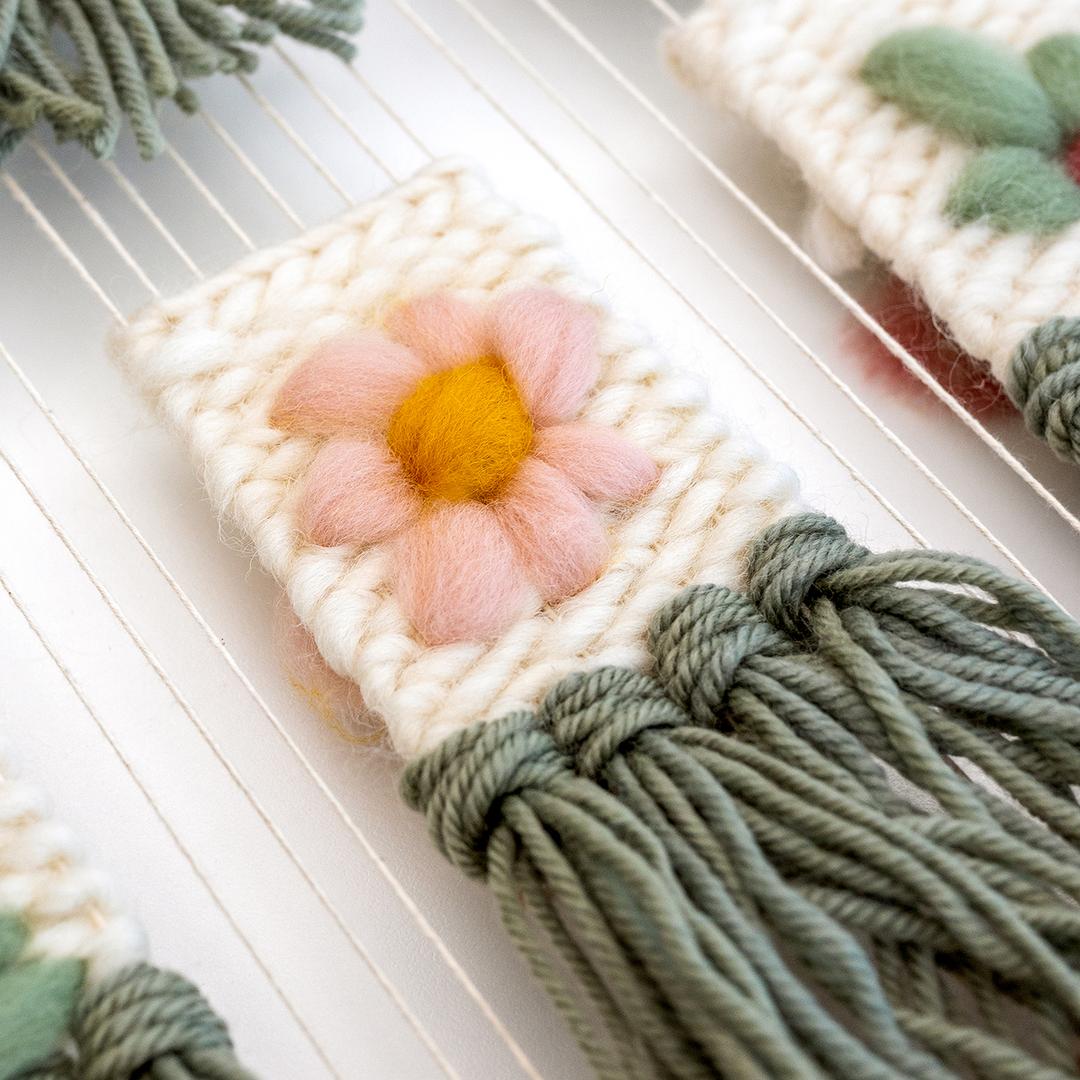
Embroidering with Wool Roving - Learn How

Introduction
Hello makers!
It's really fun combining techniques we learn in modern embroidery, with different weights of thread and fabrics.
In this tutorial, I'll give you lots of tips for stitching with wool roving. You might also see this beautiful product called 'fibre'.
It’s really fun to add embroidered touches of Wool Roving to your pieces. But it’s quite a delicate material to work with.
So let’s look at my tips:
Tip: What type of needle should I use?
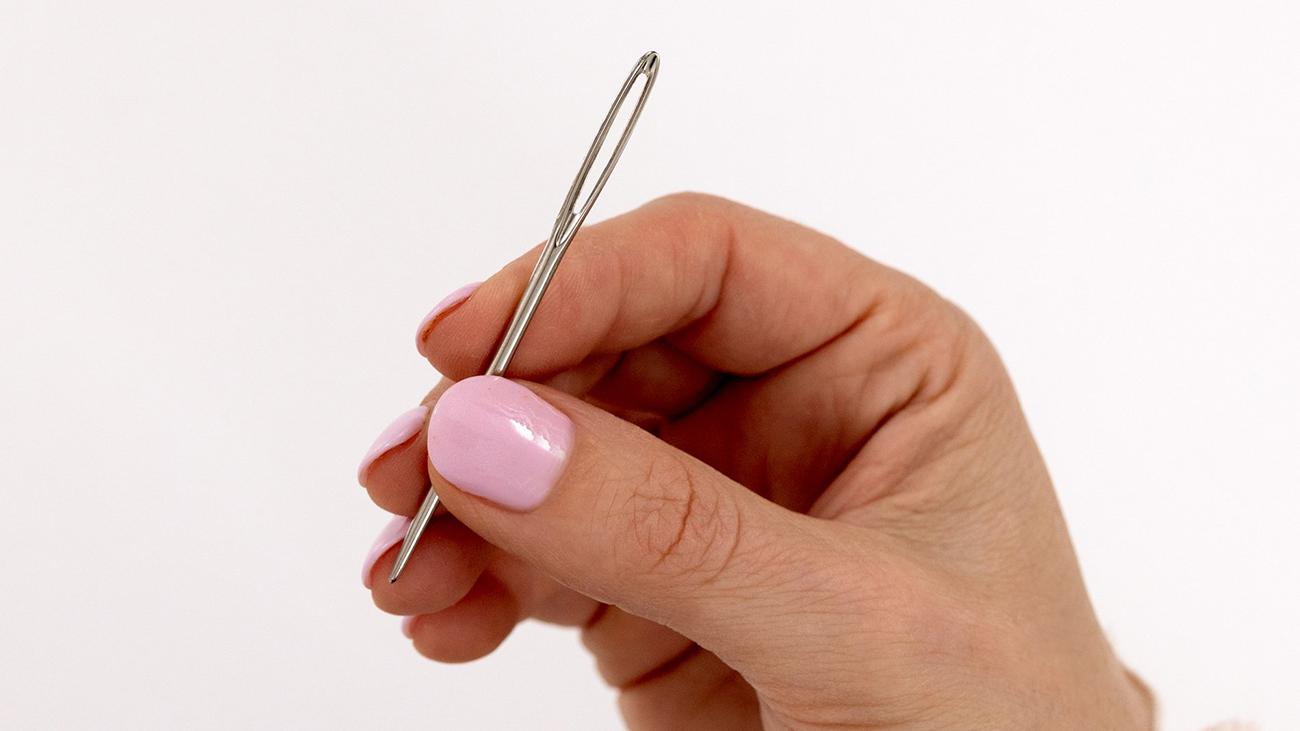
You’ll need a needle with a generous eye, so that you can thread the roving through. A large yarn or tapestry needle works well.
Tip: length of each piece
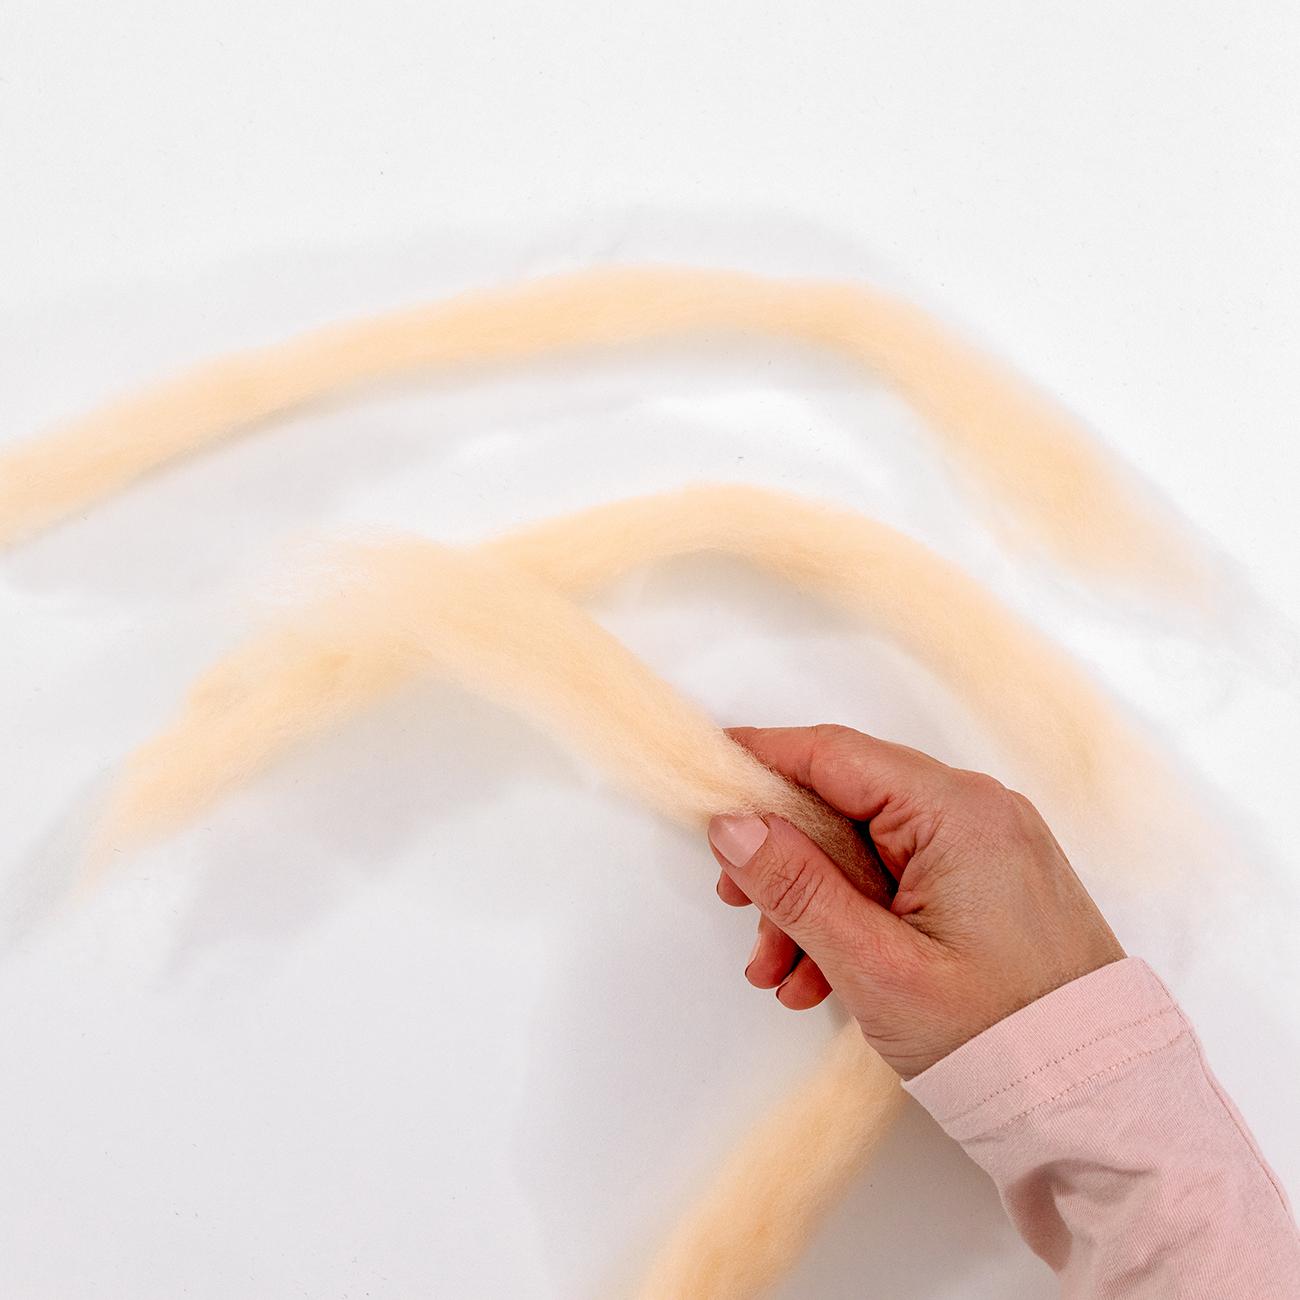
I suggest working with shorter pieces, so you’re not over-handling the length of wool roving as you pull it through the weave (or fabric) over and over again.
A piece about 30cm is workable.
Tip: width of each piece
Make sure you work with a nice thin piece. I split the original width of the wool roving into about 1⁄4 or 1⁄8 of its original size. Then give it a little twist and smooth it out, so that it feels ready to work with.
Tip: threading your needle
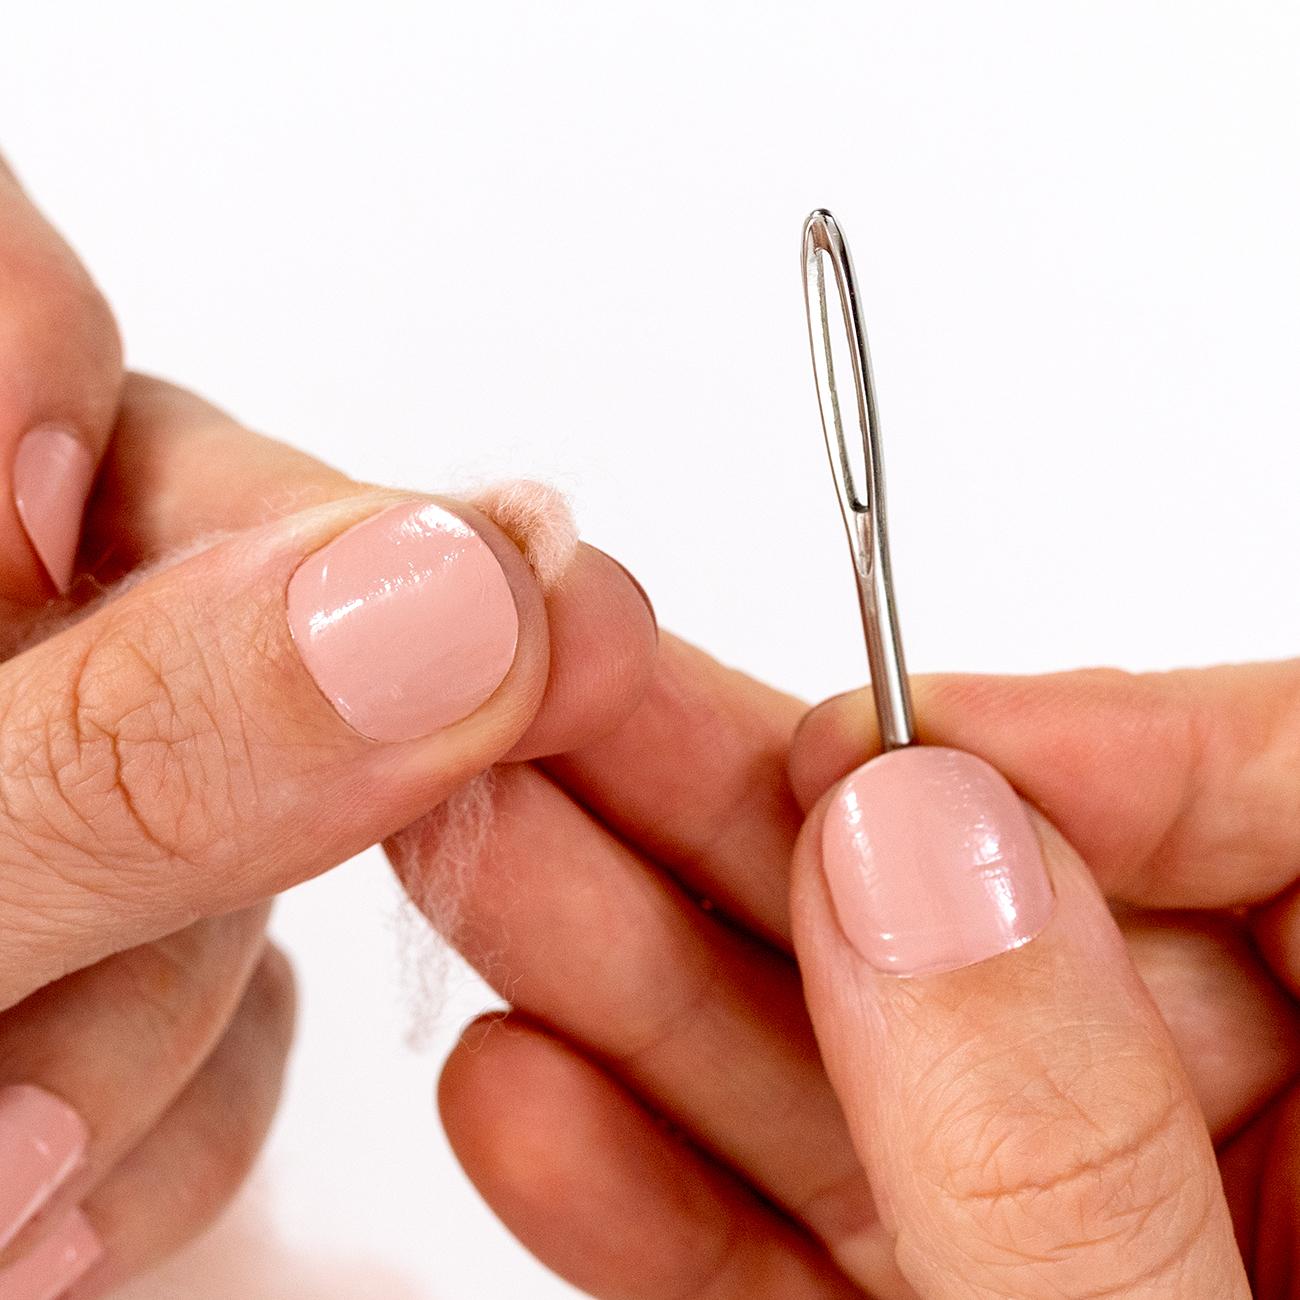
Give the wool roving a little twist, so that it comes to a point. Then fold over the tip into a firm edge which you can push through the eye of the yarn needle.
Tip: securing your stitches
You don’t need to use a knot to secure the start of each piece of roving that you work with. Simply leave a little tail, and that should hold in place as-is, because it’s so chunky.
Tip: working with the roving
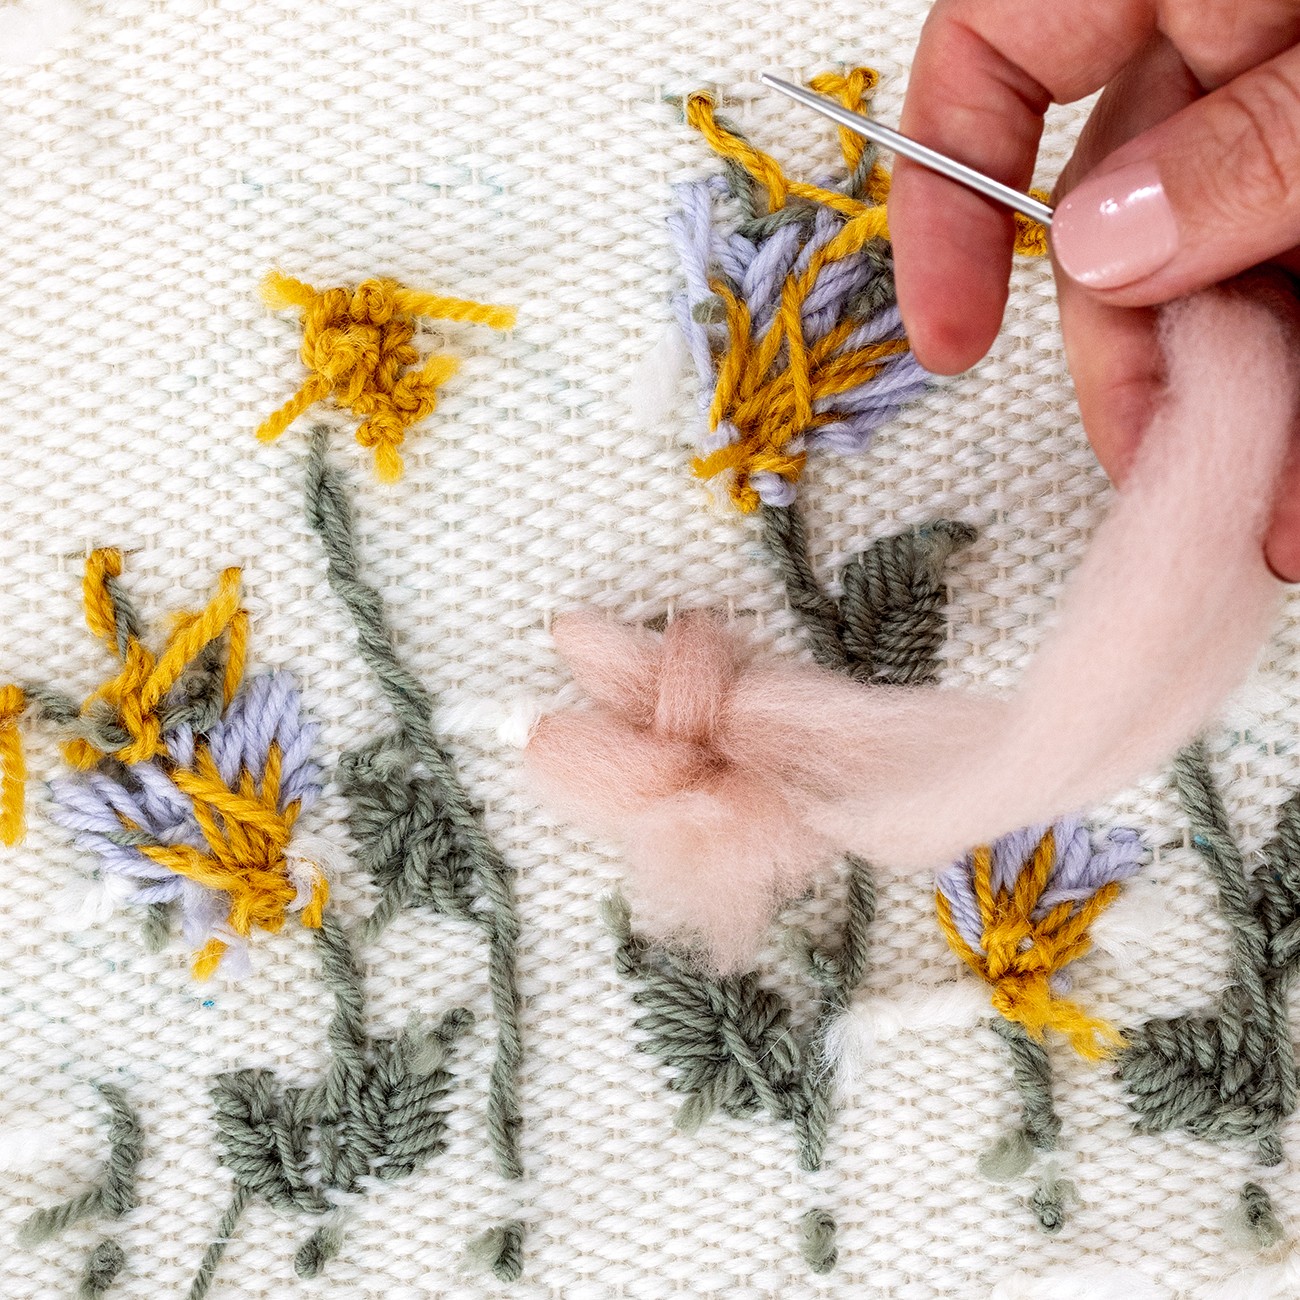
Be gentle when you pull the slack through with each stitch. I find that wool roving is too delicate to just tug the tail end through – it will most likely pull apart.
So instead, I suggest you gently tug on the roving where it’s quite close to the fabric/woven backdrop.
Gradually pull through small sections of the roving until all the slack has come through. This should help keep it in one piece.
Tip: tidying your tails
You can tidy your tails by tucking them under a nearby stitch. But you might also find it holds nicely in place without needing to do this, because it’s so thick.
Either way, finish by snipping off the excess tail.
Have lots of fun embroidering with your wool roving! It’s definitely a technique you need to be quite careful with, but you’ll get such a beautiful result, so it’s worth the effort.
Examples of Embroidery with Wool Roving in my patterns
Let's look at an example of how you can use this beautiful modern technique stitch in your work!
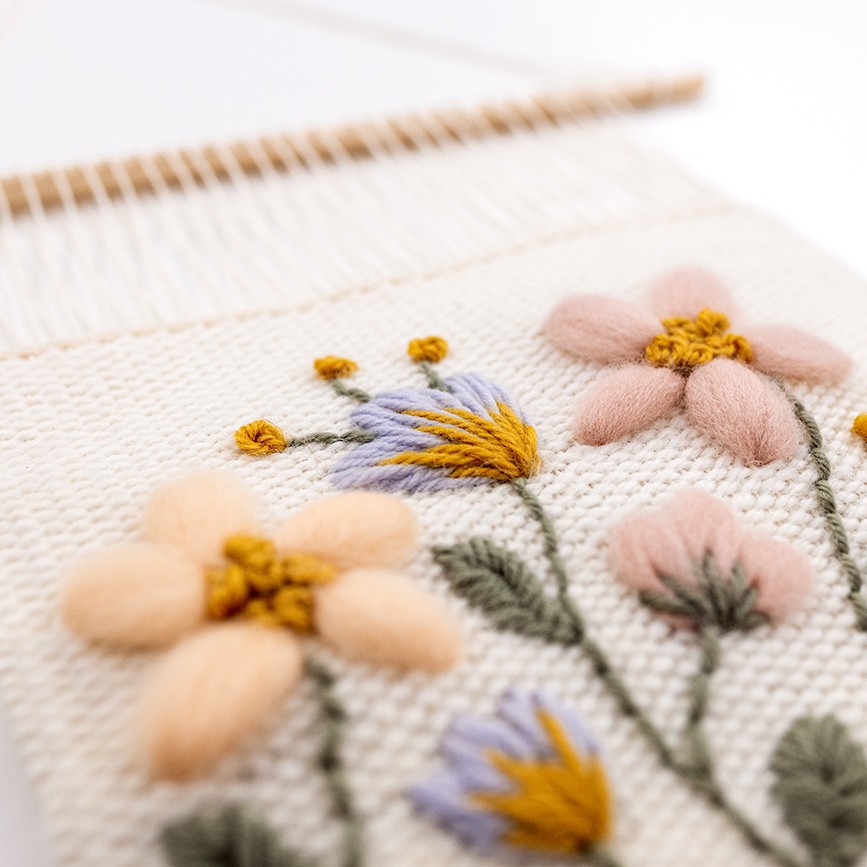
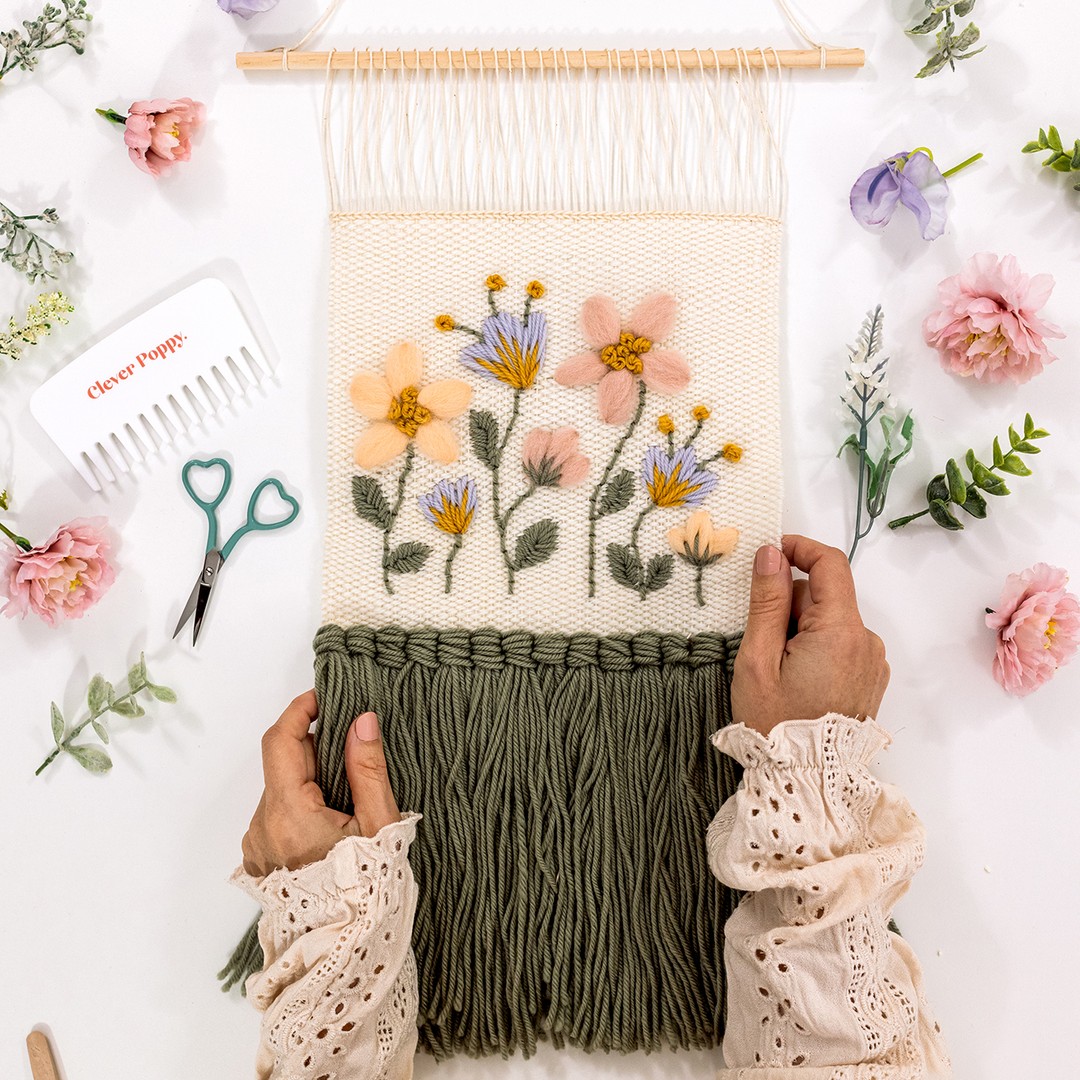
Here's my pattern Woven Meadow. All of the pink and peach flowers are stitched with wool roving. Don't they look so soft and beautiful?!
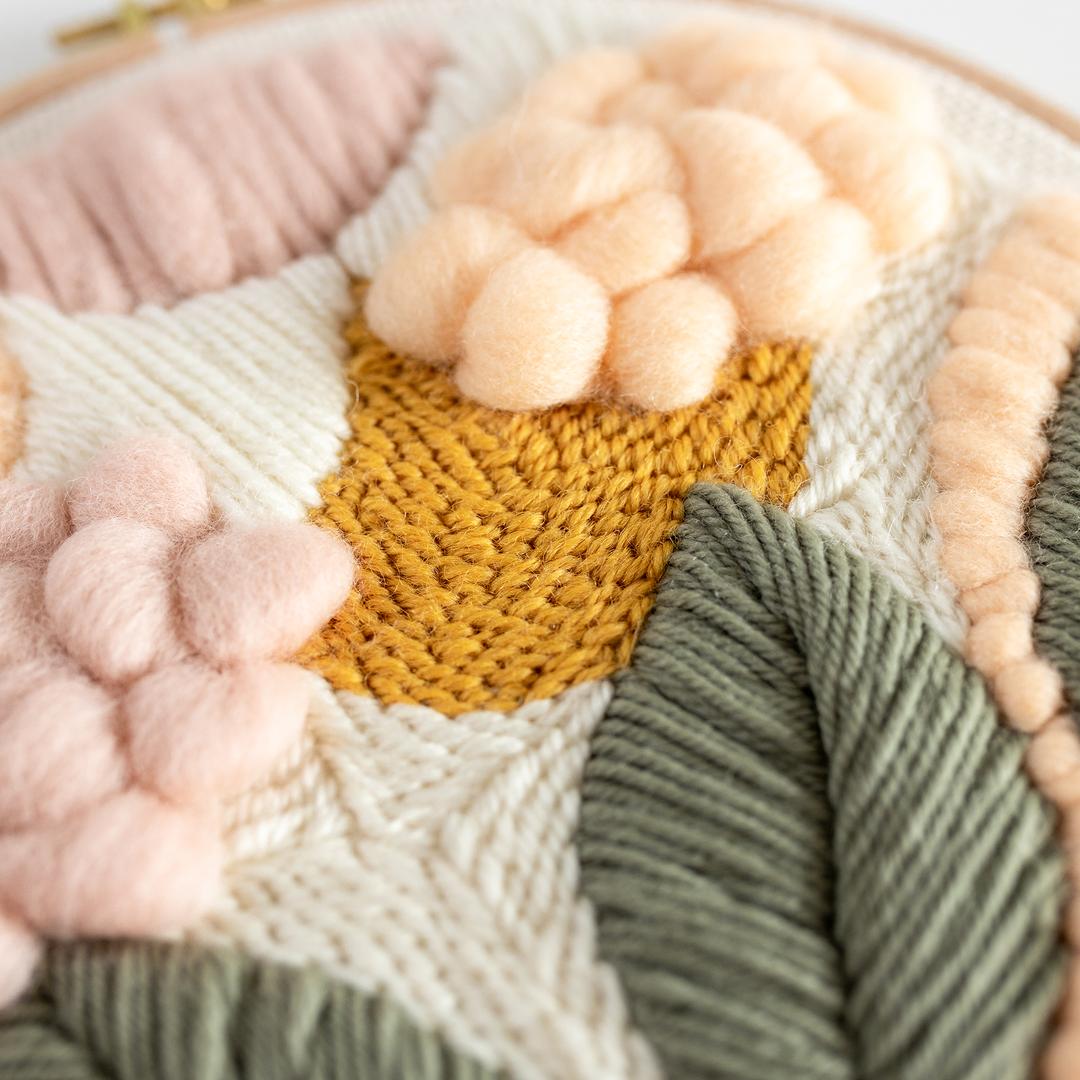
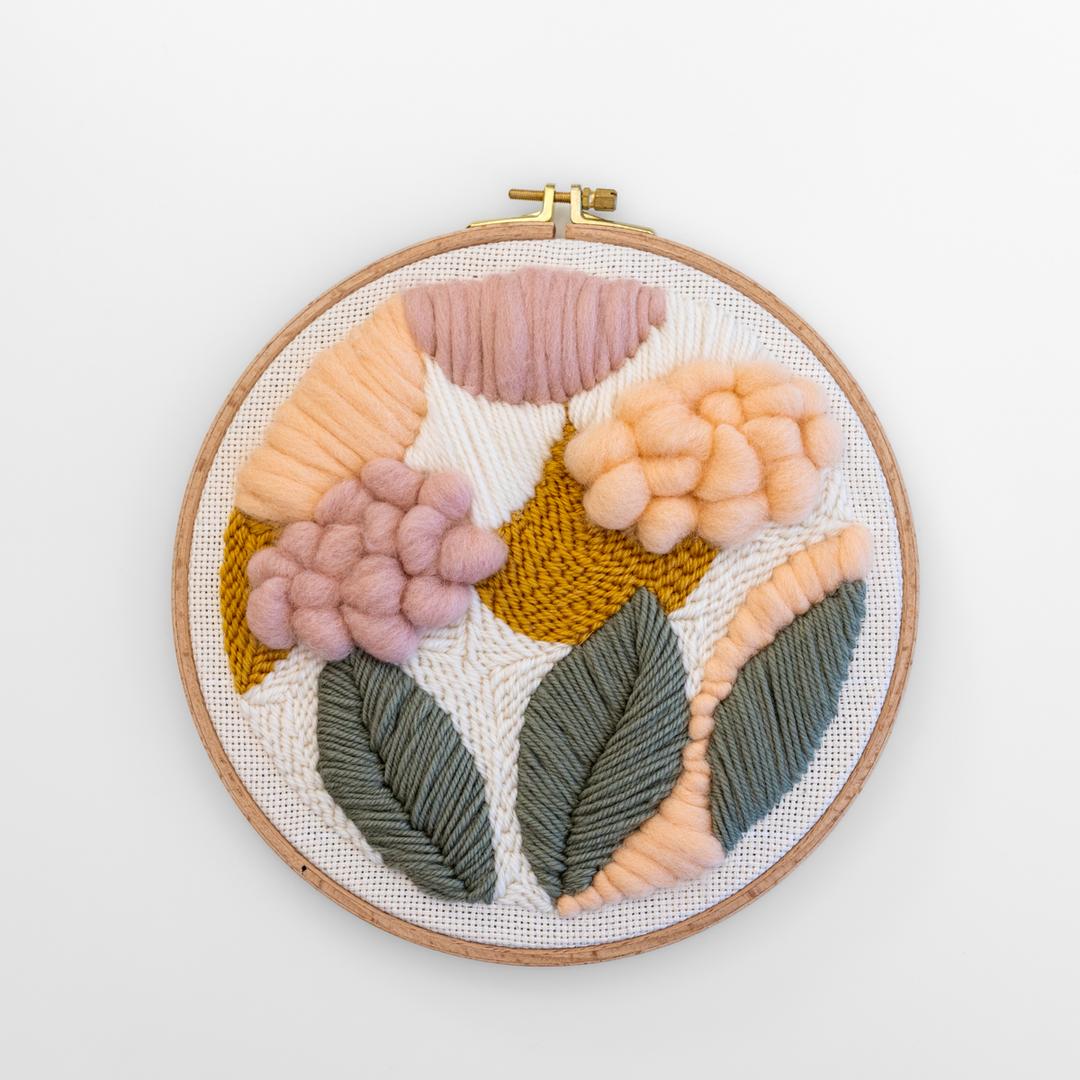
Another example is my Cloudy Dreams pattern. All of the pink and peach sections are stitched with wool roving. I just love how it adds so much texture against the areas completed with punch needle stitches.
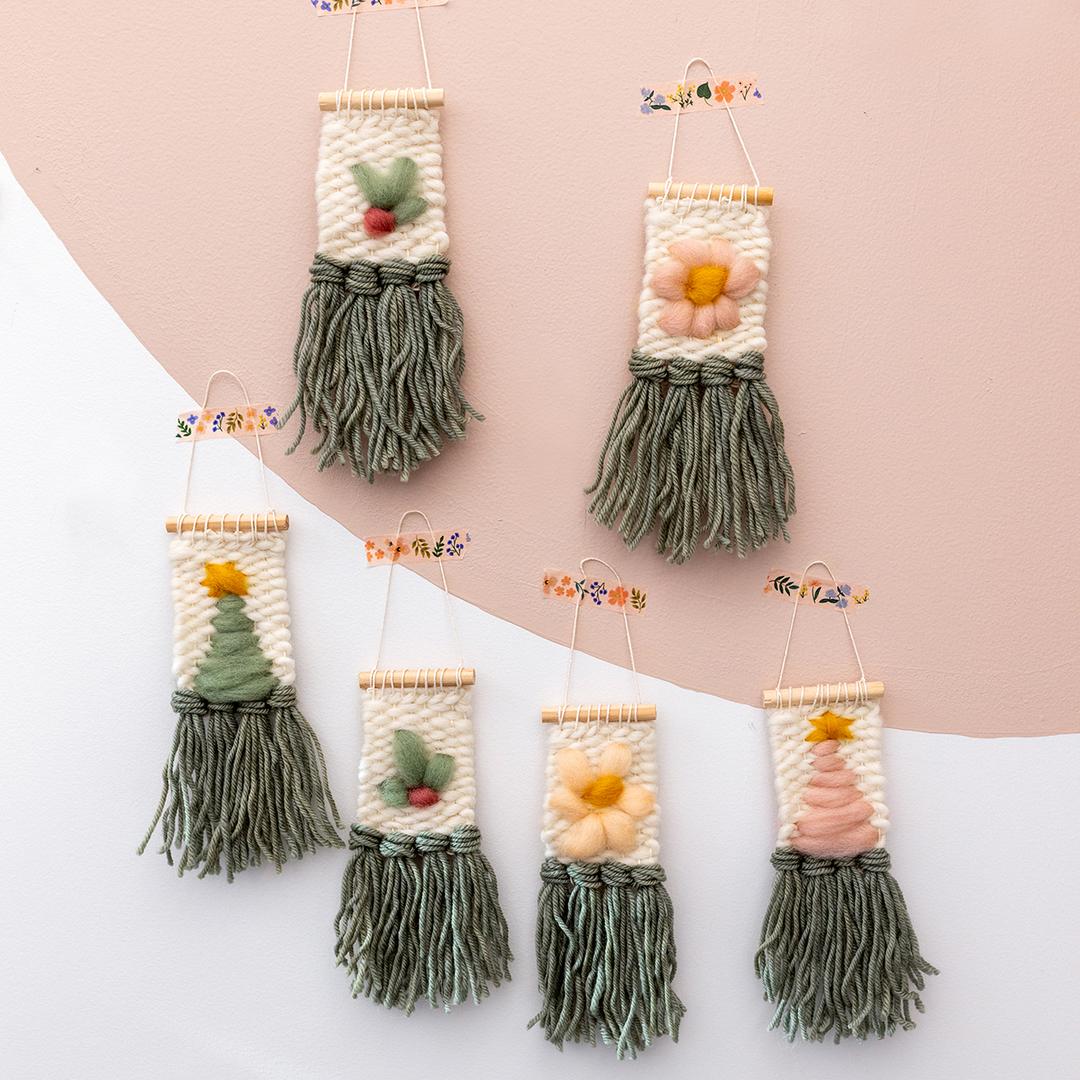
One more example I'd love to share is my Mini Woven Decorations pattern. All of the detail on the front of each mini weave is stitched with wool roving. It's a really fun and forgiving material to add colour with, once you get the hang of stitching with it!
Conclusion
I hope you love working with wool roving, I know I do. This opens up so many possibilities for your weaving and also punch needle creations. Get ready to create some beautiful things!
What's next?
If you enjoyed working with wool roving, you might be inspired to try it on a new pattern!
P.S. Have you checked out this blog yet, 'Learn Modern Embroidery for Beginners with this FREE Pattern?'
So, what pattern are you going to try this technique on first?


