Transferring your Pattern onto a Woven Backdrop - Learn This Weaving Technique
Introduction
If you’re working on a pattern which requires you to embroider onto a hand-woven back drop, you will need to transfer the embroidery design onto your weave.
This can be a lot trickier than transferring a pattern onto fabric, because the weave is quite thick and harder to see through.
If you have access to tracing paper, you can use this method to transfer your pattern.
But often that is not the case, so this guide has some tricks that will help.
Let's look at 3 different options for getting your patterns onto the woven backdrop:
Option 1: Trace your design onto the woven back drop
-
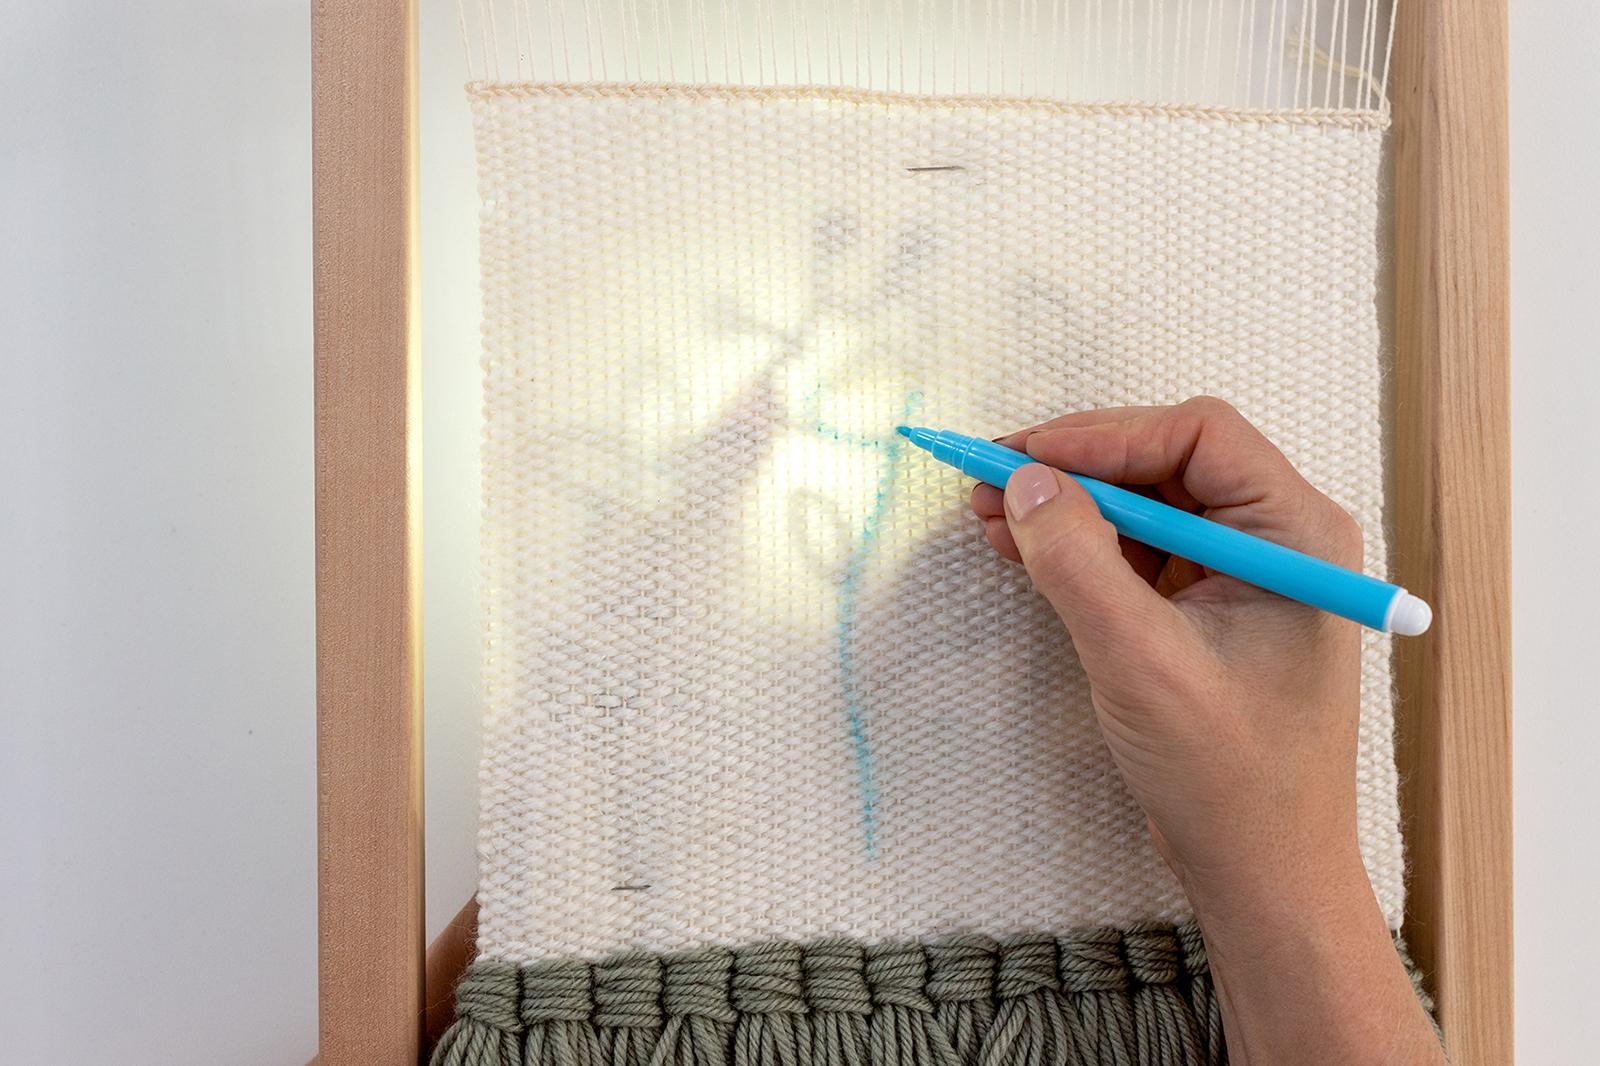
Print out your design, then pin or tape it to the underside of your woven backdrop.
-
Hold it up against the brightest light source you can find – e.g. a bright window. Then you will hopefully be able to see just enough of the design to trace over it. It helps if the pattern design has nice and thick lines, to give you the best chance of seeing it through the weave. You can go over the pattern with a thick marker if that helps. Check out my tutorial where I cover 'Transferring your Pattern’ on how to use the flashlight on your phone if that helps!
-
You’ll need to keep pressing the part of the pattern you are tracing up hard against the weave, hovering above the light, to give yourself the best chance as possible to see it for tracing.
Option 2: Freestyle draw it on!
Often, patterns don’t need to be replicated exactly as per the design. Rather, the pattern will be quite forgiving, even if you use the design as a basis and draw your own unique variation. When you are freestyle drawing on a pattern, it helps if you mark out the key points first (e.g. the position of each stalk, location of each flowers etc). Then you can add in the detail.
Option 3: Stencil Dots
I have created this method, to help those of you who are not confident to freestyle draw on the design from scratch, but aren’t having any luck tracing the pattern:
A. Print out your design, then use a pen to poke holes at all the key points – e.g. tips of the leaves and petals, intervals along the stalk etc.
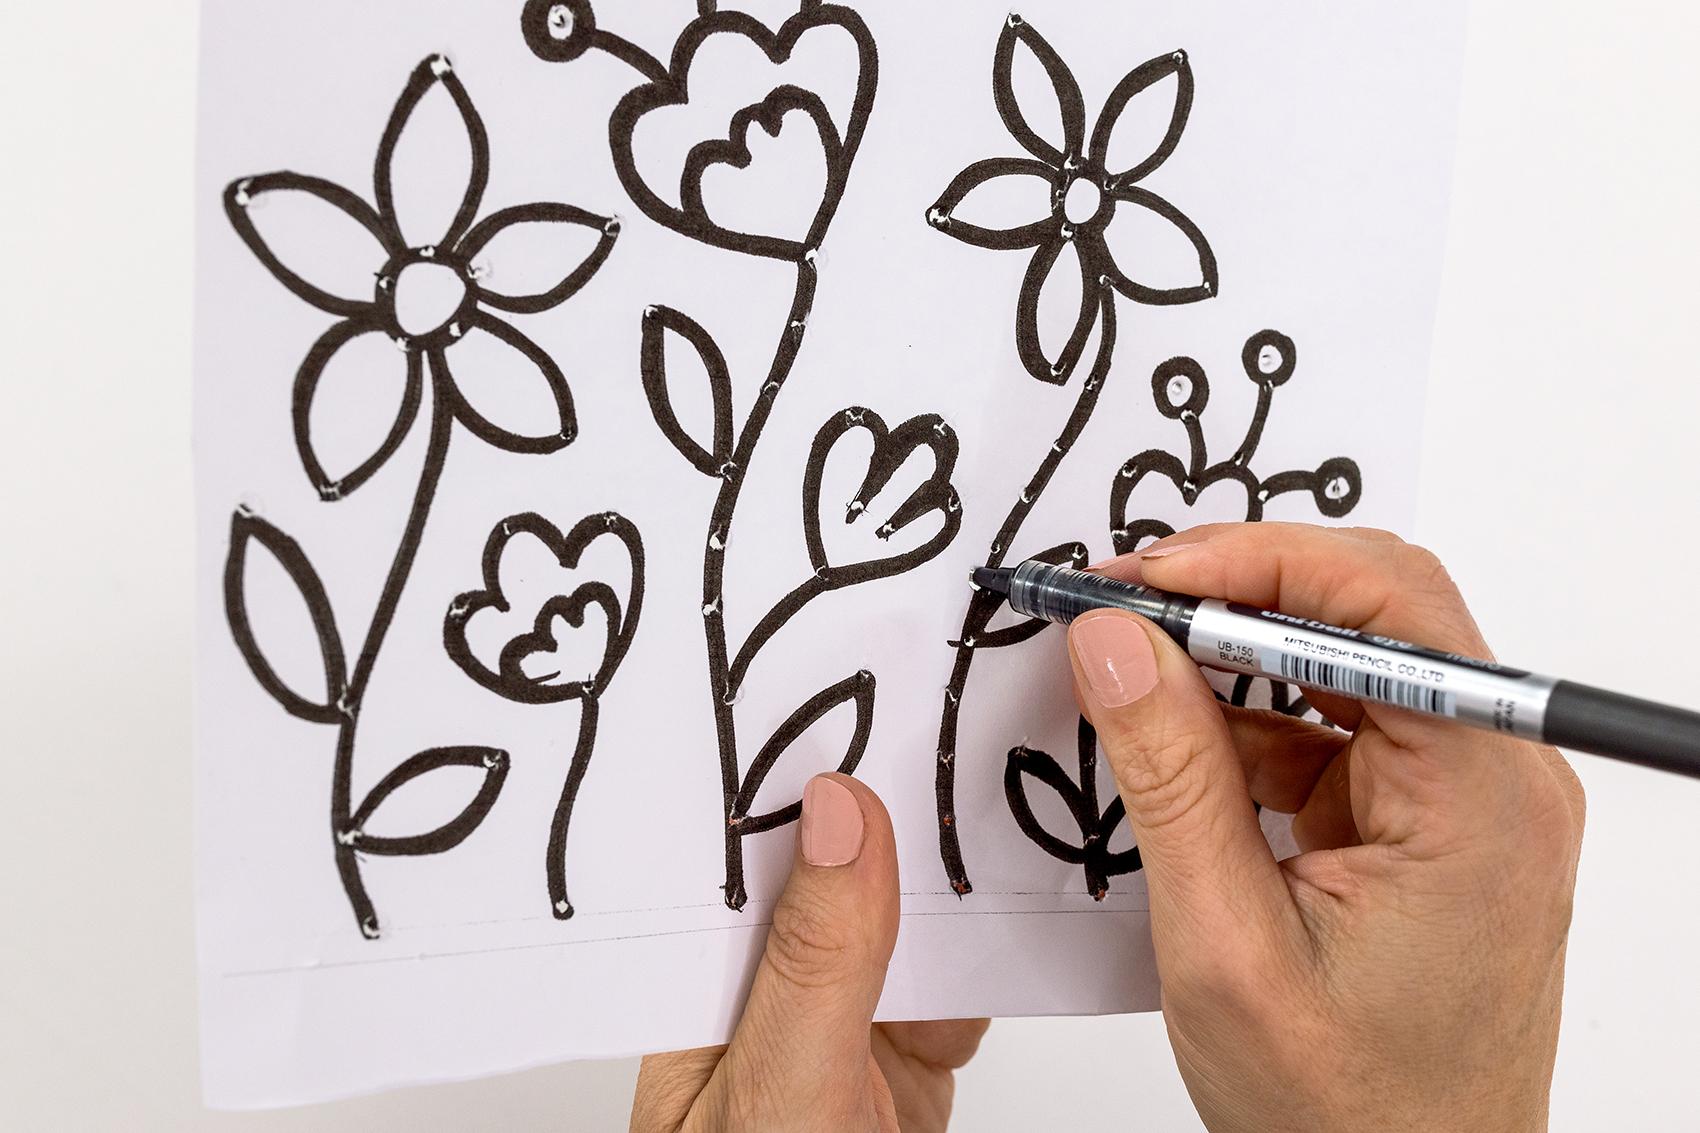
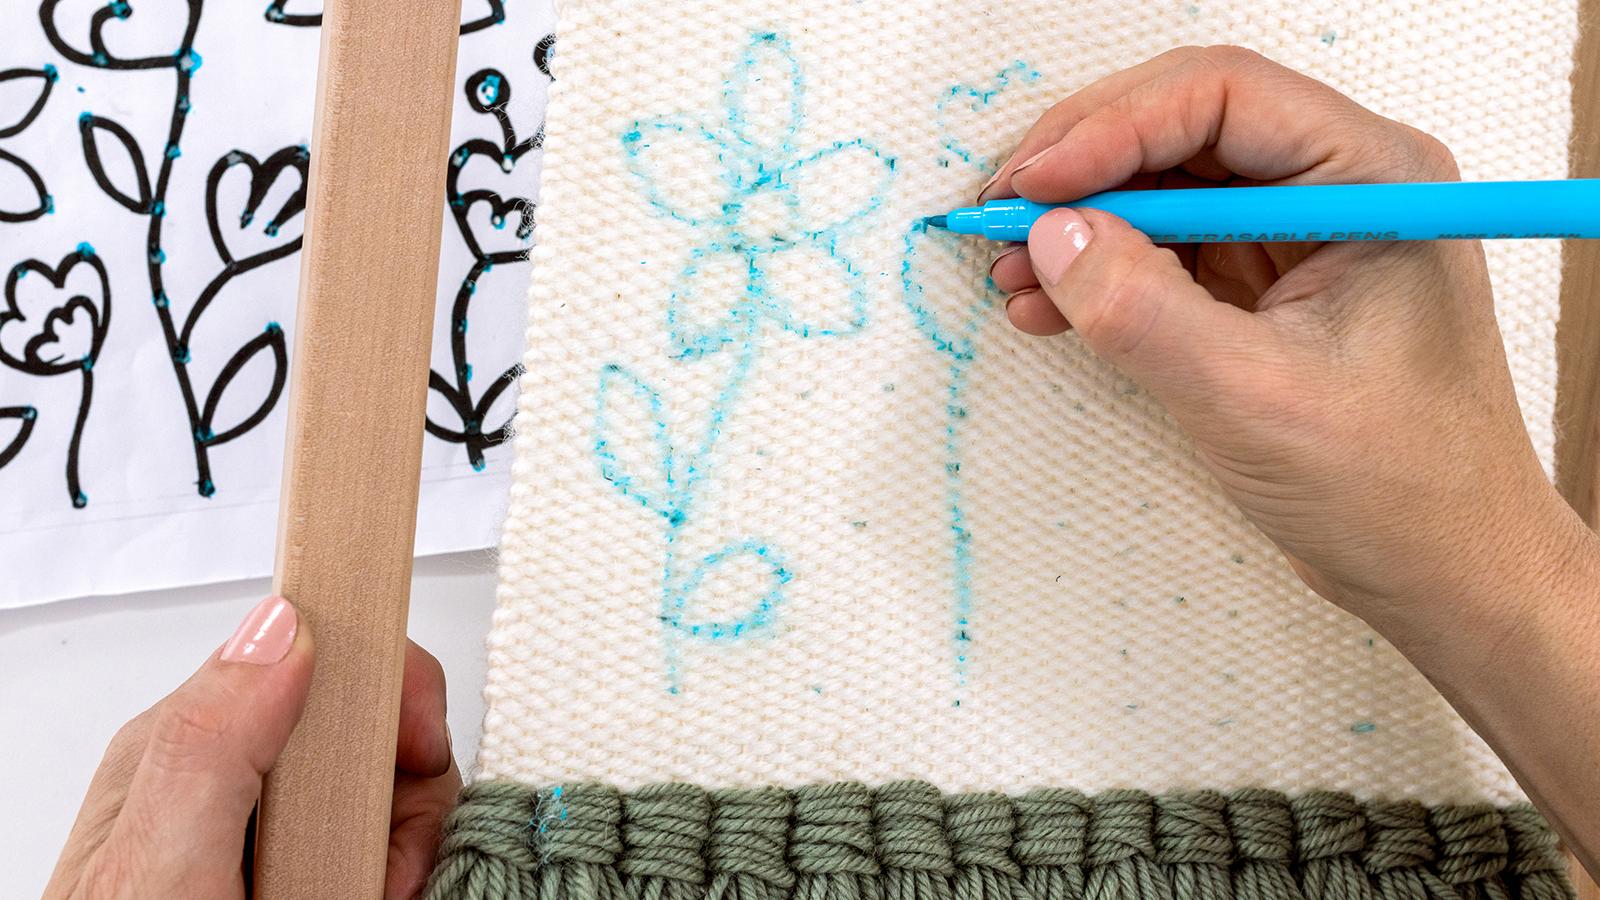
B. Place the design over top of your woven backdrop, and use your transfer pen to mark the weave where all the holes are. You’ll need to push quite hard with the pen and wiggle it back and forth a bit to create a mark on the weave. Don’t worry if you end up with quite big holes in your printed pattern by doing this.

C. Once all the dots are marked on the woven backdrop, you can use them as a guide to draw on the pattern. Refer back to the actual printed pattern often, to help you ‘join the dots’ as such. The dots may be a bit tricky to see, but persevere and you’ll get there!
Examples of my pattern using this technique
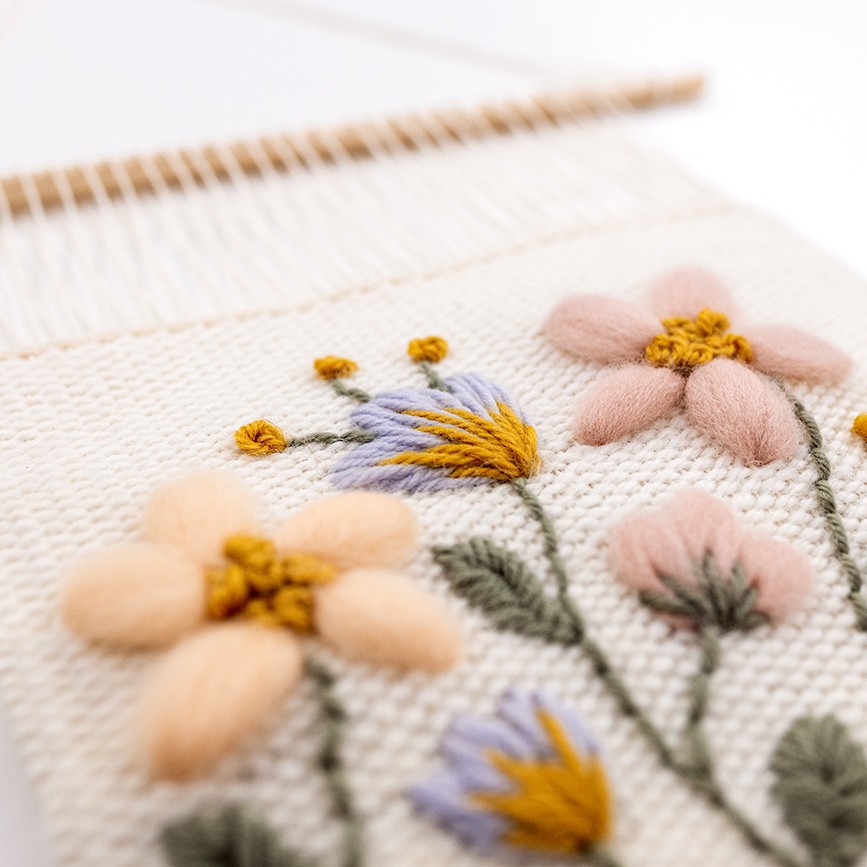
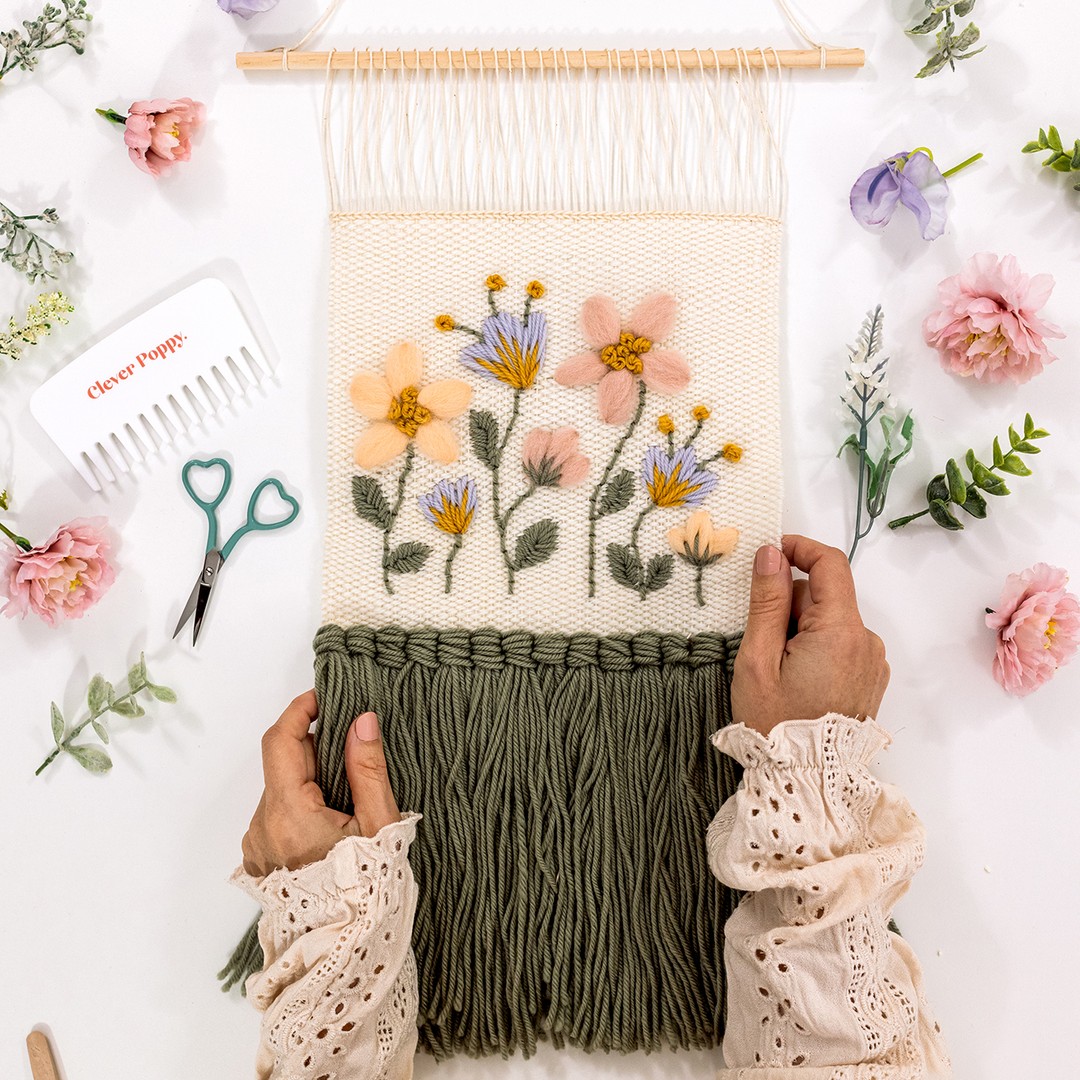
Here's my pattern, Woven Meadow. For this project, I used the tracing technique for transferring the beautiful floral meadow onto the woven backdrop. Didn't it turn out so lovely?!
Conclusion
My main take-out is that you don’t need to worry about your pattern tracing being perfect! Just use whatever method/combo gets you there, then you can do the fun part – stitching your beautiful design!
What's next?
Congrats on learning this technique. It will come in handy if you make patterns like my Woven Meadow!
P.S. Have you checked out this blog yet, "Embroidering onto a Woven Backdrop - Learn This Weaving Technique?"
So, are you excited to make your first weave with this technique?


