


Weft Hills - Learn This Woven Wall Hanging Technique
Introduction
This technique (also known as bubbling) helps you to create woven wall hangings which hold their shape well and have good tension. It’s not something I want you to worry too much about as a beginner – for now, I want you to concentrate on enjoying the process rather than trying to make the ‘perfect’ piece. But if you learn this technique from the start, it will stand you in good stead for your weaving journey and will become second nature. Sounds good to me!
The main goal of this technique is to help you ‘place’ each weft row in your weave, rather than ‘pulling’ it across your weave. Because if you pull and drag your weft yarn over and under your warp, this can also drag in the sides of your piece and lead to uneven tension and an hourglass shape.
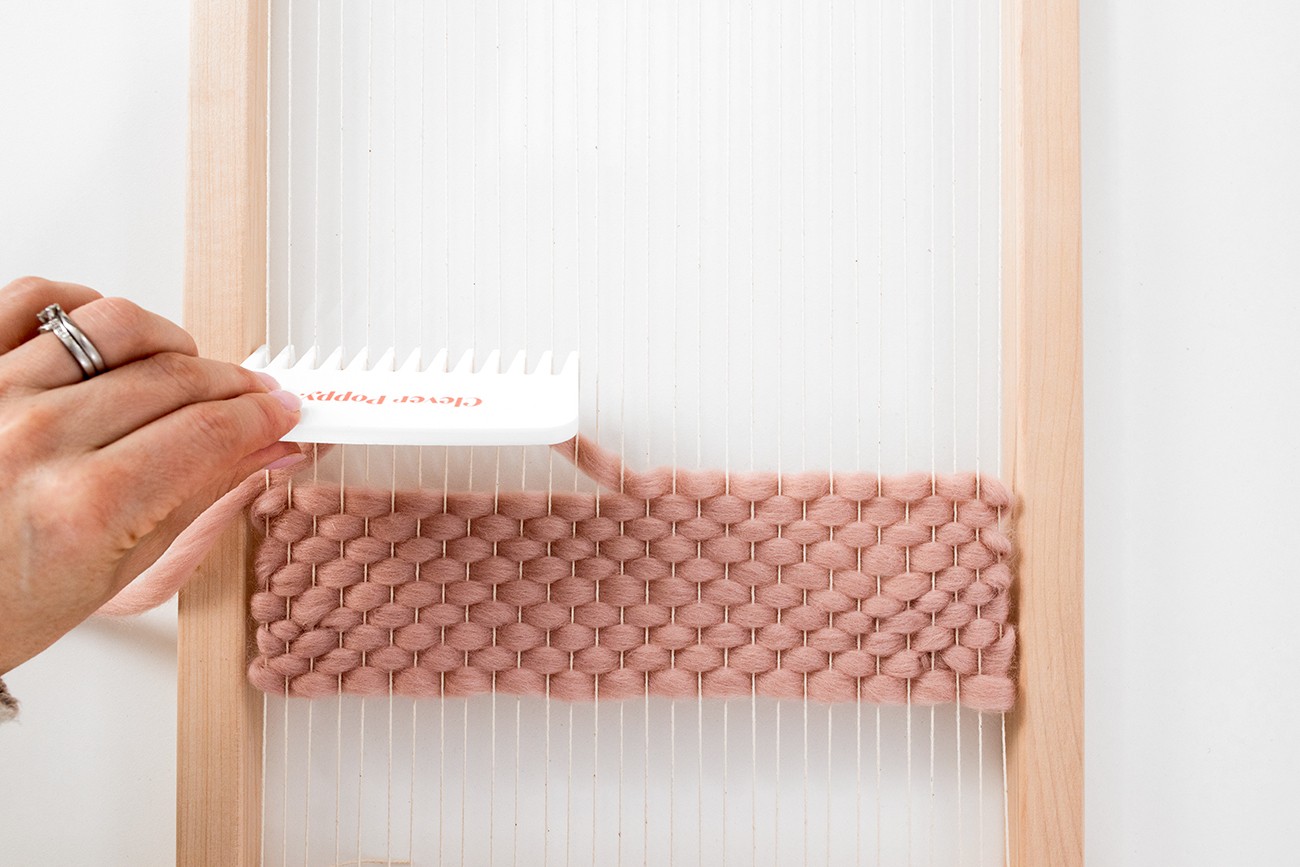
You can use a weaving comb or a fork for this technique. Or just use your hands if need be.
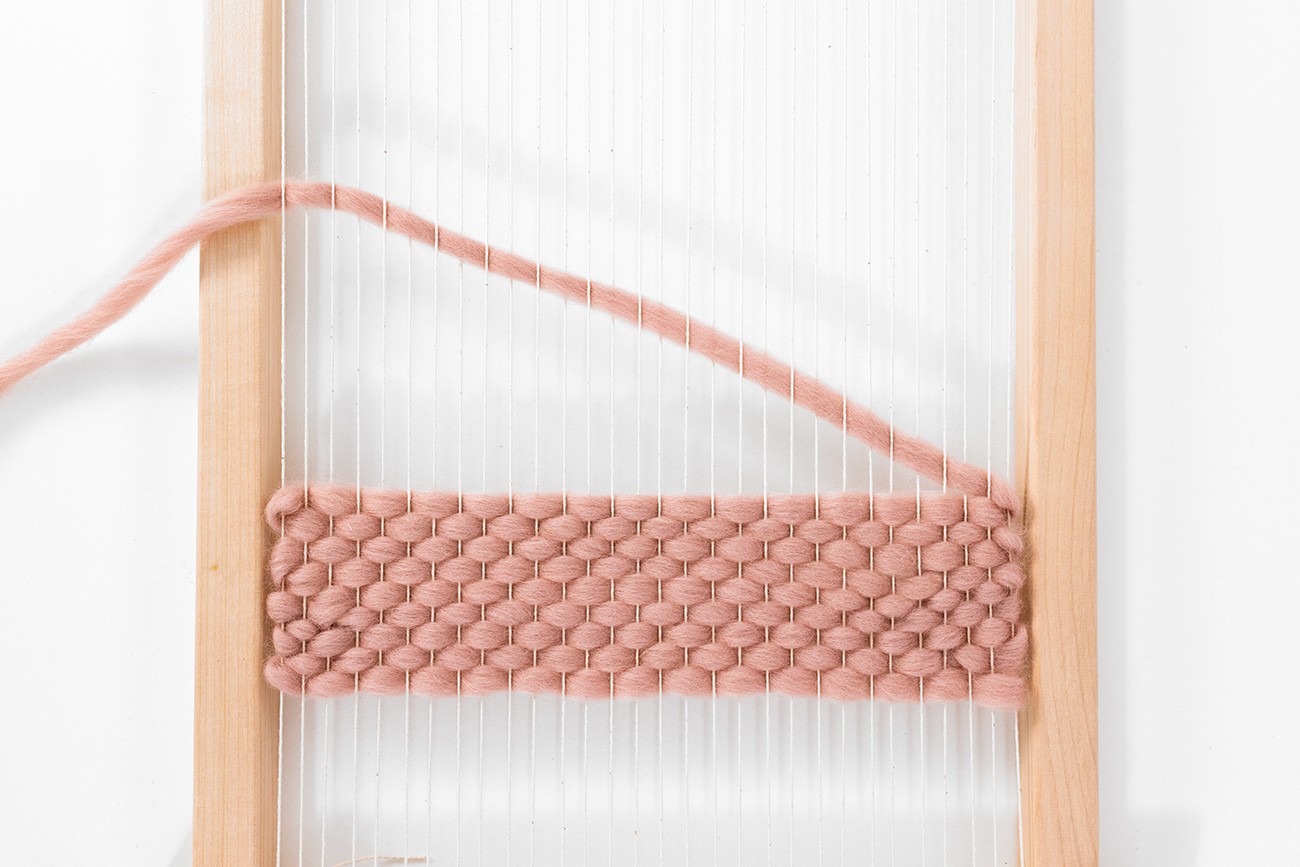
Step 1
When you weave each row, bring your yarn across on a diagonal, heading up towards the other side. Pull the slack through so it is flush against the warp string on the side, but don’t pull it tightly so that it draws in the far warp strings.
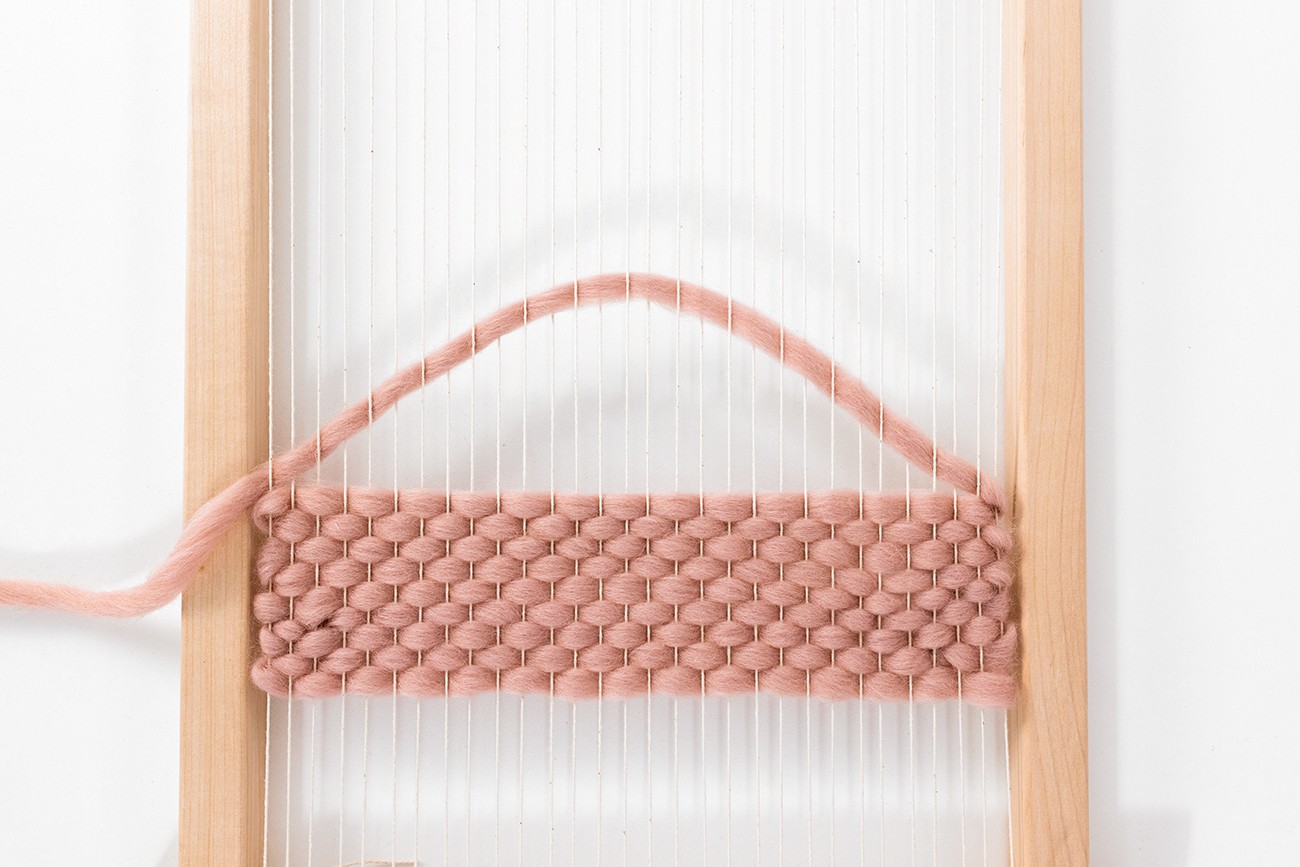
Step 2
Once you’ve pulled the yarn through, push it down on the far side to create one large hill across the width of your weave.
Step 3
Push that row down in the middle, which creates 2 hills.
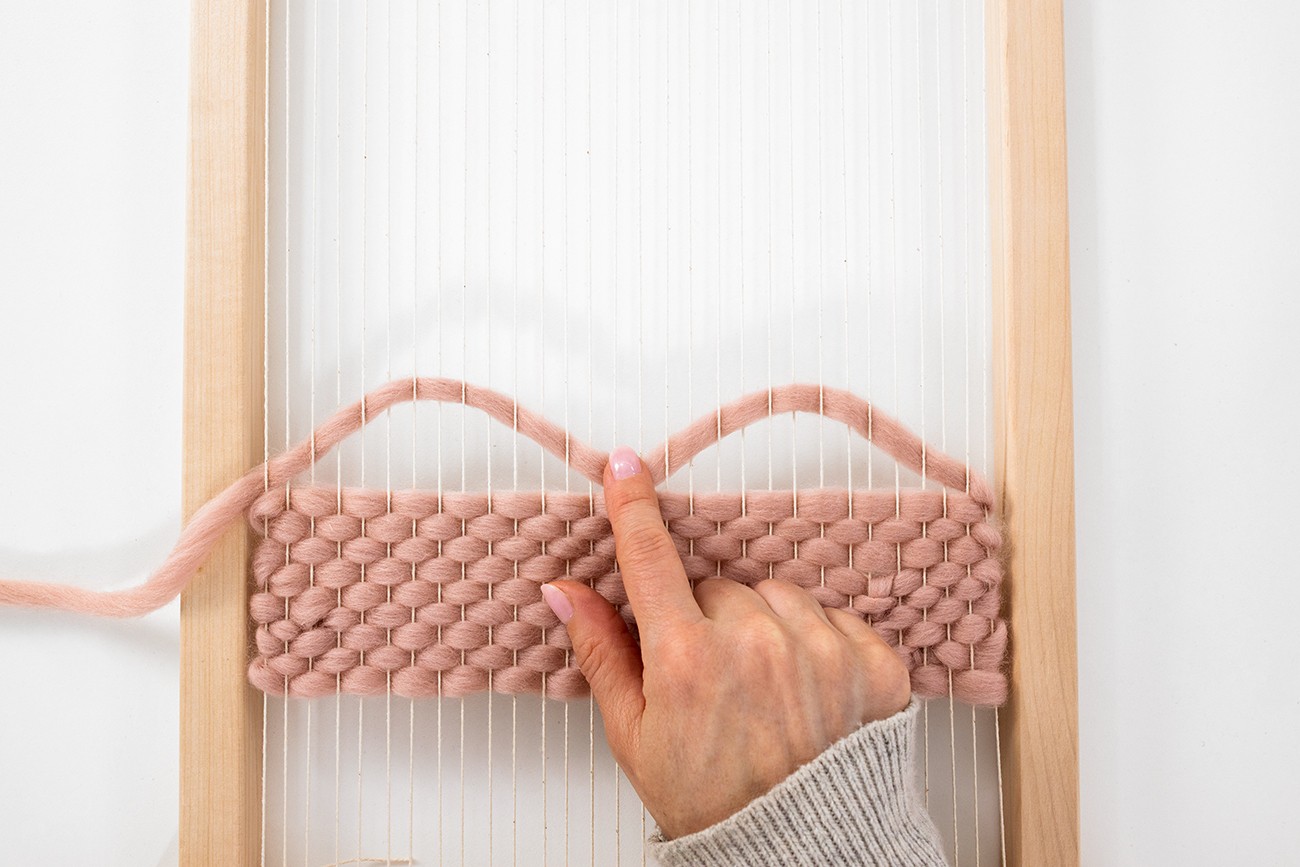
Step 4
Now go ahead and gently beat down each hill, by pushing down the middle and then each side. Then beat down all across your row, so that you have a row of weave that’s pushed evenly into place.
It’s great if you can get into the habit where you automatically do this technique each time you beat a weft row or section of stitches down into place, such as Tabby Weave.
Examples of the weft hills technique in my patterns
I use the weft hills technique in all my patterns to disperse the tabby weave evenly across the loom.
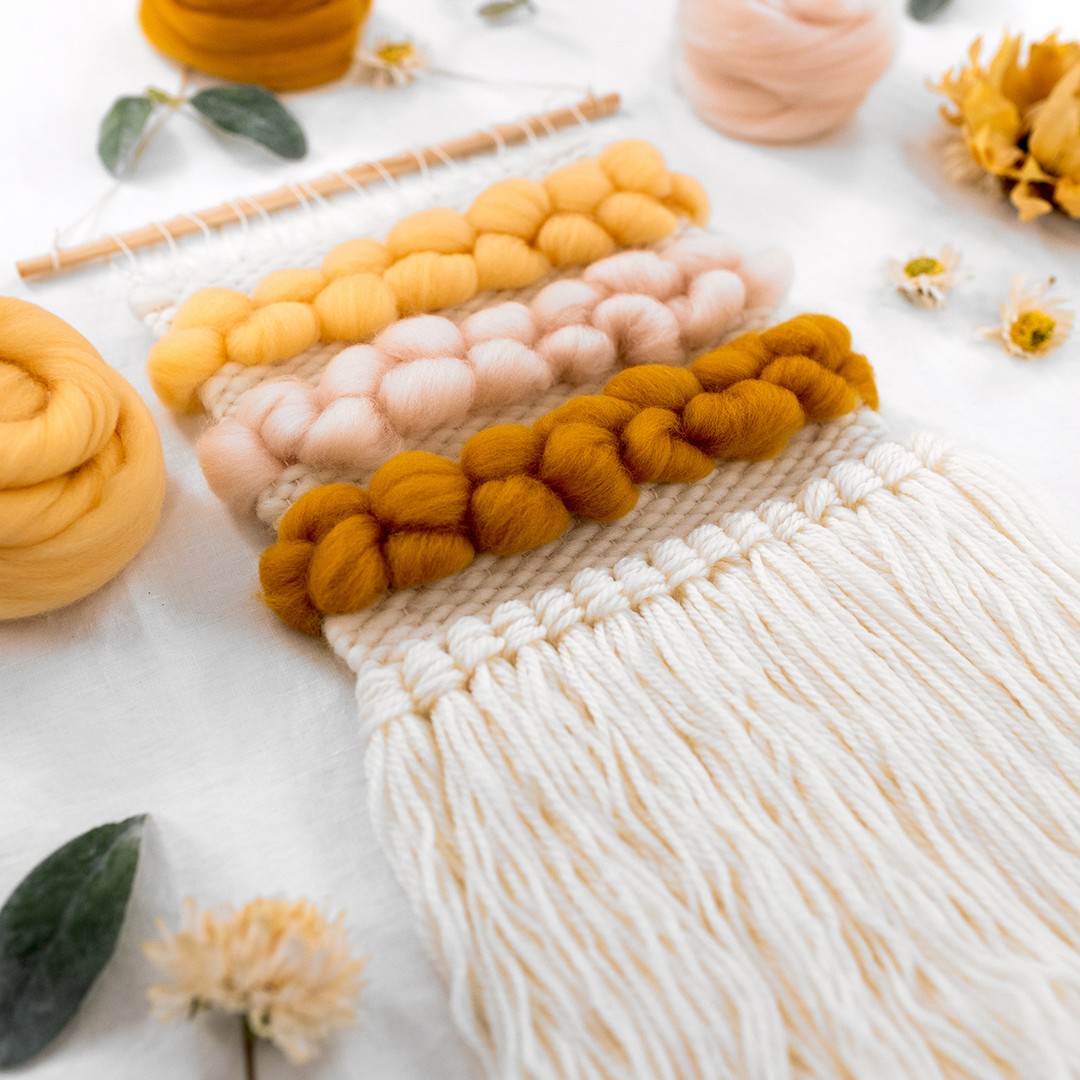
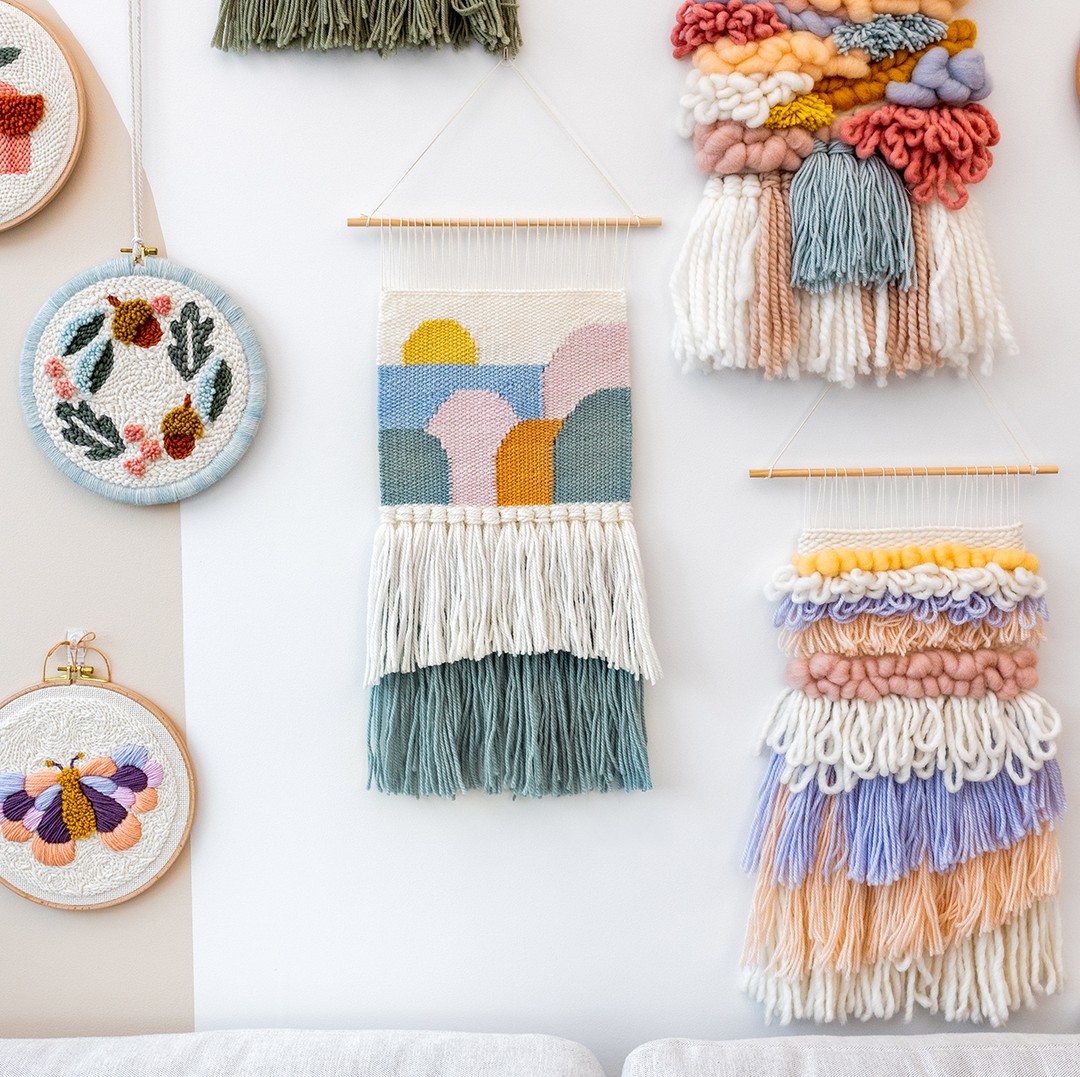
For example, check out these two patterns below, which showcase plenty of Tabby Weave, and are a great way to practice this technique. The first is Marshmallow Dream, which is fantastic for beginners. The second is Woven Landscape, perfect for when you're further on in your weaving journey.
What's next?
If you enjoyed learning how to do the weft hills technique, you might love exploring even more weaving techniques!
P.S. Have you checked out this blog yet, 'What Beginner Weaving Supplies do you Need to Create your First Woven Wall Hanging?'
So, are you excited to use the weft hills technique on your tabby weave?
